

13 Ways You're Ruining Chicken Tenders (And How To Save Them)
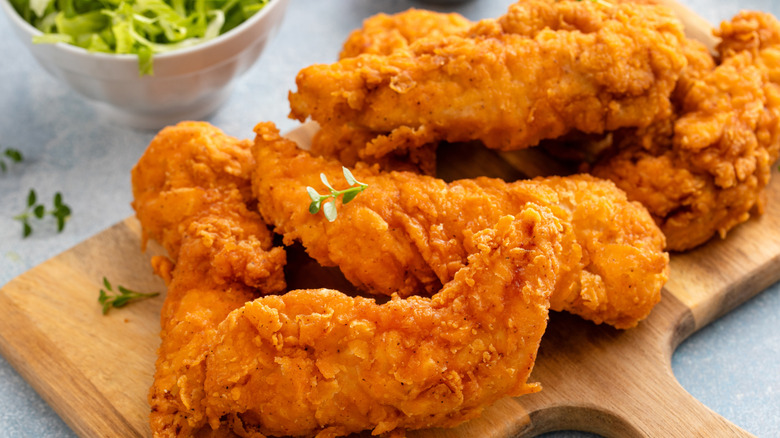
No matter your age, background, or level of culinary sophistication, everyone loves a fresh chicken tender. That's why you can find them pretty much anywhere — stadiums, sports bars, fast food restaurants, high school cafeterias, children's birthday parties. It's this near-universal appeal that makes the chicken tender an indispensable addition to any home cook's repertoire. The good news is that making them at home isn't too complicated or labor-intensive. Just dredge, bread, and bake or fry until the chicken is hot and crispy.
But, like with any simple dish, the devil is in the details. Your choice of breading, how long you rest it before frying, and how you slice or pound your tenders can affect the taste, look, and texture of your final product. To identify the most common oversights, I spoke with several chefs, recipe developers, and culinary instructors: James Beard Award semi-finalist and co-owner of the quick-service American food joint, Gimme Burger, Jesse Schenker; culinary educator, former chef, and founder of the Nourish & Gather cooking school, Melanie Underwood; former chef at Empire Biscuit and experienced chicken fryer, John Raisor; executive chef at Hunter's Bar & Grill and corporate chef for Restaurant Zone Inc., Chef Tennille "Chef Tee" Middleton; and recipe developer and owner of the cooking site Krystel's Cooking, Krystel Spann. Read on to learn about all the common mistakes you may be making with your tenders — and the ways you can fix them.
1. Crowding the pan
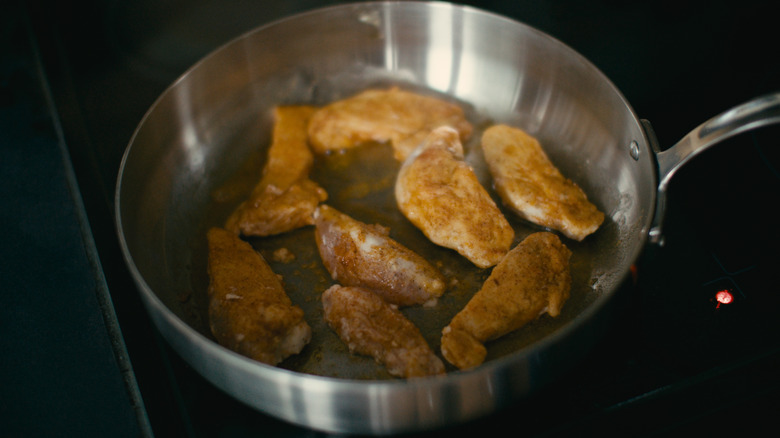
Chicken tenders are an unquestionable crowd pleaser. And while it's tempting to make as big a batch of tenders as your pan will permit, you have to resist the urge. "Overcrowding vastly drops the temperature of the oil and gives you greasy, unevenly browned chicken instead of the ideal crisp crust," says Jesse Schenker. Another byproduct of this temperature decline is that the beautiful breading you so diligently applied may flake off into the oil, resulting in splotchy tenders that will look something like a hastily shaven cat.
To avoid this issue, Krystel Spann recommends preparing just a few tenders at a time. "When you cook your tenders in small batches, it gives your oil time to recover, and each piece has room to fry properly." This allows each individual piece of chicken to reach a safe interior temperature of 165 F while the outside becomes crisp and golden brown. This same psychology applies to baking as well as pan-frying. The extra spacing helps you avoid excess moisture that will inevitably soften the breading.
2. Picking the wrong cooking style based on your breading
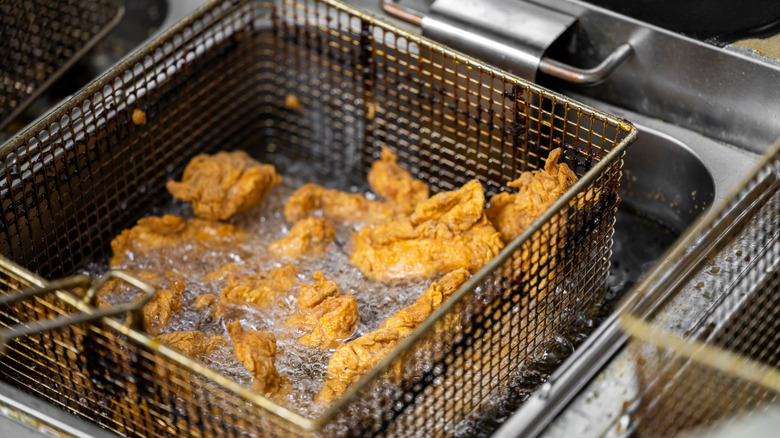
Chicken tenders come in a number of different styles — from breaded to tempura-battered to simply floured — with each variation requiring its own unique preparation. A cooking method that works for one type of tender may not work as well for another. Tennille "Tee" Middleton says one of the most common errors home cooks make is not knowing how to make their favorite style. "These require different flours, different methods of operation, and even different oils."
Crushed potato chips, for example, will give your tenders more heft, but they also introduce another layer of oil, which, if pan-frying, can make your tenders greasy or soggy. If air-frying your tenders, consider going with panko or corn flakes because these breading options are crunchy as-is and don't require a high-heat reaction to achieve that crispy bite. "An Italian-style cutlet can be pan-fried, a tempura style is better deep-fried, a lightly breaded tender could withstand a few bursts of pan spray and crisp up nicely in the air fryer," notes Middleton.
3. Using a boring breading
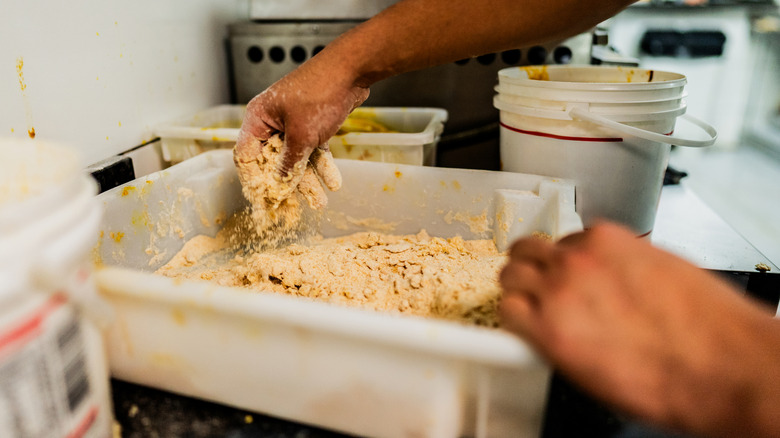
The simplest way to reinvigorate your chicken tenders is to experiment with different types of breading. This is where you can let your culinary creativity really blossom. Any flour-based breading or snack, like a chip, cereal, or cracker, is a potential option: It all depends on your desired taste and texture. For a lighter, delicate coating, go with homemade or store-bought breadcrumbs, which can easily be livened up with different spices, herbs, or shredded cheese. Other savory options include crushed pretzels, cereals, or crispy fried onions. If you want to be adventurous, try a more aggressively-seasoned snack, like Cheez-Its, Goldfish Crackers, or Doritos.
You can also go in the sweet direction. Sugary cereals create a thick breading and impart a hint of caramel to your otherwise savory tender (just be careful not to burn them when frying). Pairing a sweet breading with something toasty or nutty, like finely chopped almonds, pistachios, or toasted coconut flakes, creates a more complex flavor and toothsome crunch. However, achieving the perfect balance requires some experimentation. "One of my secrets is to mix quinoa flakes with panko or bread crumbs, and it gives you an extremely crispy, crunchy exterior," says Melanie Underwood. Another clever breading combination is potato starch and flour. The starch helps prevent the gluten in the flour from absorbing too much oil or moisture, which is always the main enemy of craggy chicken.
4. Cooking your chicken immediately after breading
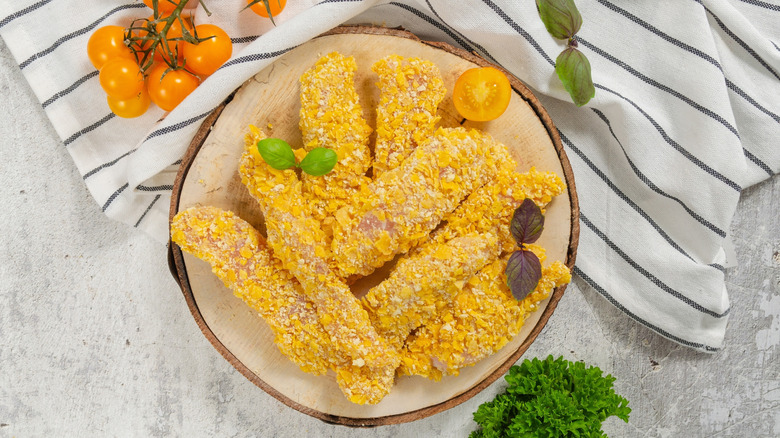
Cooking your chicken tenders to an internal temperature of at least 165 F is necessary to ensure they're safe to eat, but figuring out exactly when to start cooking is a bit of a balancing act. "Overall, time and temperature are critical for safety and quality. As long as you are safe, allowing 15 to 30 minutes for the chicken to come to room temperature can be a game changer," says Tennille Middleton. "If you want more moisture and even cooking, ice-cold chicken isn't your friend."
Ironically, moist, juicy chicken requires the meat to be as dry as possible. This is where refrigeration comes into play: "If chicken is wet or damp, it's going to prevent the breading from sticking, and the breading gets gummy," points out Melanie Underwood. "I recommend patting chicken dry or air drying in the refrigerator by laying a cooling rack on a sheet tray, placing the tenders on top and placing them in the refrigerator, uncovered, for one hour." Refrigeration also helps ensure that your breading or batter sticks to the chicken."I like to have my chicken tenders cold, from the refrigerator, breaded. I find the breading stays on much better this way," continues Underwood. "If you don't have the opportunity to do that, the bread will come off easier, but this is when I would recommend air frying or roasting over pan frying."
5. Overcooking the tenders
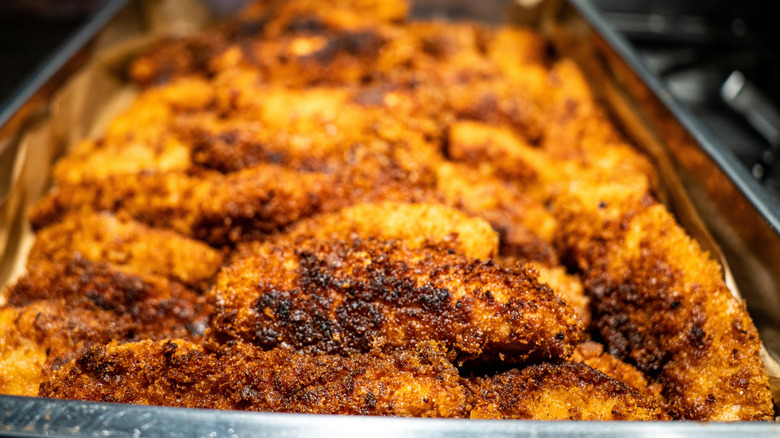
Most home cooks are terrified of serving undercooked chicken. And while raw chicken does carry a few unique food safety risks, this doesn't mean they should be cooked into oblivion. By nature, chicken tenders are typically smaller and thinner cuts of breast. They don't have the fat, bone, or musculature content of a leg or thigh, which means they're easy to overcook if you're not careful. Complicating the matter further is that there's no standard size for chicken tenders. A long, skinny tender will require a different cook time than one that's thicker.
That's why Jesse Schenker suggests cooking your chicken by temperature, not time. "Chicken tenders are small and lean, so they can go from perfectly juicy to dry very quickly. Use a thermometer and check the thickest part of the tender to reach a safe internal temperature." Unlike dark meat, which can be comfortably cooked 10 to 20 degrees above the recommended minimum temperature, you'll want to cook your tenders to as close to 165 F, maybe even slightly under if you're deep-frying or pan-frying to account for carryover cooking.
And if you do happen to cook your tenders past their peak doneness, don't worry; you can slice the tenders finely and use them in a sandwich or wrap or sprinkle them atop your salad. "You can't really put the moisture back in the meat," says Schenker, but adding a sauce or "something creamy or acidic" can help cut the dryness and reintroduce some fat.
6. Incorrectly slicing the chicken breast
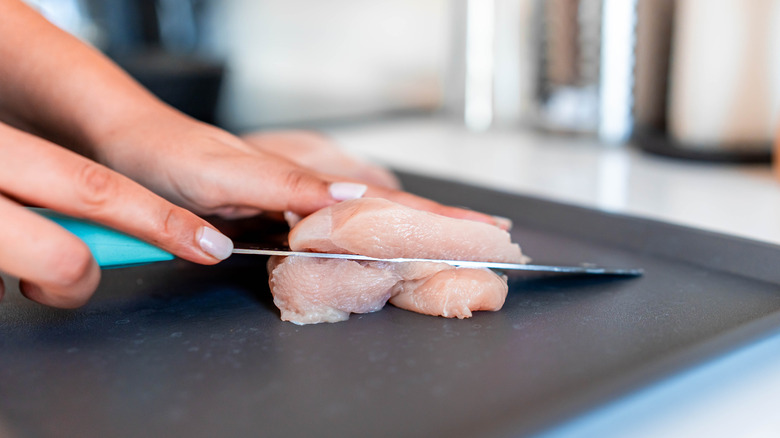
When perusing your local supermarket's poultry aisle, you'll find a few options for chicken tenders. You can buy a product that comes pre-sliced, which saves time but forfeits control over the meat's length and thickness; or, you can buy whole, boneless chicken breasts and cut them yourself. If you go with the latter, just remember that butchering your chicken breast isn't as simple as just cutting it into even strips.
John Raisor says that home cooks who slice their own chicken breasts, "typically either slice tenders along the grain or against it," but that neither of these methods yields the best results. He suggests that when cutting tenders, "go at a 45-degree angle against the grain of the breast." This method shortens the muscle fibers, resulting in a piece of meat that's more tender and less chewy. Cutting at this angle, rather than straight down at 90 degrees, creates a wider tender that won't fall apart as easily when cooked. Melanie Underwood suggests that, for the crispiest, most flavorful tenders, "you want a good size surface area, approximately ½ to ¾ inch. If you are cutting tender, butterfly a chicken breast and then cut against the grain to help make them more tender."
7. Forgetting to marinate
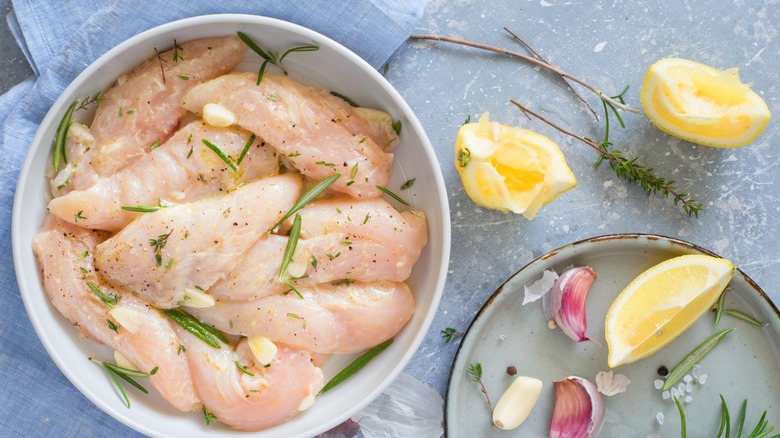
Chicken breast is a mild cut of meat with low fat content and a subtle poultry flavor. Marinating helps introduce moisture, salt, and other seasonings into the meat, while keeping the final product juicy and succulent. Unlike a sprinkle of salt or pepper, which only season the meat's surface, a marinade penetrates the muscle, infusing it with flavor.
There are dozens of ways to marinate your chicken, but for tenders, Jesse Schenker recommends starting with a time-tested method. "A simple buttermilk marinade with salt and seasoning works really well," he says. "You can also dry-brine the chicken, which is one of the simplest ways to get more flavor into the meat." A dry-brine is a preparation method that involves salting the chicken and leaving it in the refrigerator for a few hours or, ideally, overnight. The salt penetrates the chicken while the cool, circulating air dries the meat's surface, removing excess moisture and helping the chicken get extra crispy. If you want to get more adventurous with your marinades, try playing around with different oils, herbs, spices, salad dressings, sauces, and citrus fruits. A heavily acidic marinade can make your chicken soft and spongy, so remember to remove that meat after two to four hours.
8. Skipping the double dredge
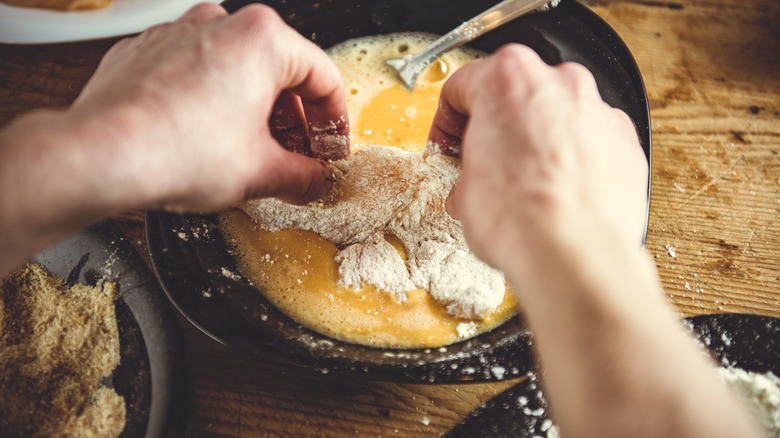
If you've ever made chicken cutlets at home, you're likely familiar with the three-step breading process: flour, lightly beaten egg, and bread crumbs. Still, with this basic framework come variations. "I recommend dipping it in flour on both sides, shaking off the excess, using the other hand, dipping it into the egg, shaking off the excess, and then putting it in the bread crumbs while switching back to the dry hand," says Melanie Underwood. Then press lightly on both sides to make the breading sticks.
But to give your tenders an even thicker layer of delectable crust, you want to do the "double dredge." Basically, you dip your tenders in the flour, then the egg wash, then back in the flour, then back in the egg wash, and finish with another layer of flour or bread crumbs. This not only doubles the thickness, but also helps ensure the breading doesn't crumble off the chicken as it fries. "That second coating creates the extra crispiness," says Krystel Spann, noting that's how she prepares her own version of super crunchy tenders. Regardless of the method you choose, make sure your chicken is as dry as possible before dipping it in flour. Otherwise, moisture will expand as it fries, potentially causing the breading to crumble.
9. Frying at too low of a temperature
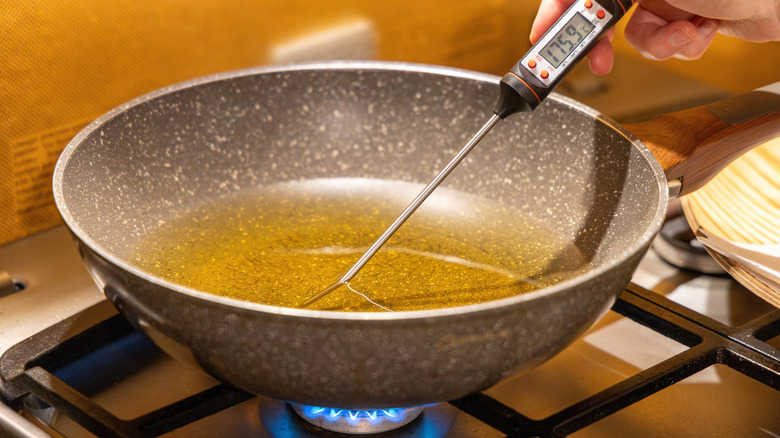
As discussed above, there are a handful of ways to prepare your tenders, but if you want those perfectly golden tenders with a crisp, craggy crust, then there's no other option but to deep fry or pan fry. If you have a small, countertop deep fryer, then the process is even easier; however, if you're like me (and the average home cook), you'll probably have to rely upon a skillet filled with oil.
The key to this method is your frying temperature. "For deep frying, 350 F is the sweet spot," notes Krystel Spann. "If your oil isn't hot enough, your breading is just going to absorb the oil, and it will just get really heavy and greasy. If your oil is too hot, on the other hand, you'll have these beautifully browned, crispy chicken strips with raw chicken inside. Oil that's too hot won't give the chicken enough time to cook before your breading burns."
For the most precise temperature reading, you should use a thermometer, but if you don't have one on hand, there are some visual cues that can help you determine if your oil is a good frying temperature. "The viscosity of oil changes when it's hot enough," says Melanie Underwood. "Another way to tell if the oil is hot enough is to add a few bread crumbs to the oil... they should immediately start to bubble up and turn golden brown."
10. Failing to season every element
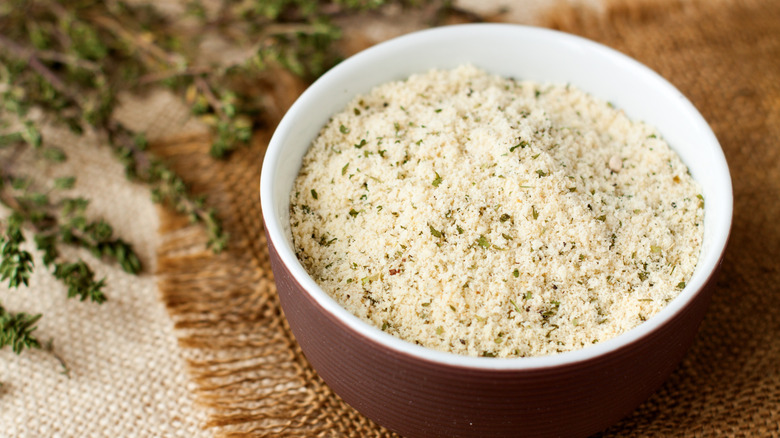
There's nothing worse than a bland tender. You go through all the effort of drying, dredging, breading, and frying only to take a nibble and find the boneless breast bland and uninspired. But your chicken tender fairytale will have a happy ending, as long as you remember to address every component. "Season every layer," says Jesse Schenker. "Season the chicken itself, then season the flour and also the breading. You don't need a crazy amount of spices. Good salt, black pepper, garlic, and paprika go a long way."
Don't feel bound to basic seasoning blends. This is your opportunity to impart your blank chicken canvas with some dynamic flavor combinations: curry powder and garam masala; cumin, oregano, and chipotle powder; star anise, brown sugar, and ground ginger. The options are limitless and worth trying, either in the dredge, breading, or on the chicken itself. Speaking of the chicken, you can enhance the flavor further by slathering the meat with honey mustard, Dijon, or even Caesar dressing. But for the cleanest approach, salt the chicken ahead of time — even just 30 minutes before — to allow the seasoning to penetrate the meat.
11. Not resting your chicken after cooking
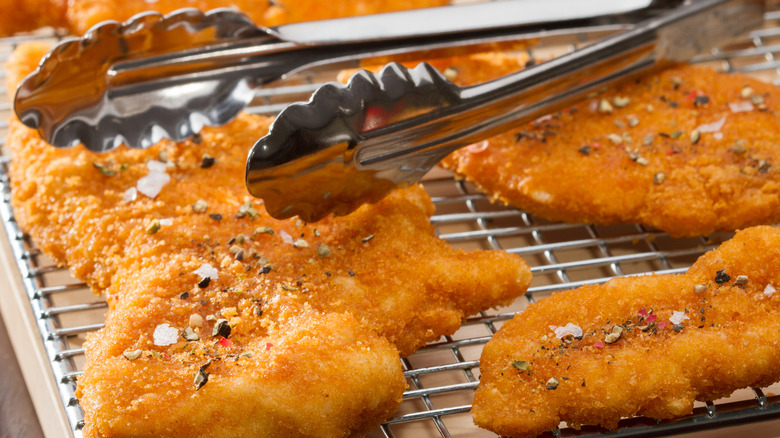
We all need to rest after a long day. So do your tenders. "Most proteins do," says Tennille Middleton. After cooking, "let the tender relax. This will allow the juiciness to redistribute and wow you on the first bite." But resting does more than impact the succulence of your poultry. "Flavor profiles change based on temperature," Middleton explains, "too hot is an extreme and may impact the texture and palatability."
With a hot pile of freshly fried tenders staring back at you, this step is hard to follow, but you'll be grateful you did. "You can do everything right and still ruin your extra crispy tenders at the very end if you don't let them rest correctly," warns Krystel Spann. "On top of that, piling fresh hot tenders together traps steam, and that steam is the enemy of your extra crispy breading." Her solution? "I like to transfer my tenders to a wire rack so air can circulate underneath them along with them." Since chicken may leach excess oil or juice, this step helps keep light breading or batter from getting mushy.
12. Not cutting chicken into uniform pieces
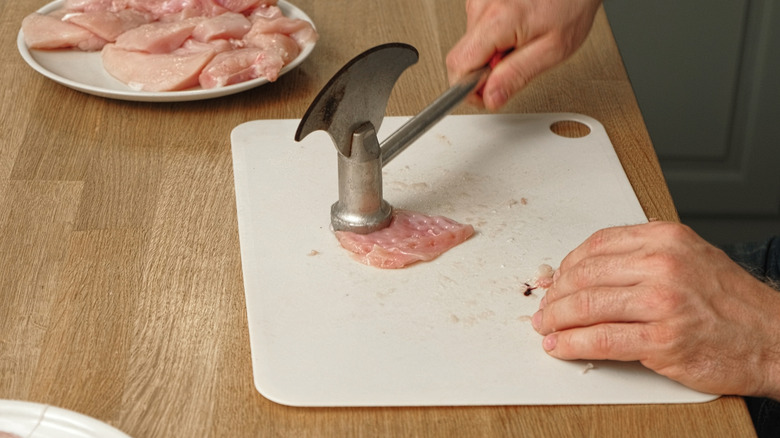
When cooking in batches, it's best to keep the pieces as uniform in weight and size as possible. While this isn't an exact science, the more uniform pieces of chicken you have, the better. Otherwise, one piece will cook faster or slower than the other, resulting in either burnt breading or undercooked poultry. If you buy pre-sliced tenders, you may have to do some modest butchery to get them a similar shape.
This process is a lot easier when working with whole, boneless chicken breast. When cutting your tenders, as mentioned above, cut against the grain to ensure maximum tenderness and slice at a 45-degree angle. You can also butterfly your chicken breast before slicing if the meat is too thick. Chicken breast, especially straight from the refrigerator, can be tricky to handle. A sharp knife will help you make the cleanest cuts. If some pieces are thicker than others, use a meat mallet or the bottom of a pot, skillet, or rolling pin covered in plastic wrap to pound the pieces to a uniform thickness.
13. Washing your chicken
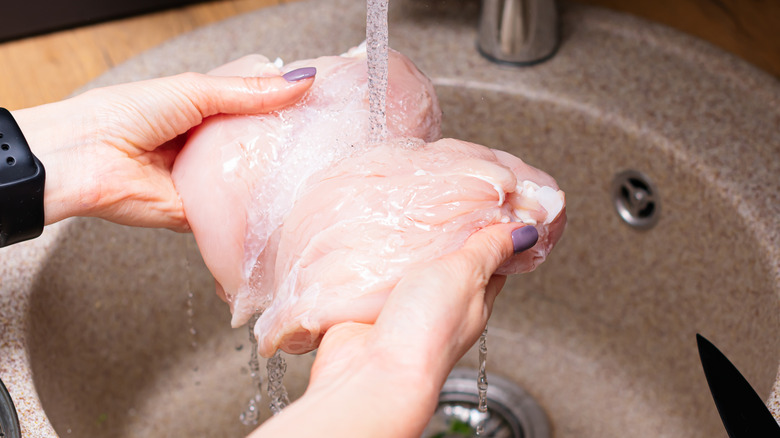
Should I wash my chicken? "That is the number one question regarding chicken I get asked," says Melanie Underwood. "People ask: What if my chicken is slimy? If your chicken is slimy, you are buying the wrong chicken. Chicken should not be slimy coming out of packaging." Washing your chicken isn't just unnecessary; it can be a food safety hazard. While you think you're cleaning off blood, bacteria, or other lingering bits of tissue, what you're actually doing is spreading potentially hazardous organisms around your sink, counter, and kitchen. As the water splashes on the meat, it can land on sponges, soap dispensers, soup rests, or even faucet handles.
If you're bothered by the slickness of the chicken's natural juices, take a dry paper towel and carefully blot off the moisture; this also helps dry the surface, making for easier browning. You can use a small paring knife to remove any excess skin, cartilage, or other tidbits clinging to the meat. A more reliable indicator of freshness is smell. If you're worried about any slime, give the chicken a sniff and throw it out if the odor is sour, sweet, or just off.