

13 Mistakes You Could Be Making With Your Blender
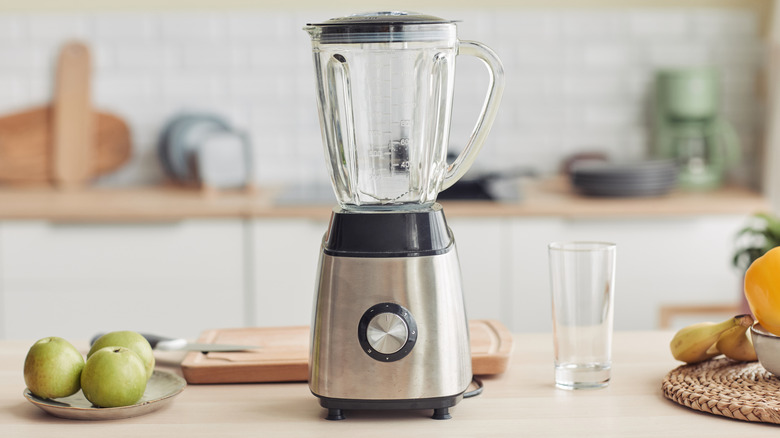
One of the handiest kitchen appliances a home cook can master is their blender. A blender's versatility can make many kitchen tasks like pureeing, chopping, and emulsifying more efficient, saving time, energy, and dishes, and occasionally sparing us the whisk-tired elbow. These days there are even a plethora of different makes and models, making it easy to find the perfect blender for your specific kitchen needs.
But maximizing a blender's awesome handiness can also be quickly hampered by several common mistakes that many home cooks (us included) make without even realizing it. Dulled blades, strained motors, and leaking seals are just some of the potential pitfalls of blender misuse, but so are the real risks of mess and even injury. Thankfully, years of experience and expert guidance have taught us how to avoid these thirteen common blender mistakes so that you can skip any messy cleanup and go straight for success.
1. Forgetting about that all-important manual

The first mistake can happen within minutes of opening the box: Don't forget to read the included manual and use the instructions. Inside, consumers can often find care instructions, what they should do before first use, and troubleshooting information, which can be helpful when something goes wrong. And, if your model has different jar sizes, settings, or functions, the manual will often include helpful information on when and how to use them, and maybe most importantly, if there's anything your blender should not do.
Of course this isn't so simple for all of us. Those garage sale finds, second-hand store scores, or the old appliance grandma passed on may not come with any information at all. Lucky for us, these days many blenders have YouTube breakdowns, or brands will provide copies of the written manuals online.
Wherever your blender came from, we recommend you take the time to learn a little more about it. Not all blenders are built for the same tasks, and it's best to find out before you're staring at a mess or panic-googling about the smell of a burning motor. If your blender is one of those antique rare finds that nobody seems to know anything about, never fear; learning to avoid the most common blender mistakes is a good way to keep any model in tip-top shape.
2. Using the wrong tool for the job
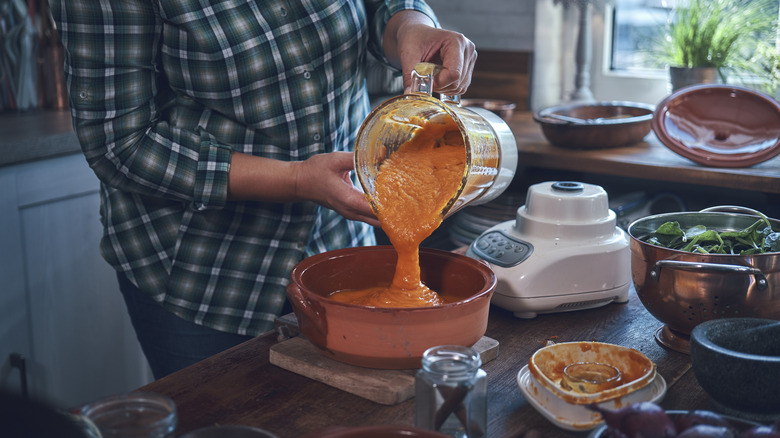
Blenders are basically super-powered chopping machines, right? In theory, spinning blades at the bottom of a food-tornado should be able to chop, grind, or puree just about anything. And while a blender can technically accomplish a lot of tasks, it can't do all of them with equal success.
For example, blenders are beasts for blitzing up a cold smoothie or milkshake; they can chop up a mirepoix for soup, then puree the final product into silky deliciousness. A few high-speed pulses will emulsify a vinaigrette or whip up a mayonnaise without the forearm strain, and thin batters, for recipes like pancakes, muffins, and cupcakes, can be lightly blended and poured right into their pans, saving dishes.
But sometimes trying to hack a kitchen task with a blender isn't the best option. The blades are technically capable of chopping dry ingredients, but it won't produce even, consistent pieces. That's fine for a mirepoix or a streusel topping, where uneven textures will be hidden or maybe even desired. But when we're grinding coffee, or looking for evenly grated cheese, tools designed for the task, like grinders, food processors, and graters, are better suited to the job, if available.
Other things we'd suggest you avoid are stiff doughs, such as pie and bread doughs, which mix poorly in narrow blender jars and can jam the blades. Don't ruin your mashed potatoes by trying to save time either. Instead of a fluffy side of mashed spuds, the rapid blades will make high-starch foods like potatoes turn gluey.
3. Starting it up without inspection
Once familiar with a blender's operational potential and the recipes to best use it for, it can become a regular tool in a home cook's kitchen, even holding a permanent place of honor on the counter if its use becomes daily. But whether you store yours in the pantry, a cupboard, under the counter, or on top of it, there is one step every blender owner should not skip: regularly inspecting it for damage.
Frayed cords, exposed wires, loose gaskets and seals, warped lids, bent plug prongs, and wobbly blades are all potential wear-and-tear issues that can happen over time, even with regular, safe use. But each of those issues can also cause other problems, like leaking and poor performance.
In fact, if your blender is suddenly leaving smoothies chunky or oozing out the bottom, we recommend a full check ASAP. Often, being attentive to simple maintenance of tightening parts or replacing those that have worn out can keep a blender running better for longer.
4. Running it on high speed too quickly, or for too long
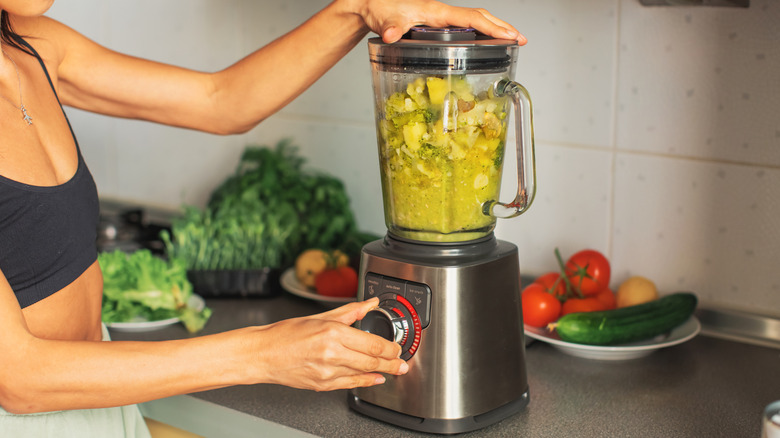
Part of the appeal of blenders is that they can accomplish tasks that would take us a very long time by hand, like pureeing soup. Many blenders offer multiple speeds today, including maximum-power settings like 'puree' or 'liquefy'. But one common mistake is going straight for those tempting high-speed settings because in most instances, jumping from zero to 100 is just as bad for your blender as it is for your car.
Instead, get things moving at a lower speed first, especially when working with mixed ingredients, like a smoothie, or stiff ingredients, like frozen fruit. Once the ingredients have started to circulate, begin to build up to the higher power settings. If your blender ingredients fail to move when the blender is running, or the base gets hot, it could be a sign of the blades straining or the motor overheating. In those instances, turn the blender off, remove the carafe, stir the ingredients and add more liquid if necessary, then start again but at a lower speed.
5. Ignoring that all-important 'max-fill' line
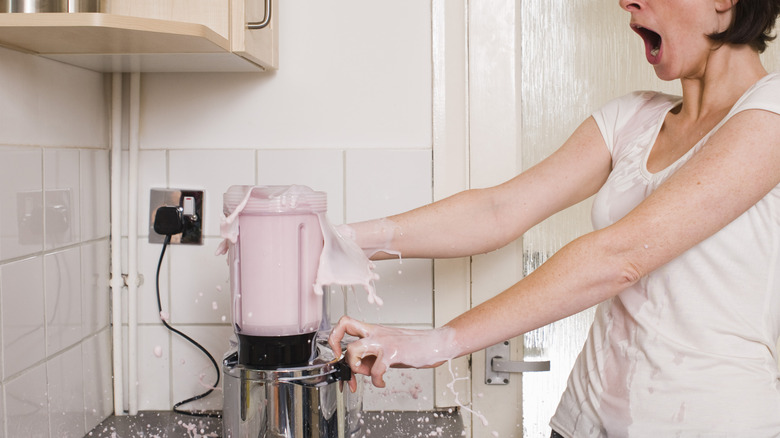
Most modern blender jars have a marked line indicating 'maximum volume' or 'max fill' that should be carefully noted. That line is the absolute highest level of ingredients that it can safely process at a time. This is even more important for liquid recipes like soups and smoothies. The rapid spinning of blender blades aerates liquids, creating more volume, which can lead to leaking if the blender is overfilled.
Avoiding this mistake is essential for hot liquids, which can leak and lead to burns, but even with juice for your smoothie, it's nobody's goal to have half of it end up on the counter instead of being sipped from a cup. Overflowing liquids can leak down into the base and affect the seal quality of the lid and bottom gasket over time.
So what do you do when you're making smoothies for the whole exercise group? The solution is blending in batches. Make two or three smoothies at once, or blend that cold gazpacho in three portions so all of it can end up where it's supposed to — in our bellies.
6. Blending hot liquids without safety steps
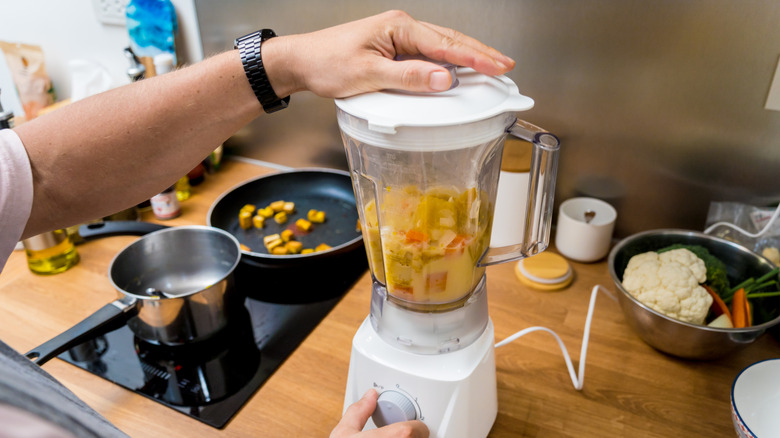
Blending hot liquids has a reputation for burn risks and explosive ceiling messes, but there are several steps we can take to make it safe, clean, and successful, too. First, understand what's happening in the enclosed space of a blender when hot liquid is added. Hot liquid contains steam that will build once the lid is put on top, creating hot pressure. That pressure builds when the liquid is agitated by the blades, creating more air, or when you're blending a fresh batch of hot carrot apple soup, more steam. The stories of explosive messes on ceilings are a result of too much pressure winning against a weaker blender lid. This is not only very irritating to clean up and a disappointment for your recipe, but it could also lead to severe burns.
The key to blending hot liquids is managing that steam. The simplest solution is to let it cool just enough to dissipate some of that steam—five to ten minutes, for instance. But if time is short, other solutions are blending in smaller batches and filling a blender no more than halfway. Keep the speed low and blend in short bursts, with pauses to release steam and pressure by opening the lid or removing the fill cap.
Finally, our personal tip is to place a thick towel on top, between the lid and your hand. It keeps things firmly locked in place, and you'll feel it if the lid moves at all so you can quickly turn off the blender. If it still seems too risky, an immersion blender or a model specifically for hot liquid might be a good solution for you.
7. Failing to secure the lid properly
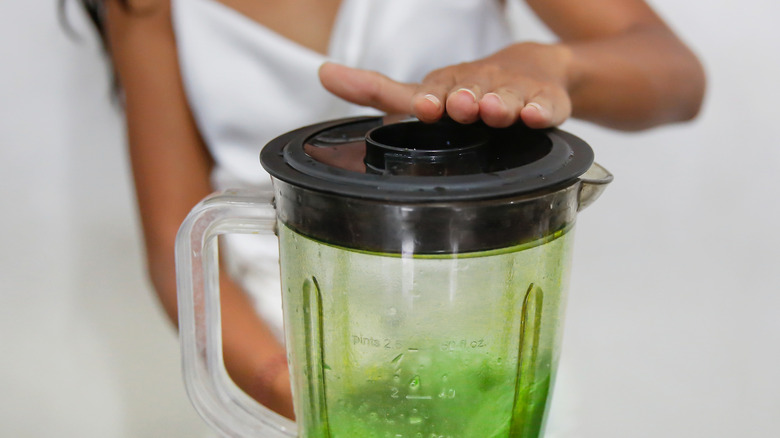
The quality and security of a blender lid is an incredibly important aspect of successful use; it's the only defense you have between rapidly spinning ingredients and a kitchen mess. With that in mind, it's incredibly important to check that your blender's lid fits snugly during every single use.
A poor seal can lead to several issues, such as liquid overflowing and leaking down into the gaskets and motor. It can lead to an even grander mess, too, if the lid pops off during use and smoothie repaints your kitchen purple or green. To try and prevent this issue, some models won't start at all if the lid isn't locked on securely, but for anyone using blenders without that handy safety feature, it comes down to user attentiveness. The lid should fit snugly over the top to create a liquid-tight seal. If the lid appears to be sitting higher on one side, feels loose, or is visibly warped, it might be time to order a replacement.
A few final tips: never overfill your blender, which can push contents past even a well-sealed lid, and use extra caution when blending anything hot. Use the fill cap to your advantage and remove it to release steam during hot blending. Keeping a firm hand on top, with a towel for added protection, can also help prevent any major messes from an ill-fitting lid.
8. Using too little liquid

Too much liquid is a recipe for a messy blender and kitchen, but too little liquid can be just as damaging and frustrating. Liquid is a helpful lubricant for the other, more solid ingredients, making it easier for the blender to move and process everything. Without it, the frozen fruit for your smoothie can stick to each other or the blender carafe and make everything come to a standstill. Adding a few splashes of juice, milk, probiotic-packed kombucha, or other liquid of choice gets everything moving and makes all the difference in the final texture.
But it's also important for your machine's longevity. Running the blender for too long while the blades aren't spinning can actually damage the blender's motor over time by straining or overheating it. We don't want anyone's blender dying a premature death for something as simple as a few splashes of juice, so we recommend you keep a little extra liquid nearby for whatever you're blending. Pour it in slowly through the fill cap while the blender is running, or turn it off and add a few splashes to help loosen up stuck foods and get you on your way.
9. Packing ingredients upside down
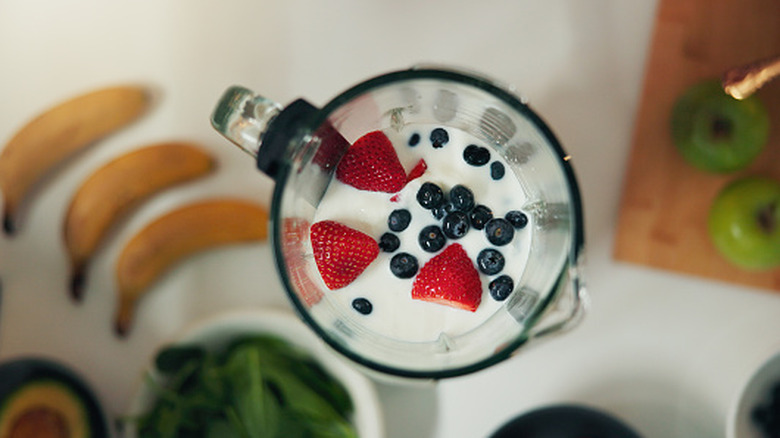
One very simple mistake that can reduce a blender's functionality, dull the blades over time, and wear out the motor is packing ingredients in an unoptimized way. Always start with the liquid when possible. Add other ingredients like your flavorful frozen fruit, nutritious veggies, yogurt or cauliflower for creaminess on top of the liquid base. This is for good reason! The liquids are easy for the blades to move through, helping the solid foods pass the blades and blend more evenly and quickly, which means less stirring, scraping, or re-blending for you.
This works for things beyond smoothies, too. When blending batters, for instance, add liquid first, then dry ingredients. Organizing the steps this way allows the flours and other dry ingredients to be fully mixed into an emulsified liquid base, rather than stuck to the sides or around the blades.
Order does matter for non-pureed items, as well. When chopping vegetables, pay attention to the texture. Harder items, like carrots or nuts, will break into pieces more slowly than softer counterparts like onions or oats. If using a blender to create things like a mirepoix or streusel topping, add the hardest ingredients first to give them a head start, then add in the rest to achieve a more consistently textured final mix. Remember the pulse setting is your friend for these tasks.
10. Expecting a blender to do all the prep work, too
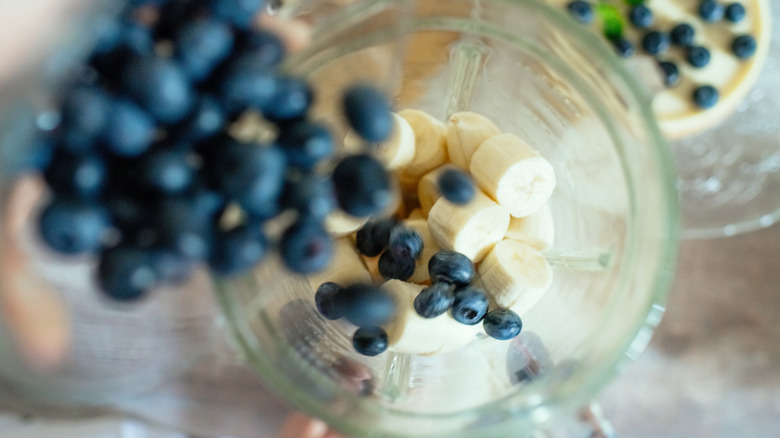
While a blender is basically a giant chopping machine, it shouldn't replace all the tasks a kitchen knife is used for. In fact, you might be happier with your blender's overall performance if you do a little prep work before adding anything to it.
Large pieces of food are more likely to get trapped in the blades and jam everything up, so it pays to do a little pre-chopping. Cut up big foods like apples, carrots, melons, and onions into smaller pieces before putting them in the blender. If you like to add grains to your smoothies, some like oats and nutty, delicious barley are lovely when pre-cooked for a smoother texture. If you freeze your own fruit for smoothies, take a few moments to chop your bananas and strawberries down to blackberry-size before freezing. A handful of banana chunks is much faster and easier for a blender to break down than a whole banana at once.
And, while we love a good blender batter, a blender's blades aren't the right speed or shape to aerate things like egg whites into meringue or cream into whipped cream. If your batter recipe calls for those steps, either skip the blender entirely or let the blender do part of the work and mix the rest by hand.
11. Trying to scrape sides mid-blend

You know that moment when you're watching your favorite breakfast smoothie come together, and there's that one darn strawberry that won't move from where it's stuck in the blender jar? You mentally will the blades to catch it with your best Jedi mind powers, but nope, that stubborn thing sticks there, mocking your smoothie's silky potential.
We know it takes extra time to stop the blender, remove the blender jar, open the lid and scrape down the sides with a spatula, but please do not put a utensil in the blender while it's still running. Even if that strawberry seems pretty far away from those spinning blades, it's too easy for the blades to catch the end of a utensil, and it's a very common mistake to make.
Suppose the blades do catch the utensil; the blades, motor, utensil, or you could be damaged, not to mention potentially making a mess or ruining your recipe. Nobody wants tiny rubber spatula fragments in their food, at least we sure don't, so as annoying as those few extra seconds are, take the time to be blender-safe.
12. Throwing it in the dishwasher
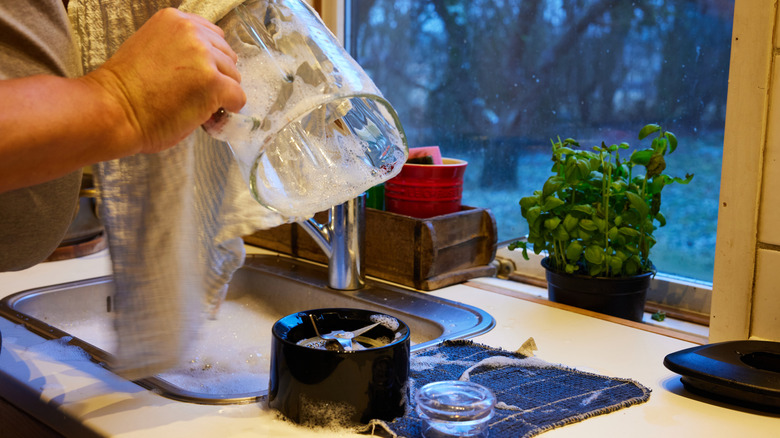
Some blenders are marketed as 'dishwasher-safe,' suggesting to consumers that easy cleanup can be achieved by simply adding the blender carafe to your nightly dishwasher cycle. And, technically, the blender could get cleaned just fine that way.
But doing that would be a mistake that could reduce the blender's performance faster than it might with different cleaning methods. The high heat and pressure of a dishwasher can dull the blades, wear out gaskets, warp seals or the lid, wear down plastic, and chip or damage the carafe.
Instead, we recommend one of two washing methods: hand wash or blending soapy water. A hand wash can make sure there's no gunk or grime left over, but it does take time and means you have to handle the sharp blades, or potentially take the blender carafe apart. A quick and fantastic method is to fill the blender about halfway with warm, soapy water and blend it. The high-speed motion will clean everything with almost no effort on your part.
However, we do recommend a deep clean once in a while. Refer to the manufacturer's instructions on how to take apart the bottom blade section and really clean around the seals, blades, and parts of the blender jar that are difficult to access while assembled. This allows you to check for any wear and tear and will keep your blender running smoothly for longer.
13. Not maintaining the blades
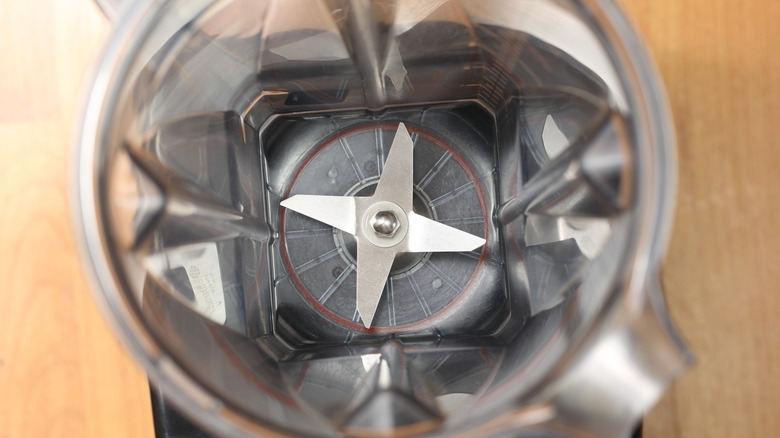
So many of the common mistakes we make when using a blender come down to accidentally damaging the blades. Hard or hot foods, improper washing, overloading the blender, and other mistakes can easily wear them down from a honed edge to something more akin to dinged-up butter knives. If you start to notice that your common blender tasks take twice as long, or aren't producing the same results, it's likely due to dull blades.
There are ways for a home cook to sharpen the blades themselves. The bottom of the blender carafes is removable so you can clean around the blades more easily or replace gaskets as needed. But this also makes it possible to sharpen the blades with a sharpening steel. This does take some skill and attention, so you might look for a local knife sharpening shop, which might be able to help out.
If that's not an option for you, but you'd rather not throw an entire functional machine away, manufacturers like Ninja, Vitamix and many others offer replacement blades along with other parts so that you can keep your machine at optimal performance for as long as possible.