9 Mistakes To Avoid Making When Roasting Pork
There's something primal about the smell of roasting pork that makes bellies rumble and mouths salivate. And then there's the deeply savory taste. For many, biting into a crispy, seared piece of pork with a meltingly tender inside is one of life's greatest pleasures. But how exactly do you achieve that perfect balance between succulent protein and a crackling top without making your dinner tough or greasy?
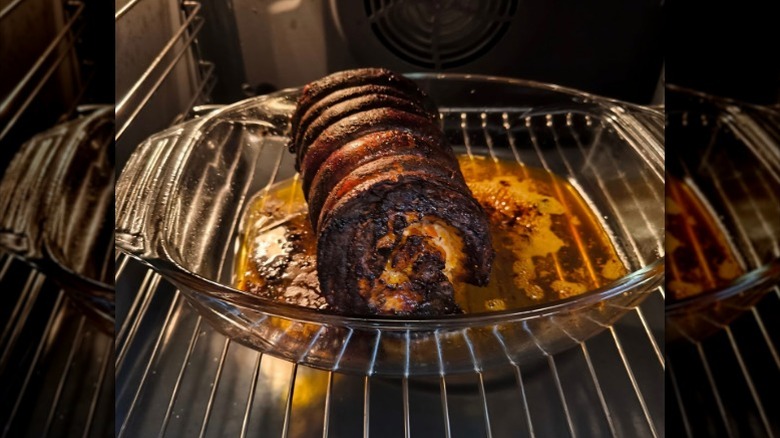
Roasting large cuts is one way to create a delicious exterior crust with a juicy interior using your oven's dry heat. The process is different from baking in a few subtle ways, namely that the food cooks at a higher temperature for part or all of the time. And while this is a reliable method for making a meal, pork can dry out if not roasted with care. These tips will help make sure you take a moist, tender entrée from the oven every time.
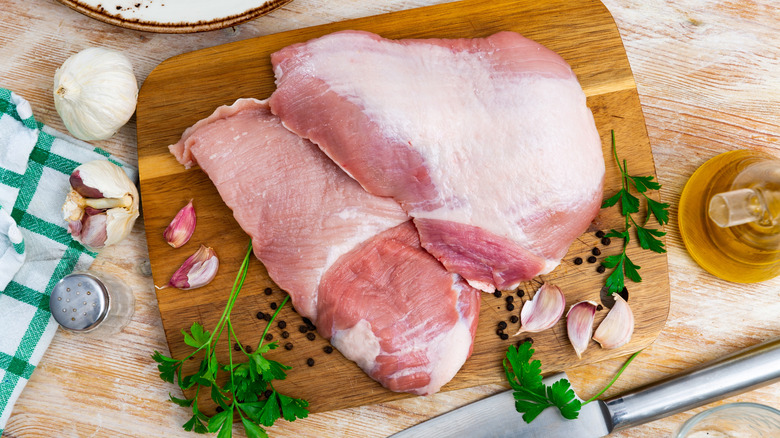
Picking the wrong cut
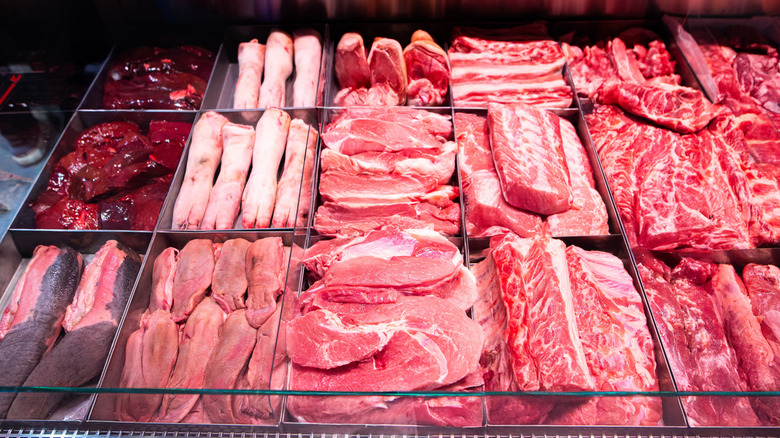
Before you can roast your dinner, you'll have to decide exactly what kind of cut you'd like. There are several cuts of pork that roast well, such as the shoulder, leg, belly, and loin. Rib roasts and tenderloins are also popular.
If you've been craving pulled pork (or pulled pork nachos), the shoulder and the butt are the most popular options. They both contain a high amount of fat, which melts during cooking to keep the meat juicy. The shoulder has more connective tissue than the butt does, so it should be cooked at a lower temperature for longer to turn the collagen into gelatin. Pork butt can be cooked at a slightly higher temperature for less time because it has more fat running through it to keep the meat moist before shredding.
If you want to have an entrée with a crispy outside, cuts like the belly and loin (also called a pork roast) are generally sold with a fat cap that can be rendered down into a crackling. Cuts like the leg or tenderloin can be tricky to cook, thanks to their lack of fat. Both are very lean, although the leg has plenty of connective tissue due to it being a joint piece. These cuts can dry out very quickly, so adding a layer of fat, such as by wrapping bacon around the meat, helps keep moisture in while giving them a crunchy exterior.
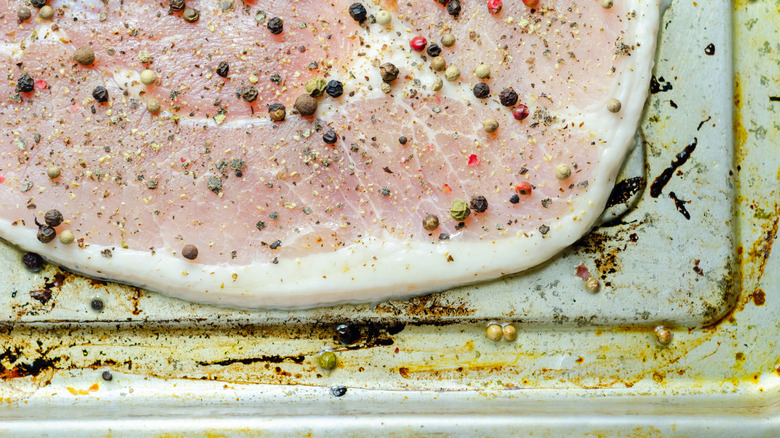
Not trimming or scoring the fat properly
Trimming the fat on a piece of pork is somewhat controversial among home cooks. Some people love scoring fat to help it render down, creating a crisp top and moist protein. But others think that the fat cap isn't necessary and remove it completely. While part of the trimming process is down to taste, it also has to do with the cut of pork you have.
Leaner cuts, like the loin or shoulder, need a bit of fat to keep the meat tender. But more fatty cuts, like pork belly, benefit from both trimming and scoring. Too much fat won't render out properly, keeping the top flabby and soft. But cutting the cap to ¼ to ½ inch will let it baste the meat as it melts and become crunchy as the top layer of fat dries out.
To trim the cap, use a sharp knife pointed away from you to carefully remove strips of fat to your desired thickness. Then carefully score the meat by cutting the fat in a crosshatch pattern, being sure not to cut through to the protein. Scoring the fat allows it to render out, but piercing the meat will stop the fat from crisping because the moisture from the meat will leak through instead. That extra moisture will keep the protein from browning, as well as potentially drying out the meal.
Declining to dry the meat overnight in the fridge
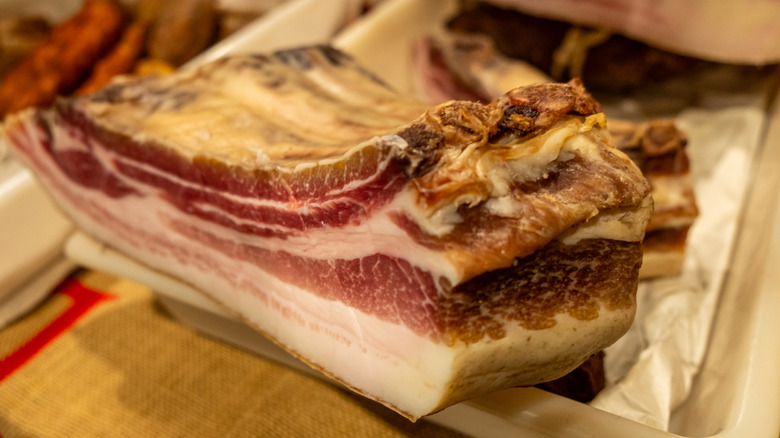
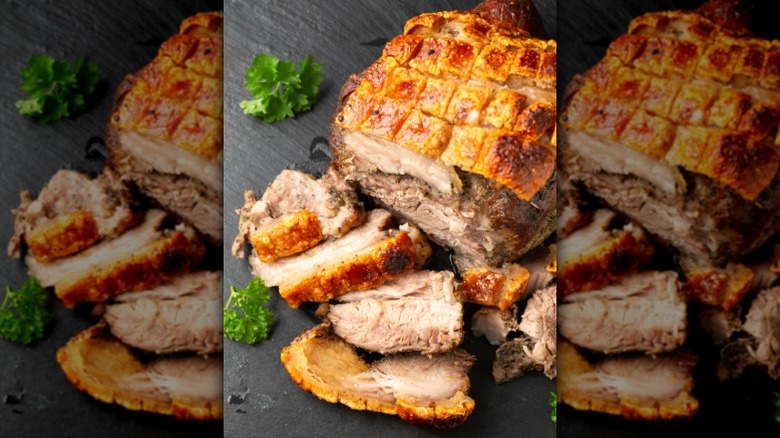
There are lots of ways to get crisp fat and skin on your pork roast. Cuts like pork belly and pork loin are typically sold with the fat and/or skin on, which is perfect for creating a deliciously crunchy crackling. The skin is made of a high percentage of collagen, a twisted combination of amino acids that unravel and become gelatin when cooked slowly at a low temperature. The gelatin is much softer than collagen and melts out to keep the meat tender.
To help that process along, you can put the uncovered pork in the refrigerator overnight to help dry out the skin. Some people will leave the meat for 24 to 48 hours to get the skin as dry as possible. When it's ready, you'll be able to feel how firm the skin is, without much give underneath it. This method, combined with a dry brine (more on that in a moment), yields bubbly, shattering cracklings straight from the oven.
Forgetting to season the meat the night before
To help give your pork roast flavor, be sure to season it the night before you want to cook it. This process can easily be combined with the overnight to two-day drying method. Many home cooks will use a dry brining technique that involves rubbing the scored skin and fat with coarse salt before resting it in the fridge again. The salt starts a reaction that draws moisture out of the skin as it penetrates into the pork. This not only increases the pork's flavor and tenderness but helps the skin to crisp as more liquid has been removed.
After you've rubbed the salt into the fat and skin, be sure to leave it uncovered in the fridge at least overnight and up to 24 hours. That gives the salt plenty of time to do its work. Another tip for the best crackling is to place the pork on a cooling or roasting rack while it rests in the fridge. This elevates the pork skin on thinner cuts, like pork belly, and keeps moisture from pooling under the meat and keeping it wet. That extra liquid will stop the meat from browning if you want to sear it before roasting.
Resting your pork at room temperature before cooking
Whether or you should let the pork rest at room temperature before roasting is a hotly contested issue among both professional and home cooks. Some say allowing it to warm for an hour or so creates a better sear and more even cooking. But others maintain that there's no real difference in cooking time or the meat's texture either way. So let's look at the pros and cons of both options.
For proponents of the method, leaving the meat to rest between 30 minutes to two hours will raise the meats' internal temperature enough to affect the rate of browning and its texture. But opponents say that the temperature doesn't rise enough to make a real difference. Experiments done with probe meat thermometers seem to support the latter viewpoint.
So what about letting the meat rest outside the fridge would be beneficial? Some cooks point out that people who don't season the meat the night before will do so while waiting for the temperature to rise. The "dry brine" effect will definitely affect the meat's ability to sear because it helps dry the pork's surface. On that note, drying the meat with paper towels before searing or roasting also makes a difference in getting a good crust. So however you like to prepare the pork for roasting is up to you. In the end, it's safe to cook either way, as long as you don't allow it to sit out for more than a few hours to avoid bacteria growth.
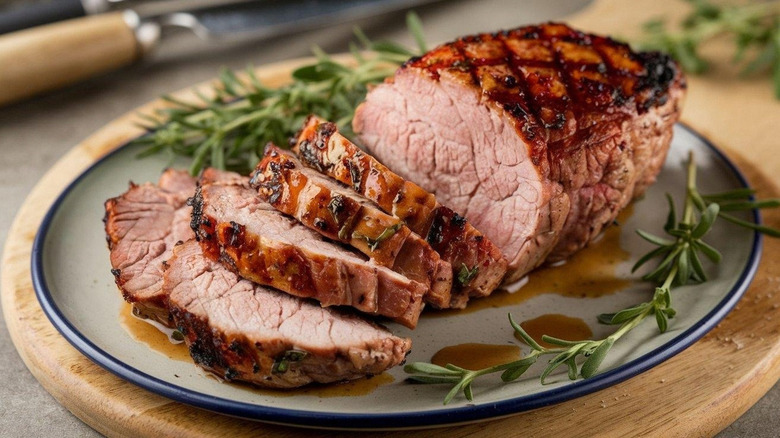
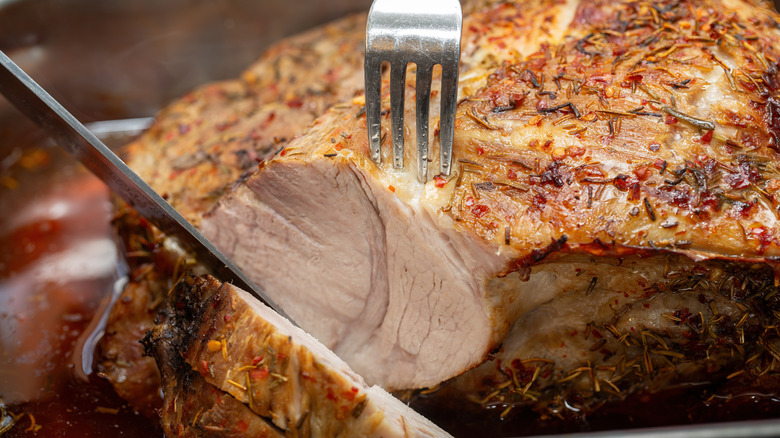
Failing to sear the meat before (or after) roasting
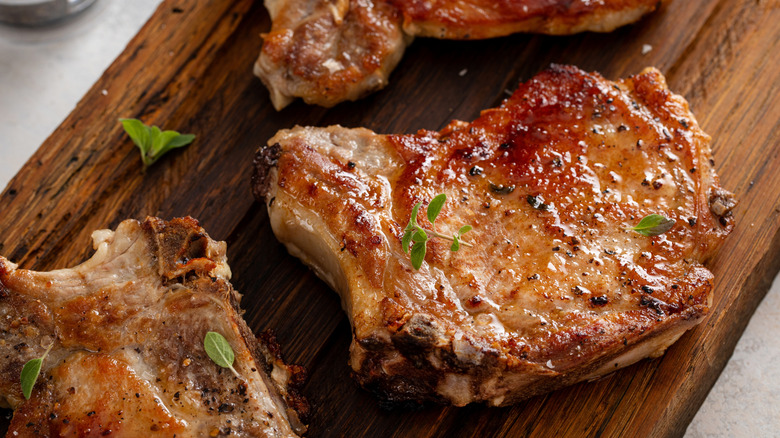
One thing that cooks of any kind agree on is getting a great sear on their pork roasts. While it doesn't seal in juices, it does give the meat a crunchy outside while increasing the savory flavor. Searing meat over high heat starts what's called the Maillard reaction. This process makes protein and sugar in the pork's outer layers combine and create new compounds that darken the meat and bring out its taste. But exactly when to sear is up for debate.
Some people prefer to sear the meat before roasting it. This kicks off browning and lets the deep flavors further develop during cooking. But others find that starting the pork low and slow before cranking up the heat to brown it is a more reliable method to be sure the meat doesn't overcook. This reverse searing method is particularly effective on thick cuts of meat because it lets the meat cook evenly before gaining a crunchy exterior. There's even a third option where the meat is seared both before and after roasting to give it the best of both worlds. Just be sure that your pan is hot enough to sear the pork whichever way you choose.
Not roasting in two stages
While many people think of roasting meat as a "set it and forget it" kind of cooking, there's a bit more too it if you want the best results. Aside from getting a great sear on the pork, it's best to roast the meat in two stages. Some people like to begin with high heat to help the sear continue browning, while others prefer to cook the meat through on a lower temperature before increasing the heat to finish the roast. Both produce delicious results, although there are a few things to be aware of before you try it on your next meal.
The first thing is to be sure the oven's dry heat can reach as much of your roast as possible. Placing the meat on a roasting rack helps the hot air to circulate around the pork, making the roast cook more evenly. Another is to let the pork cook uncovered to be sure the air can reach the meat at all. Covering the pork will only increase moisture in the baking dish, essentially steaming the meat instead of roasting it.
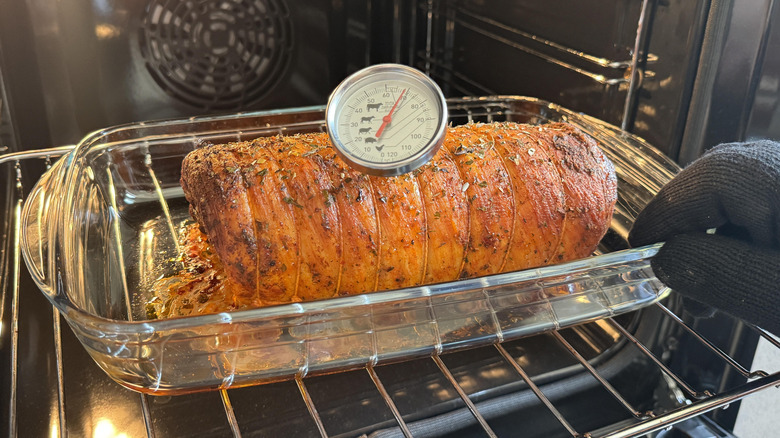
Cooking the meat for too long
Good things come to those who wait, and roasting is one of the most time-consuming ways to cook. It's well worth the extra time it requires. But when roasting pork, particularly leaner or thin cuts, it can be very easy to overcook the meat — not because it was in the oven too long (although that's a problem too), but because it's so easy to forget about carryover cooking.
When you pull your beautifully browned roast from the oven, the meat will continue to cook for a few minutes as the heat spreads throughout the meat. This happens because the surface of the pork will be much hotter than the center, thanks to the oven's dry heat directly touching the outside of the meat. But heat likes to equalize, so the higher temperature of the outside will head for the cooler center, causing the internal temperature to rise. For pork, this means pulling your roast from the oven when a thermometer in the center hits around 145 F. While it rests, the temperature will even out, leaving you with a perfectly cooked meal.
Forgetting to let the meat rest
Now that the roast has hit the ideal temperature and been pulled from the oven, it's time to let it rest for a bit. How long depends on the thickness of the meat, with thinner cuts needing between five and ten minutes, while thicker pieces need between 20 and 30 minutes. Aside from letting the pork finish its carryover cooking, resting the meat allows its juices to redistribute throughout, keeping the outside from being tough, chewy, and dry.
Another advantage of resting the meat is that it lets the protein fibers literally relax after drawing up during cooking. When meat is exposed to high heat, the protein fibers shrink. This reaction, along with the natural loss of some moisture during cooking, is what's responsible for your roast coming out smaller than when it went in. While resting the pork won't make it bigger, it will keep it tender and juicy, which is what you've been waiting for all along. Besides, the time it takes the meat to rest is perfect for deglazing the pan and making your own sauce to accompany the meal.