Never Throw Out Your Containers From Costco. Here's 8 Ways To Reuse Them
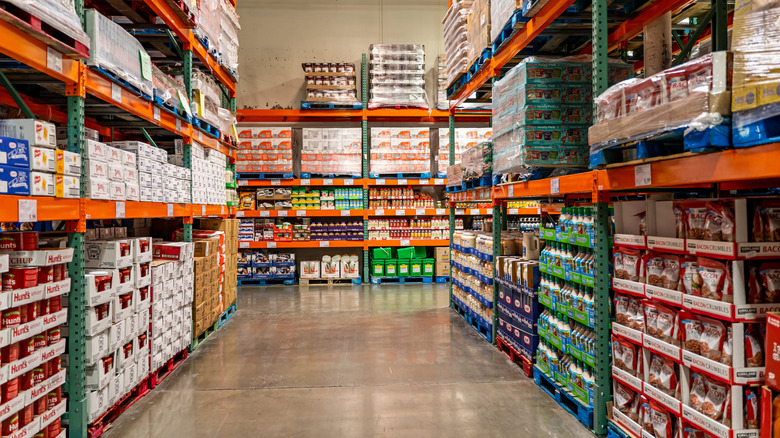
You are likely shopping at Costco for a number of reasons, including the new items constantly added in-store and the savings benefit of buying in bulk. But, those larger quantities of goods often mean larger packaging. So what is one to do with that pile of huge containers and boxes once the pantry is stocked and the fridge is full? Simply tossing those laundry soap jugs, cheese shakers, and plastic clamshells into the trash bin is an option. However, it's a costly one, both socially and environmentally to the tune of over a trillion dollars annually in the United States, per Duke University.
Even if recycling is a viable choice where you live, transforming trash into treasure is way more eco-friendly, not to mention gratifying. There's no need to trash any of your Costco containers, whether it be candy jars, pie plates, or cardboard boxes. We've discovered a myriad of ways to upcycle and repurpose them, instead.
1. Large candy containers become pantry staple storage
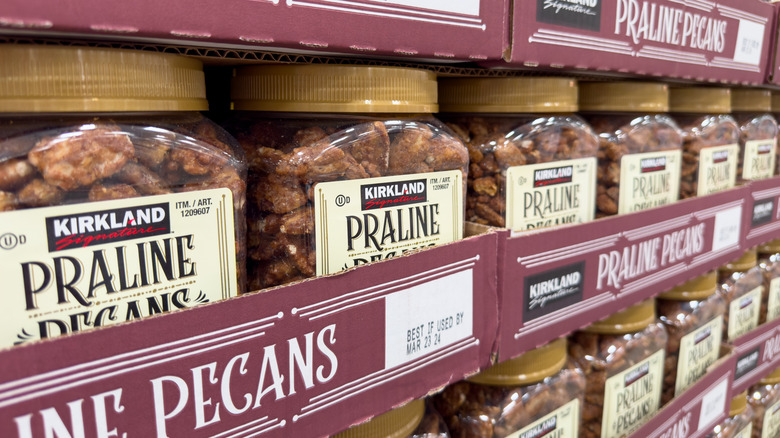
All it takes is a little soap and water to turn a big Kirkland candy or nut container into a handy pantry storage bin. You could spend your hard-earned cash on a fancy canister set that's going to be hidden behind closed doors in a pantry or cupboard, but why? These containers are nicely suited for dry staples. Think flour, sugar, pastas, dried beans, or crackers. So, take advantage of that empty, free, and lidded M&M's jar or Kirkland Signature Praline Pecans container and keep some money in your pocket.
Once you've enjoyed the nuts, candies, or peanut butter pretzels, simply wash out the container, remove the label (if you're so inclined), and let it dry completely. If a soapy water soak doesn't take the label off, there are other easy remedies for that. You could try a smear of peanut butter, a paste of baking soda and olive oil, or even a vinegar soak. Another secret to cleaning sticky label residue is an orange peel.
As you can see, there are plenty of DIY options for getting that container clean and shiny and ready to fill with something new. You're not limited to food storage, either. These spacious vessels are great for organizing craft and art supplies or storing non-food items, such as laundry detergent or dog treats.
2. Grated Parmesan cheese shakers convert to toys
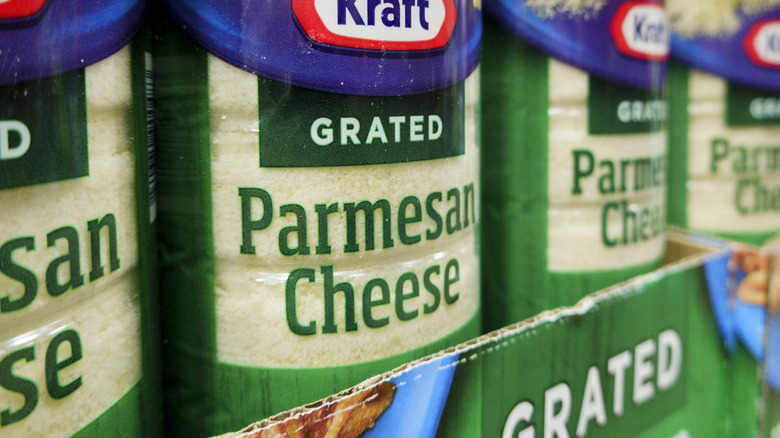
A plaything doesn't have to come from the toy store. Once you've shaken all the cheese out, that 24-ounce Kraft Parmesan Cheese container from Costco is ready for the playroom.
Wash and dry the container, then put your imagination to work. With no alterations, other than removing the label, the shaker is ready to sharpen fine motor skills. Straws, colorful pom pom balls, and pipe cleaners are just the right size for feeding into the holes of the lid. A child can fill it up and dump it out as many times as they want. When playtime is over, the canister becomes the storage container for the items themselves. You can also store writing instruments such as crayons or chalk in the tall canisters.
Another idea would be to make a musical shaker by filling the canister with dry beans or beads. To avoid potential choking hazards, screw the lid on tightly and tape it closed. This will keep the beans/beads inside the canister and out of reach of small hands and mouths. Children should be monitored while playing with the homemade shaker.
The shaker can also be upcycled into a paint brush cleaning station. This requires removing the lid flaps, leaving the holes exposed. Put water in the bottom of the container, screw the lid on, then place used paint brushes, brush side down, through the holes and swish clean in the water.
3. Pie containers transform into plant saucers

Once that colossal Costco pie has been scarfed down, there's no need to throw out the container it came in. That giant, sturdy pie holder is highly reusable, especially in the garden. These containers also stack well, making for easy storage until you're ready to use them.
One of the easiest ways to repurpose the pie holders is turning them into drip trays for plants. Actually, one Costco pie can give you three drip pans. The plastic lid and bottom, as well as the aluminum pie plate, all work well catching water under a potted plant or hanging basket. Or, turn the pie plate into a drip pan and use the top and bottom to make a mini greenhouse.
To make a tiny greenhouse, place seed starting trays or small individual pots on the base, then snap the pie cover on top. The cover locks in moisture, which helps the seeds germinate. This is a great way to start seeds inside before transplanting them into the garden.
Big pie containers are also excellent for growing cat grass. If you want to sprout oat, wheat, barley, or rye seeds to make a healthy snack for your kitty, it's easy as pie with these lidded containers. Fill the base with a couple inches of potting soil, scatter the seeds, spray them with water, and seal with the dome. The grass should sprout within a few days and be ready for your cat to eat within a week.
4. Laundry detergent jugs blow bubbles
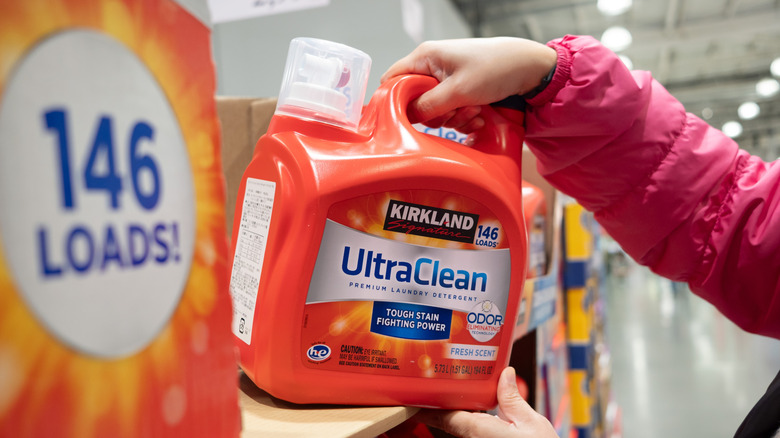
If laundry detergent is on your Costco shopping list, you may have wondered if there's anything you could possibly do with the huge jugs once you've used all the soap inside. Well, whatever you do, don't toss them out. Instead, do what moms all over social media are doing. Transform that empty jug into a bubble dispenser.
To turn a giant laundry jug (the ones with a push-button spigot) into a bubble blowing aid, thoroughly rinse out the container to remove soap residue. There's nothing else you need to do with the jug itself, unless you want to pull off the label or decorate it. When you're ready, fill the jug with the bubble blowing solution (bought or homemade). Using a marker, write the word bubbles on the container so no one gets confused and tries to use bubble juice as laundry soap. Then, place the container on its side, dispenser down, outside on a table or other flat surface.
Let the kids dispense the solution themselves into a rimmed tray or plate. Then, all there's left to do is dip a wand into the solution and blow bubbles.
5. Create a terrarium from clamshell containers
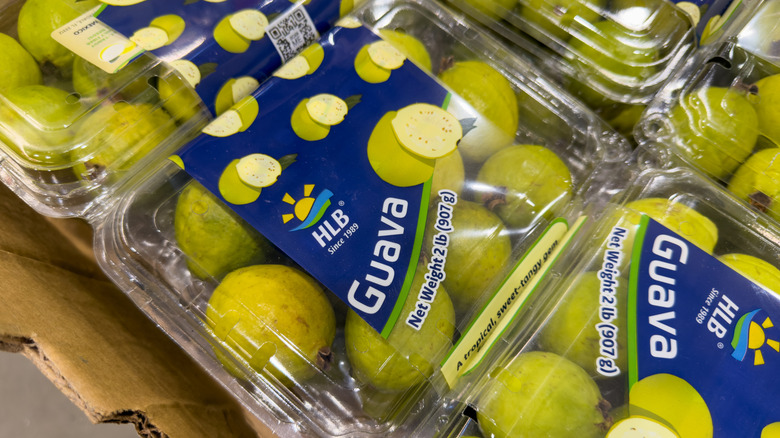
There's no need to throw out plastic clamshell containers when you can turn them into terrariums. A terrarium is a miniature garden of sorts. It includes soil, plants, and moisture — like an aquarium with dirt instead of water, and plants instead of fish. Costco clamshell containers, whether holding bakery items or fruit, are ideal for making a enclosed terrarium. The clear plastic lets light in, while the closed hinged lid keeps things moist inside.
To build your own terrarium, start with a clean, clear plastic clamshell container. Other essential items to assemble include small rocks or pebbles for drainage, some good quality potting soil, and tiny plants that love moisture, such as ferns and mosses. Other things that you may find useful include a spray mister, a spoon for planting, and other small decorations.
Once everything is assembled, poke a few holes in the bottom of the container. Next, add a layer of drainage, then fill with potting soil. Now you're ready to plant small plants and decorate with other small stones or figurines. Mist the entire scene with water, fasten the top closed, and place your new terrarium where you can enjoy looking at it. Clean the container well before starting the project and place only moisture-loving plants that thrive in high humidity inside the terrarium.
6. Berry containers make meal prep a breeze

There are a variety of clever uses for leftover plastic fruit containers, but here's one for making meal prep a breeze: If you buy fresh berries or other fruits at Costco, save the containers. After rinsing and drying, they're ready to become the perfect meal prep companion.
Meal prepping is key to making weeknight cooking fast and easy. Doing all the chopping and gathering in advance saves time later when you're ready to cook. Set aside an evening or weekend afternoon to do all your food prepping for the next week. Once you've decided on your meals/recipes, gather all the ingredients. Then, one recipe at a time, start prepping.
Once all the ingredients are chopped or minced or sliced, toss them into a container. Close the lid and place the prepped items in the refrigerator until it's time to use them later. Keep going until each ingredient is prepared and placed in its own container. The really great thing about using the fruit containers for meal prep storage is that it's easy to stack them in the refrigerator.
7. Emergency food buckets belong in the garden
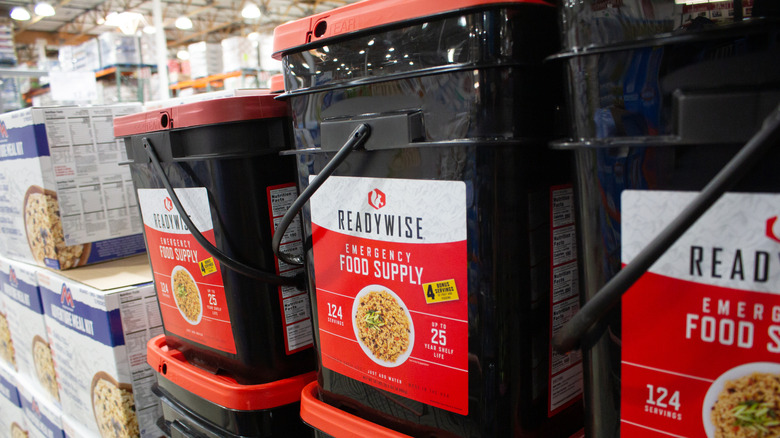
Now wait a minute, those ReadyWise emergency food buckets from Costco have a shelf life of 25 years, so why are we talking about upcycling them now? It's because you might end up sampling those provisions before the expiration date. In that case, the 5.3-gallon bucket will work wonders in the garden. Thanks to its handle, the former emergency food rations container is useful as a garden tote. Transport small garden tools or plants from one location to another, or use it for weeding and harvesting. It's perfect for berries, tomatoes, peas, you name it.
If you're looking for an inexpensive planter, here's your pail. Drill drainage holes in the bottom and use the big buckets as planters for just about anything. The buckets are great for planting veggies, such as cucumbers, potatoes, herbs, and lettuces. They work especially well for container gardening in small spaces or on decks.
You can even use the buckets for protection. Just turn the pails upside down and place over small plants to keep them warm and safe from frost on a cold night. If you need to store things such as fertilizer or rose food or gardening odds and ends, a big repurposed bucket will do the trick. You can also use them for garden shed storage and organizing overall.
8. Organize your trunk with cardboard boxes
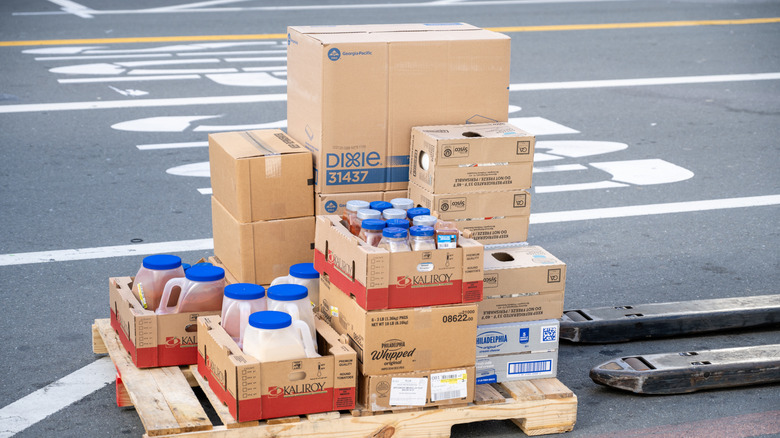
If you don't bring your own shopping bags, you may end up transporting all your Costco loot home in a sturdy cardboard box or boxes. These boxes are worth keeping around, especially if you convert them into something useful, such a car trunk organizer. Upcycling a box in this way is free and eco-friendly. It's also easy to do, taking barely, if any, time at all.
Instead of purchasing a fancy unit to keep things tidy in your trunk, simply choose a sturdy box, like those used for wine or produce, for your DIY organizer. It's a good idea to reinforce the base of the box with a piece of flat, sturdy cardboard in the bottom.
If you want to level it up or provide more durability, you can wrap the outside of the box in sturdy contact paper or duct tape. This will protect it from moisture, too. You could even cut cardboard strips to slide down into the device as dividers.
To keep the box from sliding around in the trunk, attach a non-slip shelf liner to the bottom of the box. You might even think about keeping a couple of these boxes in the trunk, one for grocery transport and the other for car maintenance items such as oil, funnels, jumper cables, and whatnot.