9 Common Mistakes Everyone Makes When Baking Cookies
Is there anything better than a fresh batch of cookies? From quick Mexican wedding cookies to three-ingredient peanut butter blossoms to classic chocolate chip, cookies are among some of the easiest (and tastiest) desserts out there. The treats come in all shapes and sizes, including no-bake versions and ones you can "forget" overnight. But, if they're really that simple, why does every baker — myself included — have at least one disastrous batch of cookies in their past?
The answer can range from baking at the wrong temperature to using the wrong ingredients to forgetting to chill the dough. Whatever the reason, there are plenty of tips and tricks to avoid common cookie baking mistakes.
From making hearth breads and pastries in restaurant kitchens to running a catering business, I have first-hand experience of what can go wrong when flour, butter, sugar, and an oven is involved. Who better to help you avoid some of the most common cookie baking mistakes than someone who has made them all and lived to tell the tale? (Not to mention improved their baking game.) So, here are nine mistakes to avoid and ways to increase the odds of perfection when baking your next batch of cookies.
Not buying the right ingredients

Not every ingredient has to be top dollar or have a fancy label, but every ingredient does need to be the best quality you can afford. The difference between good quality butter, chocolate, and vanilla can be the difference between a tasty cookie and an amazing one. That's not just an opinion either. The fat content in good-quality dairy and chocolate is part of what gives the products their rich taste and tongue-coating goodness. Fresh vanilla pods have a stronger taste than older ones. Even the flour itself makes a difference, with cake flour producing a more tender crumb than something like bread flour, which has a higher protein content and makes baked goods chewy.
Another professional tip is to be sure you have the right ingredients altogether. My most infamous batch of cookies was called "the taste of sadness" by a friend in college. I had been so proud of mixing everything carefully, chopping the chocolate, and smelling the dough baking. But when they were cooled enough to try, all four of us in the kitchen were shocked and disgusted by the bitter, bitter taste of baking chocolate instead of semi-sweet. Yes, reader, I had somehow grabbed a block of the wrong chocolate, and while I haven't exactly lived it down, I've also never made the same mistake again. I suppose that's just how we grow as people and as bakers.
Failing to follow the directions or measure the ingredients properly
There are plenty of one-bowl dessert recipes, but cookies often follow creaming or cut-in techniques to incorporate fat, flour, sugar, and dairy in specific sequences for the best results. It might seem fussy or unimportant to cream butter and sugar until light and fluffy, but missing a crucial step like this will see you pull a batch of flat, baked-together cookies from the oven. Creaming the butter and sugar incorporates air into the dough, helping the cookies rise and hold their shape. Attempting to substitute other ingredients or methods, such as using melted butter instead of softened, will result in unsatisfactory cookies, due to the chemistry of the dough being changed.
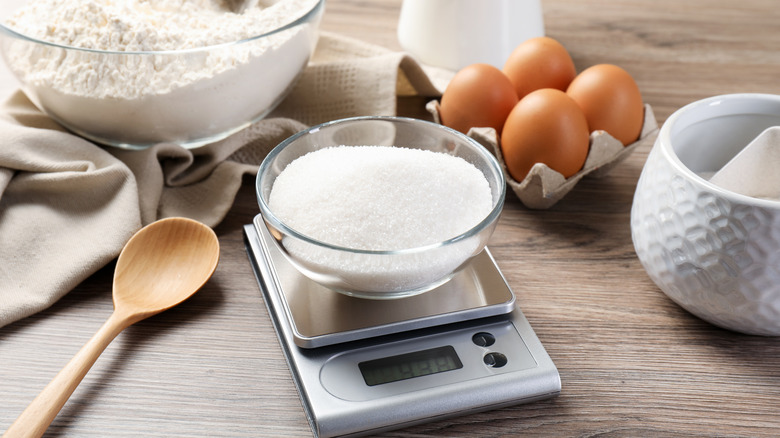
Likewise, not measuring the ingredients correctly can make even a tried-and-true recipe fail. Be sure you're using liquid measuring cups for liquids and not for dry ingredients, and vice versa. Dry ingredients compact differently than liquids, so the results will be inaccurate no matter how careful you are. Just like substituting other methods or unproven ingredients, having incorrect measurements will change the chemistry of the cookie dough and how it bakes.
To measure effectively, be sure not to compact flour and granulated sugar down in the measuring cups — this will result in adding too much of the ingredient. Forgetting to level the flour and sugar once it's in the measuring cups will also add too much of the ingredients to the recipe. For liquids, place the measuring cup on the counter where it is level before pouring to be sure you have the correct amount.
Misjudging how soft butter is
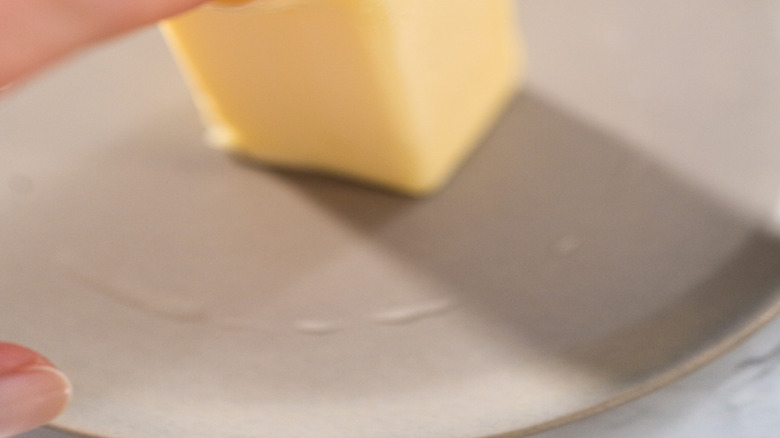
Believe it or not, butter is one of the most crucial components in cookie baking. Its quality, and perhaps even more importantly, its temperature, can make or break a batch. One of the biggest mistakes bakers can make is over-softening butter, which leads to over-spreading, toughness, and oily cookie batches. To ensure your butter is ready for mixing, lightly press on the stick. If your finger sinks in easily and the butter spreads, it's too soft. If there's resistance and a shallow finger impression, it's still too cold. But if your finger creates an indent that remains firm without spreading, you've found the Goldilocks zone for baking.
To achieve the perfect softened butter, place the chilled butter on your countertop for around an hour. Depending on the temperature of the kitchen, it can take anywhere from 30 minutes to several hours to reach the desired level of softness. If you don't have that kind of time, it can be tempting to try the microwave to speed up the process. However, microwaves are notorious for melting part of the butter while leaving the rest too hard to use. To avoid this, take a thick, heat-proof glass, like a pint glass, and fill it with hot water for 5 minutes. Pour the water out (or use it for something else), and place the warm glass over the stick of butter for 5 to 10 minutes. The heat from the glass will soften the butter without melting it, and save you a few minutes if you're running behind.
Failing to freeze butter when needed
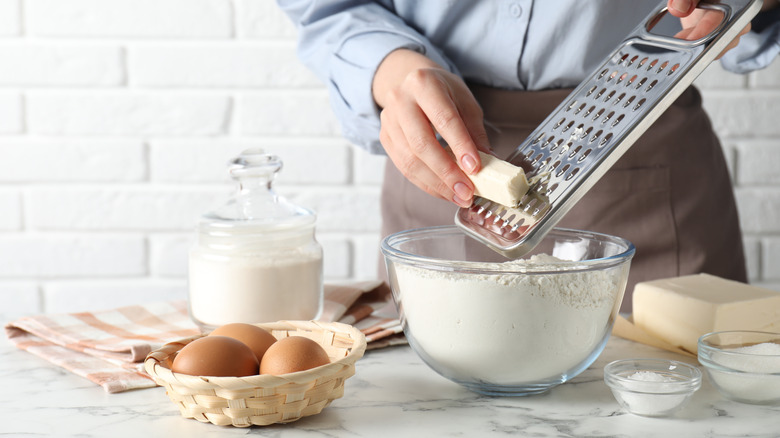
After all that talk about softening butter, it's time to discuss freezing it. Many times the freezer is a baker's greatest friend. It can set chocolate quickly and chill cakes before frosting. It also helps in cookie making by firming up the butter as it gets colder. The frozen butter is easy to grate, making it simple to incorporate into doughs. The cold bits of butter will help treats like sablés and other flaky cookies develop a crisp texture and lots of light layers.
Cold butter helps create layers in everything from biscuits to scones to cookies. The cold butter is coated by flour, making tiny pockets for the butter to heat up, melt, and make the flour rise from the gases created by evaporation. Those pockets become flaky layers and crisp tops for cookies, turning a simple cold stick of butter into a bit of cooking magic.
If you want to take freezing butter a step further, grate several sticks of butter on a piece of parchment paper. Spread the grated butter into an even layer, place another piece of parchment paper on top, and place the whole thing in the freezer for 15 to 30 minutes. When solid, you can break it into pieces and store it in an airtight container for a few months. This saves you time when making your next batch of cookies and ensures you always have cold butter on hand when needed.
Rarely allowing for chill time
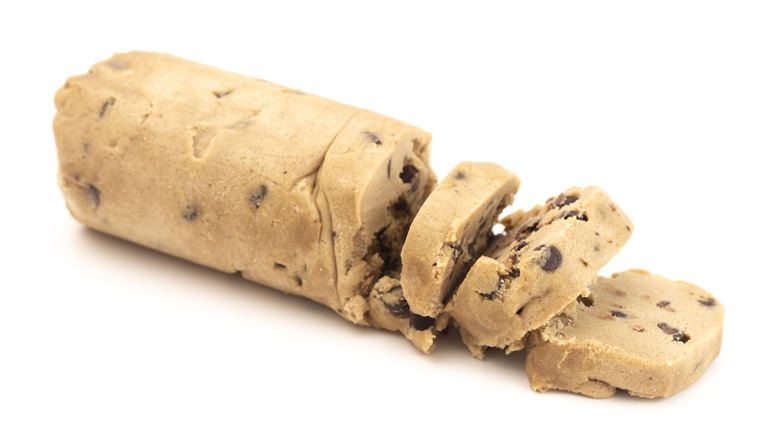
If you haven't been resting your cookie dough in the freezer or fridge before baking, this next tip will be a gamechanger. Chilling cookie dough anywhere from half an hour to overnight allows time for the butter to solidify and flavors to meld. The cold butter prevents the cookies from spreading by releasing its moisture slowly, keeping the other chemical reactions from baking powder and soda happen at a more controlled rate. Altogether, this process helps keep the cookie's texture soft and chewy.
It also makes for more flavorful cookies, thanks to the sugars and flour having time to absorb moisture and bring the flavors together. The chilled, hydrated dough bakes more evenly and browns better than un-chilled cookies. Why is the browning part important? Flavor. The Maillard Effect, or how foods become a tasty golden brown, involves the surface of a food drying out and crisping up due to the lack of moisture. The chilled dough will have more concentrated sugars than if it were un-chilled, making the cookies brown more efficiently, and making them even tastier.
Failing to let the oven come back up to temperature
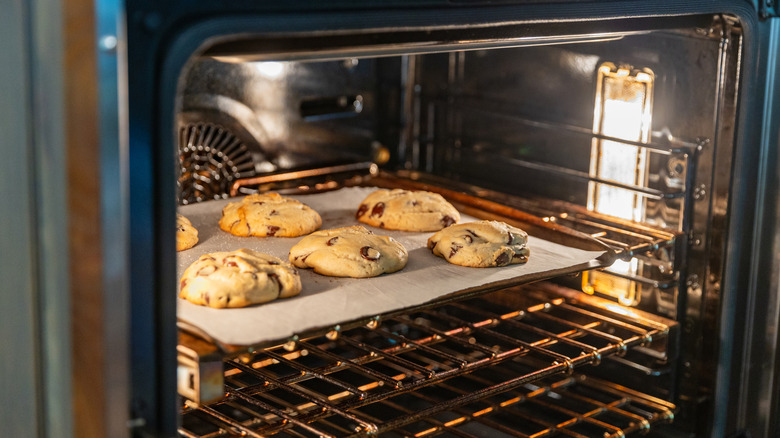
Once the heavenly smell of sweets emerges from the oven, it can be hard not to immediately put the next batch in to keep the aroma going. As difficult as it may be, however, it's better to wait for the oven to come back up to temperature before baking the next round. This ensures the cookies hold their shape, bake evenly, and retain the texture you've worked so hard for.
Though it might seem obvious, oven temperature is one of the most vital parts of baking cookies. The temperature is what allows the dough's sugars to caramelize, the water in butter to boil and evaporate, and proteins to set. In short, the wrong temperature will result in a batch of cookies that's underdone at best and fit for the garbage can at worst. Lower temperature ovens, around 350 degrees Fahrenheit, encourage fluffy cookies by giving the dough time to spread slowly and retain moisture. Higher temperature ovens, 375 degrees Fahrenheit and above, create more caramelized cookies with crisp edges and well-browned bottoms.
To avoid the trap of baking at the wrong temperature, be sure to always preheat your oven and let it continue heating for 15 minutes after the preheat says it's ready. This lets you know the oven is properly up to temperature. For even more certain oven temp readings, hang an internal oven thermometer from one of the racks where you can easily see it when the oven light is on. Internal oven thermometers are an inexpensive way to up your baking game.
Not using parchment paper
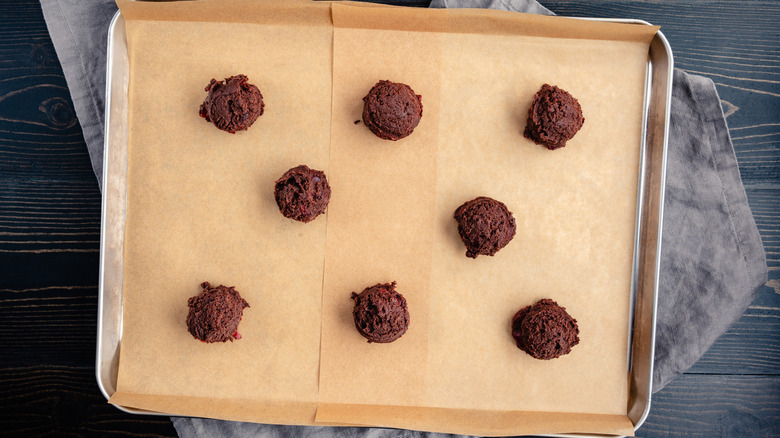
As a kitchen item, parchment paper is so familiar that its importance is often overlooked. In addition to keeping items from sticking to the cookie sheet, parchment paper also helps keep cookies from spreading while baking more evenly. How does the paper achieve this bit of cooking magic? It has to do with the paper creating a thin layer of insulation between the baking tray and the cookies, which lets the dough heat and spread at a controlled rate that baking directly on the sheet doesn't. The paper helps the bottoms of the cookies brown evenly, giving you golden bottoms instead of blackened ones.
As essential as parchment paper is to even baking and browning, it can help you identify where the hot spots in your oven are, too. Finding the spots in your oven where heat gathers unevenly will keep you from having burned cookies on one sheet and underdone ones on another. To test the oven for hot spots, place a piece of parchment paper on a baking tray and place the tray into a preheated 400-degree Fahrenheit oven for around 10 minutes. When you remove the tray, the parchment paper will likely have a darker brown portion, marking your oven's hot spot and letting you know which places to keep an eye on when baking.
Forgetting to rotate pans halfway through baking
Rotating pans might not be the first thing on your mind when making cookies, but this one simple action makes a world of difference to even baking and browning. Rotating the baking trays helps avoid the oven's hot spots. Instead of leaving the treats to bake in one place the entire time, rotating the pans from the top to bottom shelf, and turning the pans so the edge that was closest to the door is now at the back of the oven, keeps cookie batches from burning on one side and being too pale on the other.
Getting the hang of rotating the pans can take a moment. You want to switch them quickly, but carefully, because an accidental bang against the oven door can cause the cookies to flatten, or worse, be dropped. To prepare for rotating in the fastest, most efficient way, find your oven mitts or pot holders and put them on. Even though this might seem counter-intuitive, open the oven door fully. Pull the sheet from the bottom shelf as you pull the sheet from the top shelf. Switch the pans and rotate them on the new shelf to be sure the front of the pan is now at the back of the oven. Close the door again, and wait for the oven to come back up to temperature as you reset your timer for the cookies. It'll take a few tries to get your timing down, but I've found this to be the most effective method for even baking without lowering the temperature too much.
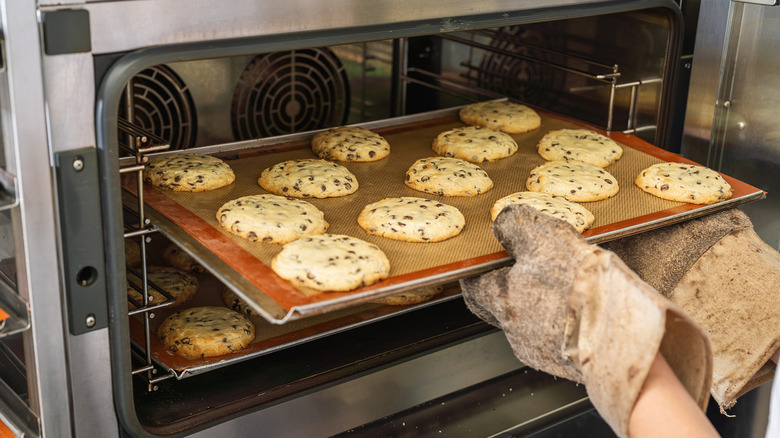
Neglecting to remove the cookies at the right time

This is another tip that might sound easy, but can take a bit of practice to get right. Many people wait until the cookies are set in the middle before removing them from the oven. Unfortunately, that means the cookies are already overbaked. Even while cooling on the baking tray, the batch will continue to cook from the residual heat. The already set center will get harder, resulting in a crunchy, crumbly cookie. However, removing cookies from the oven while the center is still a bit loose and underdone will result in perfectly baked cookies after they've cooled. The residual heat is just enough in this case to finish cooking the dough through, while leaving the cookie chewy and tender.
But how do bakers know if the center is still unset without opening the oven a dozen times? Here are two personal tips I've learned over the years. The first is to use the internal oven thermometer to make sure the temperature is steady throughout the bake. The second is to set the timer for one to two minutes less than advised. This combination allows you to be certain the temperature isn't too high and you're not overbaking the cookies, while also ensuring that the cookies' centers stay a bit underdone until the batch is pulled from the oven and cooled.