Upgrade Your Kitchen Like A Pro Using This HGTV-Approved Hack — Without Spending A Fortune
Redesigning your entire kitchen is a huge undertaking, and if this isn't in the cards, there are small home improvements that can give the room a whole new feel. Painting the kitchen island requires some preparation, but has immense payoffs that far outweigh the effort. Be sure to take into account the material of your island when you're preparing to paint it. This could be a fun DIY job for some handy people, but depending on your experience level and access to tools, it wouldn't be remiss to call in a professional.
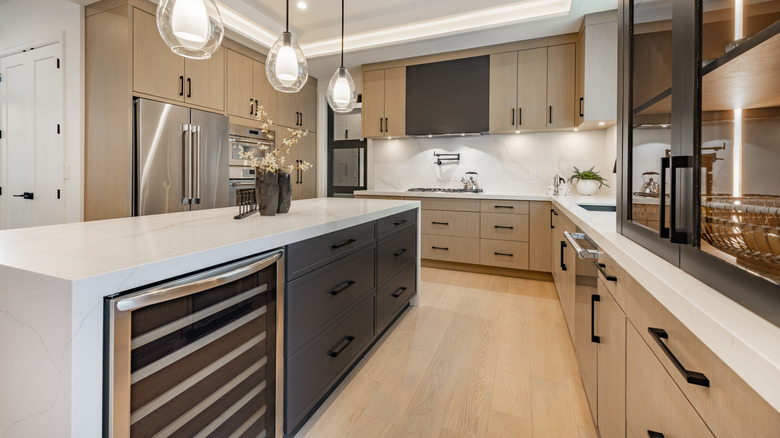
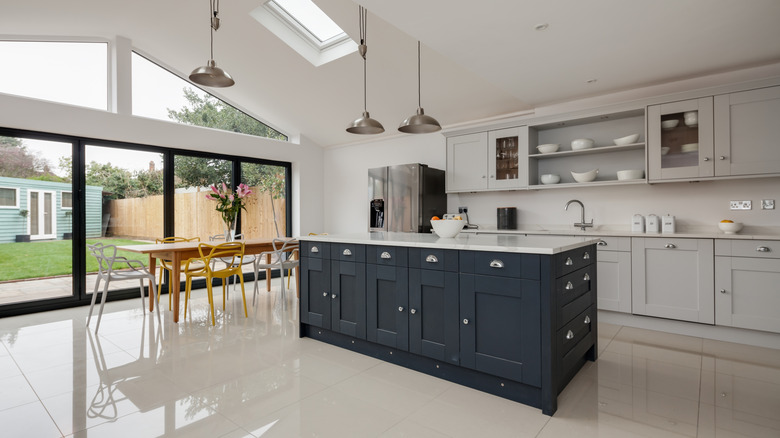
The island is often the centerpiece of the kitchen and, as such, it should be functional as well as aesthetically pleasing. With so many appealing kitchen island design trends, it can feel hard to pick one. Repainting it every so often can satisfy that desire for change without committing to a large renovation. This hack also works if you are in the process of redesigning the rest of the room and want to match the island, but still want to stick to a smaller budget.
Of course, not all materials will lend themselves well to repainting. Ree Drummond notably uses stainless steel for her island, and granite is often the go-to in many kitchens, albeit usually just for the countertop. Neither of these would make for easy or successful paint jobs. You may also want to reconsider painting over marble or quartz, as these are significant investments. Wooden islands (even laminated ones) provide the best base, so if you're installing one for the first time and think you'll want to change things up often, this would be a wise, cost-effective choice.
How to paint a kitchen island
First up, clean, clean, clean. Wipe down any dust from the island and remove all hardware, as well as drawers or cabinet drawers, as far as possible. It's worth wiping inside these storage spaces, too, as you want as easy a base to work with as possible. Next up, protect the surrounding areas and the parts of the island you don't want painted. While countertops can (sometimes) be painted, it may be worth starting off with just the cupboards and drawers to get used to the process. Once everything is ready, sand down the existing paint or varnish until everything is smooth and uniform, and apply a primer. An oil-based primer will give you the best protection for porous materials like wood, minimizing the risk of any inconsistencies when you actually paint.
Once your primer has set for around 24 hours, you're ready for the fun part. Sure, not all paint colors improve kitchens, but choose one that speaks to your personal style, while also taking into consideration the existing color palette and vibe of the rest of the room. Apply the first coat and allow it to fully dry according to the paint's instructions. Once it is dry to the touch, go in for a second coat to lock in the color and finish. Over the course of a couple of days, you'll have a refreshed kitchen island that can upgrade your entire home.