Why Your Homemade Ice Cream Isn't Freezing
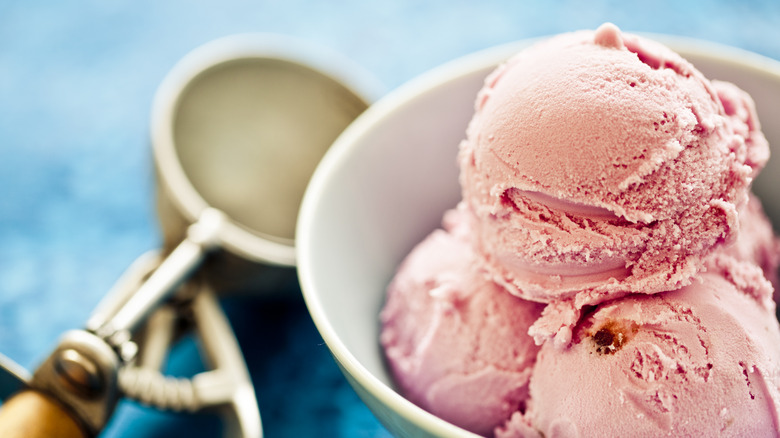
As easy and tasty as it might sound to whip up a simple vanilla ice cream recipe at home, the reality is that ice cream can pose quite a few challenges. You might struggle to create the right texture, you could find ice forming on your homemade treat, or your ice cream might not even freeze through in the first place. While you could serve it as an ice cream soup and pass it off as avante garde, it's more worthwhile to learn why this issue happens and how you can fix it in future batches.
Ice cream can resist freezing for a few reasons, but the most common issue is the formula of your ice cream base. Ingredients like salt and sugar can interrupt the crystallization of water, which lowers the ice cream mixture's freezing point. You need these ingredients for better flavor and scoopability — without them, your dessert would freeze into an icy block — but overdo it, and your ice cream won't be able to freeze properly.
Your ice cream base's freezing point can also be lowered by alcohol. Many of us know that strong alcohols cannot freeze properly in a standard home freezer. While the water content in a booze-free ice cream recipe will freeze at 32 degrees Fahrenheit (in the range of a typical freezer's capabilities), alcohol has a much lower freezing point. Whiskey, for instance, freezes at -16 degrees Fahrenheit. As such, adding too much alcohol can result in goopy, melty, disappointing ice cream.
The wrong formula and temperature can keep ice cream from freezing
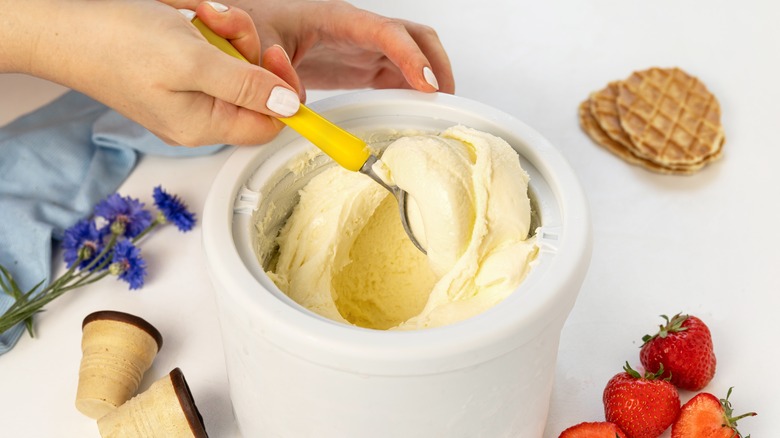
You now know that overdoing it on certain ingredients can prevent ice cream from freezing, but even if you use a solid formula for the base, you could still run into trouble if the base is too warm to begin with. Obviously, the colder your ice cream base is when you start churning it, the less time it will take to freeze. Ideally, your base should be at 39 degrees Fahrenheit or lower. This is part of why many ice cream recipes call for chilling the base in the fridge before churning it in a machine.
The nitty-gritty of the situation again has to do with how ingredients crystalize. All ice cream recipes (even those for non-dairy ice cream) use some kind of milk or milk alternative, and therefore contain fat. As you churn ice cream, the fat molecules get stuck together to create a creamy and smooth structure. This structure can be built more easily when the ingredient base is chilled, as the fat molecules will begin to crystallize in advance due to the cold. A warmer base will hinder crystallization and leave you with a soupy mess, even after a proper churning.
A good rule of thumb here is to age your ice cream base overnight. Not only will your base cool to the ideal working temperature, but the texture will thicken up, making for creamier ice cream as a result.
Don't use equipment that's too warm, either
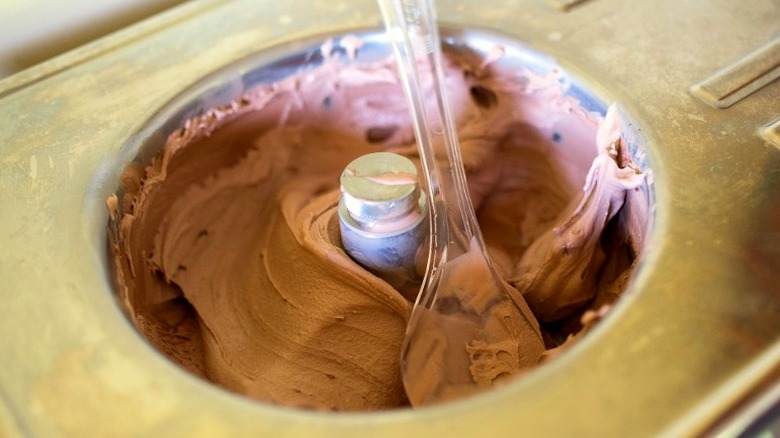
If your ice cream base is sufficiently cold and your ingredients are used in the perfect ratio, your next point of interest should be your equipment. Assuming you're using an ice cream machine, the instructions likely say to freeze the machine's bowl or canister before use. Doing so ensures that your ice cream can be frozen quickly, keeping large ice crystals at bay and resulting in a smooth and creamy dessert. Conversely, if your bowl isn't cold, your ice cream base might not get cold enough to crystallize and freeze.
Just like with your ice cream base, you should chill your machinery at least overnight, if not for a full 24 hours. The bowl should be stored in an airtight bag before it's stored in the freezer. This will prevent freezer burn, as any residual water left in the bowl will encourage the ice cream base to stick and crystalize into large, unpleasant chunks. You'd essentially be making freezer-burnt ice cream from the get-go, and who wants that? Luckily, achieving ice cream success should now seem much easier — just mind the ingredients and their temperature, as well as the temperature of your equipment, and your ice cream turning into a puddle should only be a problem on hot days.