How To Get Perfect Frosting With The Upside-Down Method
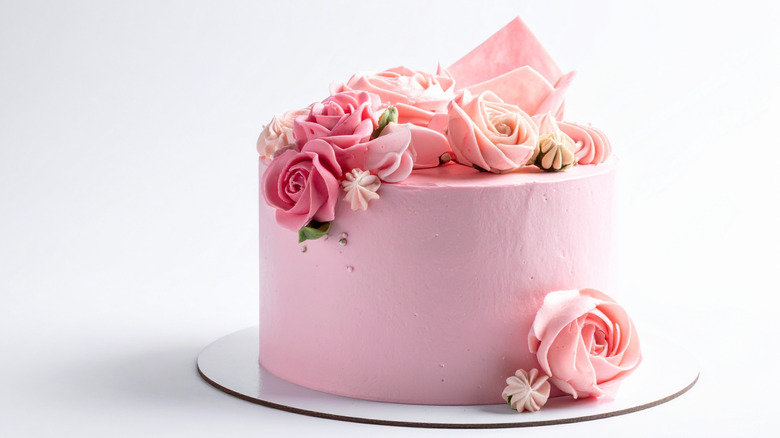
I grew up with homemade cakes for my birthdays, but I always noticed that they never looked as nice as store bought. The trade-off was that I could request the most ridiculous designs from a relative, and if I tried that at a bakery, I would have blown my entire party budget. Despite the countless online tutorials and tips for making buttercream rosettes, trying to make a professional-looking cake is still a challenge for a part-time baker like me, and you may turn out many hideous bakes before you get the results you want. But there's a really nifty decorating hack using an upside-down method that could change that.
There are a few considerations to take into account when trying this method, though. For starters, this isn't a one-pan technique, and you'll need to make sure your cake pans are smaller than your springform pan. Unless you have many pans in many sizes, this technique will limit the thickness of your exterior frosting layer. There's definitely a learning curve involved in using professional decorating tools, but you do have more freedom to play around with frosting proportions, and you can even create interesting effects.
This tip restricts the types of frosting you can use to what can be warmed enough to be pourable without splitting — while also being capable of hardening in the fridge. American buttercream and ganache, like this simple two-ingredient recipe, are two that work best. In the end, this is a great idea to make a homemade cake look less rustic, but it may not take it to bakery-level without a few tweaks.
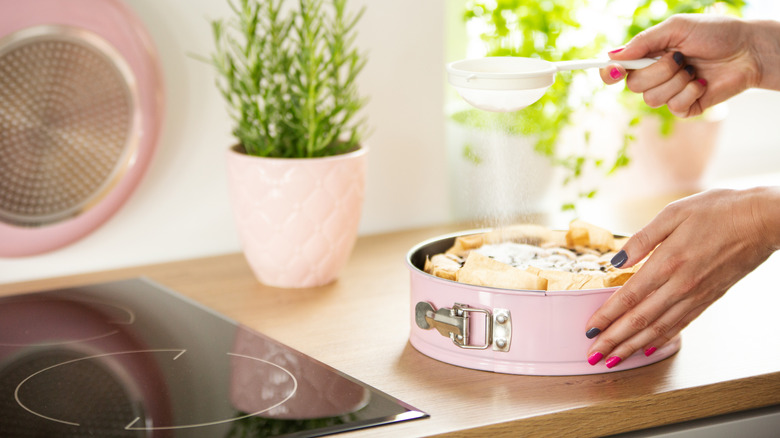
A springform pan can make it easy to assemble some pretty imaginative cakes
The upside-down method can open up a whole bunch of possibilities. If your cake pans are significantly smaller than your springform, it can enable you to pour multiple layers of colored buttercream or even add a final layer of ganache. You could also forgo frosting altogether and opt for mousse using Julia Child's boozy recipe. If you're doing layers, just remember to thoroughly chill each one before adding the next.
A springform pan also provides you with enough structure to let you play around with the cake and fillings. You can arrange different flavors of cake to create a checkerboard pattern or cut different colors of cake into wedges and reassemble them to form a color wheel. You can also create a ring of cake and fill the center with fruit, candy, or even something runny, like custard. Trying to do this without a springform pan can lead to catastrophes.
The rigid walls of a springform pan can also help you add some flair to the sides of your finished cake. Just pipe some chocolate designs onto the parchment paper you use to line your pan, and chill the pan before proceeding with the cake and frosting. Try arranging fruit or candy around the sides of the pan before adding the other components to create a flush effect. Lastly, you don't really need to flip your cake over if you try this method –- simply add all your decorations and ornaments on top of the cake, then pop the latch on your springform when you're ready to serve.