Mistakes Everyone Makes With Poached Eggs
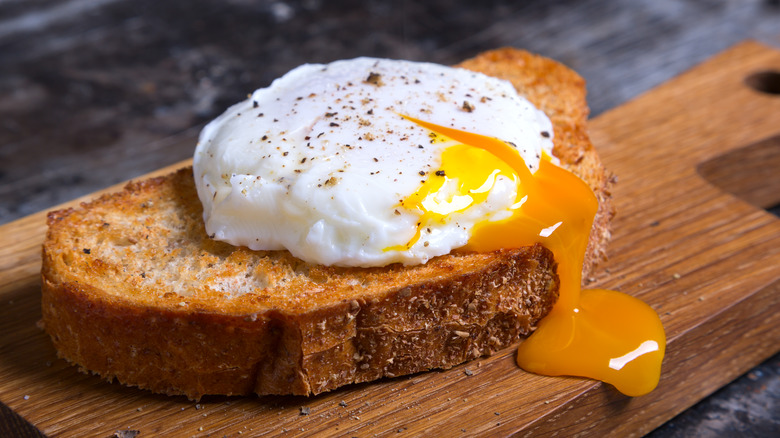
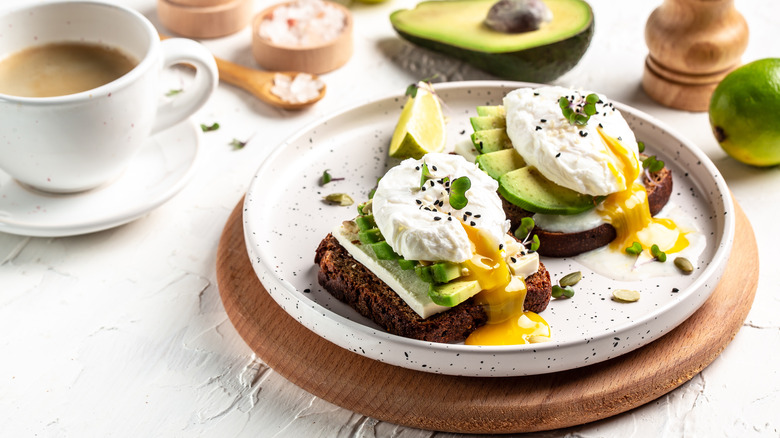
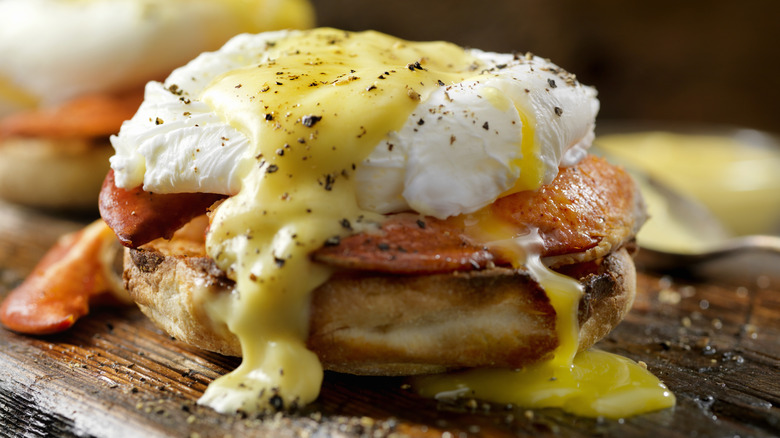
A perfectly poached egg is a culinary delight that tantalizes the taste buds with its elegant simplicity. As you cut into it with a fork, the yolk spills forth like liquid sunshine, rich and luscious. The first bite is a harmonious marriage of textures and flavors, the silky yolk contrasting with the delicate, slightly firm egg white. It's a culinary masterpiece, a simple yet sublime experience that satisfies both the palate and the soul. Poached eggs are the star of brunch, the saucy crown on the best avocado toasts, and the perfect accouterment to roasted asparagus.
But crafting this poached egg perfection is challenging for even experienced chefs — one wrong move and you're left with stringy, trailing egg whites and a set (or broken) yolk. The technique is one that requires all of the elements to line up perfectly, with little margin for error. If you are struggling to achieve this pinnacle of perfection, here are mistakes that might be holding you back from putting an egg on it.
Using old eggs
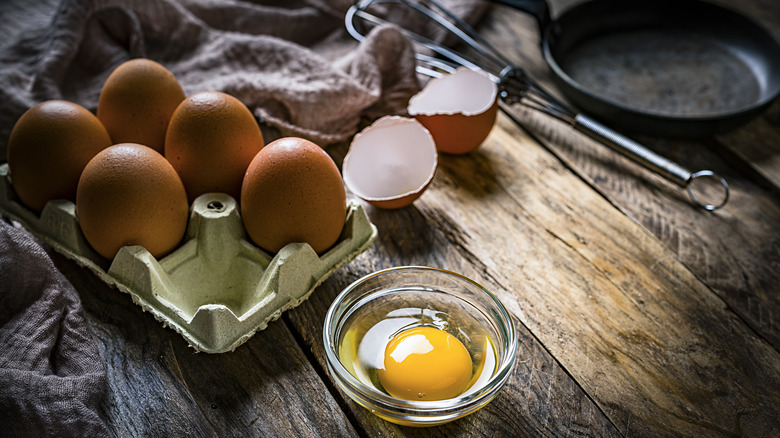
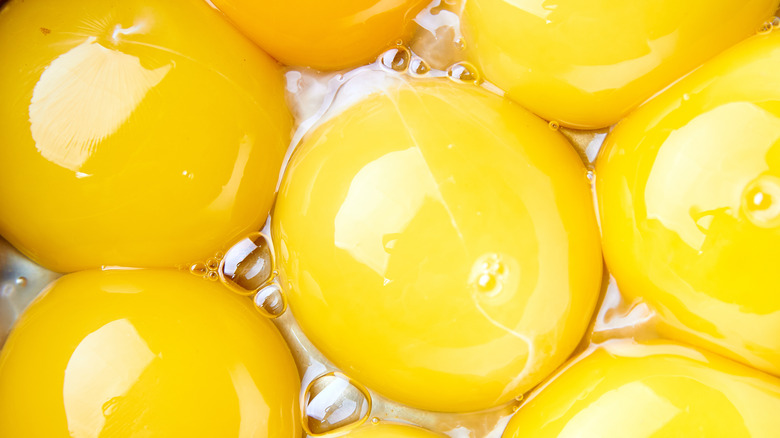
In some applications, eggs that have passed their prime work perfectly. Hard-boiled eggs made with older eggs are easier to peel. But this is not so when it comes to poached eggs. Poached eggs require the very freshest product you can find, and it all comes down to the protein structure in the egg white.
Fresh eggs have a tighter protein structure in the egg white. This means that when poached, the egg white stays tight to itself. However, when eggs age, the protein structure in the whites begins to loosen, resulting in a runny egg white.
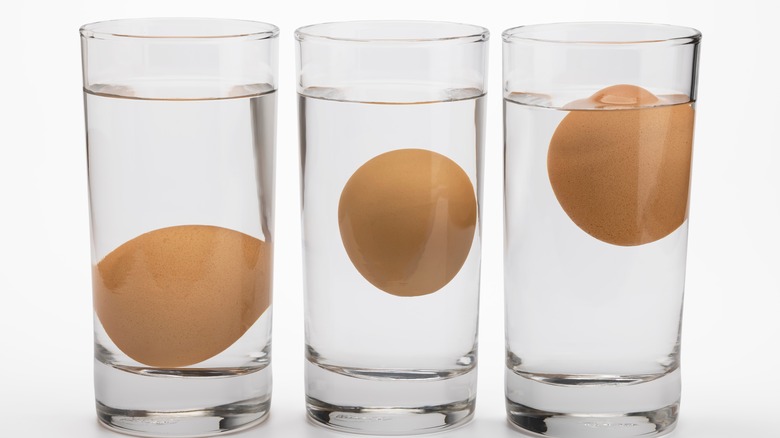
It's easy to see when you fry an egg if it's fresh because the whites will be loose and spread across the pan. This test does not work when poaching an egg because, by the time you drop it in the water, it's too late. The first way to check for freshness is to look for the Julian date. This number is printed on the egg carton and runs from 001 to 365 (January to December). Eggs can be used three to four weeks past this date, but the closer you get to the number, the better. Still not sure? Add an egg to a glass of water. If it floats or stands on its side, it's old.
Boiling water
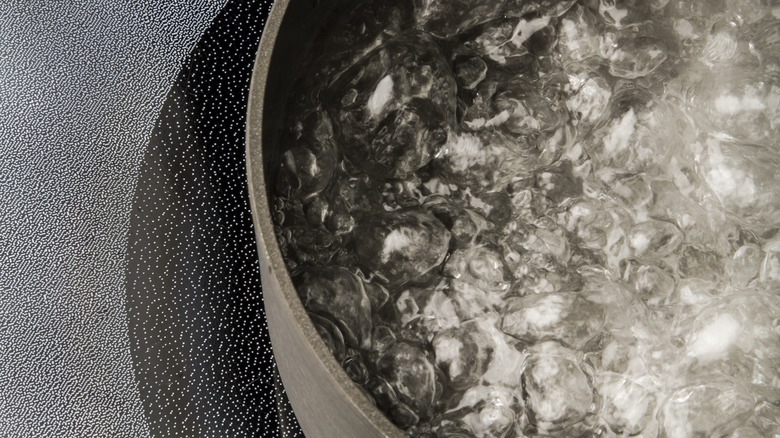
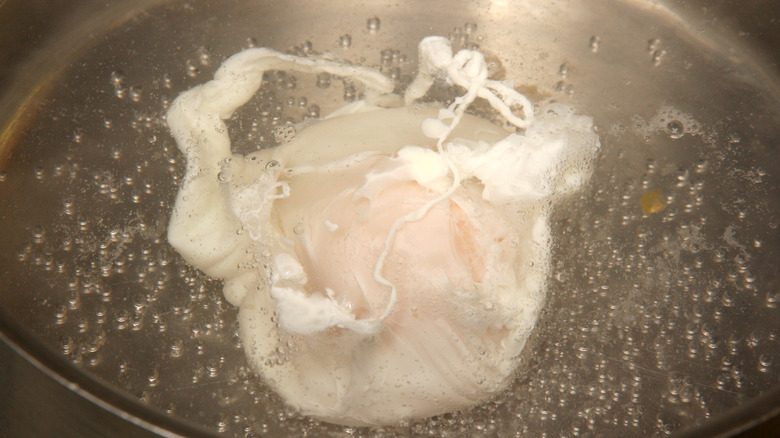
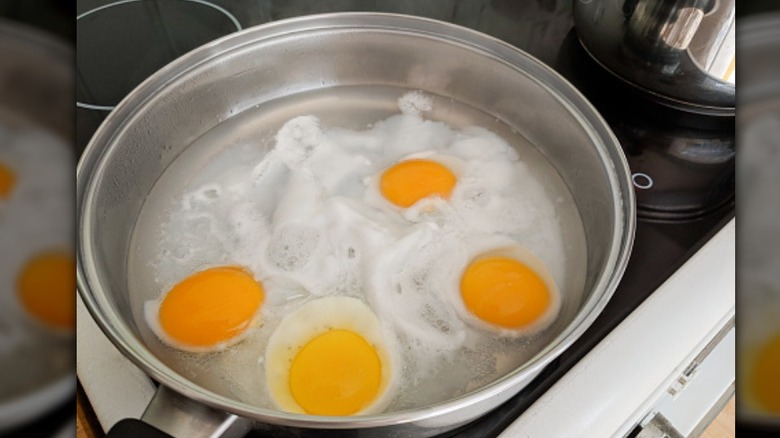
Novice egg poachers want to make sure that the water is hot enough to cook their eggs in the specified amount of time. But to get the water hot enough, they drop their egg into a vigorously boiling vat of egg white destruction. The boiling water tears through the delicate yolk, leaving you with egg-flavored water when the yolk explodes.
To prevent this tragedy from happening, bring the water to just a gentle simmer. A few delicate bubbles form on the bottom, slowly making their way to the top. Look for pillowy puffs of steam to wisp from the water's surface. If you want to get scientific about it, the sweet spot for poaching eggs is between 180 F and 190 F. The water is hot enough to gently cook the egg white in this temperature range while keeping the yolk perfectly runny. The egg whites become tough and overcooked at a higher temperature, but if it is too low, your egg whites will be undercooked.
Not adding vinegar or salt
It happens all the time: the water temperature is perfect, and the eggs are fresh. But the egg white is still wispy, spreading out across the surface of your water. What happened? And how can you fix it?
While expert egg poachers don't need to add anything to the water to create the perfect balance of set white and runny yolk, make it easier on yourself (as they do) by adding a little bit of salt and a splash of white vinegar. Salt seasons your egg as it cooks, which is critical for the final taste. But the vinegar is where the magic happens. The acid in the vinegar helps egg whites to coagulate, preventing any stringy spreading across the surface. Chemistry makes this happen — the protein in egg whites breaks down when it hits the water, but the speed at which this happens matters. Vinegar speeds up the denaturing of egg white (breakdown of protein) so that it solidifies faster. Faster denaturing means an egg white that holds its shape around the yolk.
Using shallow water
Unless you have a specialized pan that uses shallow water, make sure you have a wide pan that is deep enough to submerge your egg fully. Those with less egg poaching experience sometimes get the wide pan correct but neglect to factor in the depth. This can cause the eggs to drop to the bottom of the pan and stick there. Combine a shallow pan with boiling water, and disaster ensues.
To ensure your egg does not contact the bottom of the pan, you'll need a minimum depth of water of 2 inches, with three being optimal. The pan's diameter depends on how many eggs you'll be poaching and the tool with which you will retrieve them when they are done. A slotted spoon is usually the best thing to scoop your finished eggs with, but if you opt for a spider, you might need a wider opening. Look for a pan with a minimum 6 to 8-inch opening, both to give the eggs room to poach and to accommodate your slotted spoon or spider.
Not swirling the water
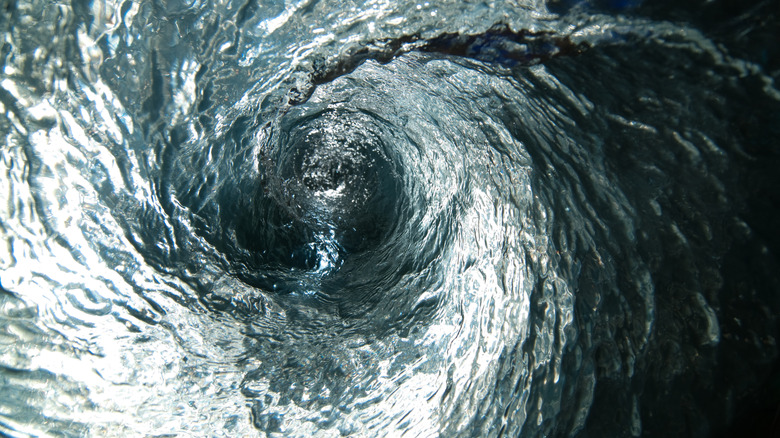
If you drop your fresh egg into simmering water and watch helplessly as the white spreads out, you're not alone. This is a common mistake that even chefs in a hurry make. They neglect to create a subtle circular movement that helps the egg white move around and cling to the yolk.
Maybe you aren't creating a whirlpool or tornado-like vortex in which to drop your eggs, but you do need to build a little motion in the water to give your egg white the best chance at successfully cradling the yolk. Give the water a gentle stir before adding the eggs, then drop the egg into the center. If you have stray whites filming the water, you can even use the movement of the water and a spoon to encourage them to gently shape up. Does poaching an egg require this swirl? Not necessarily. But if you are working with less-than-fresh eggs or not using vinegar, this simple action can help your whites stay together.
Not using a fine-mesh strainer
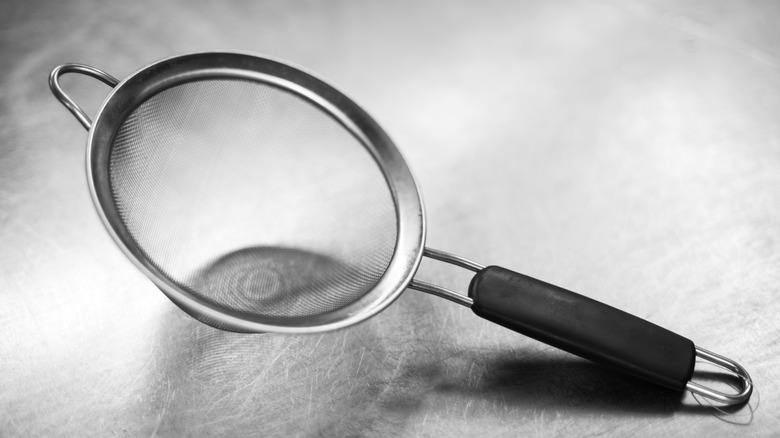
Unless the eggs have been plucked from the henhouse that day, chances are good they will have a little bit of extra water in them. Even the freshest supermarket eggs spend several days in transit and a week or more in a storeroom before winding up on shelves. To remove as much water as possible, it's important to use a fine mesh strainer before adding your eggs to the water. Straining helps remove the thin, watery portion of the egg white, leaving you with a neater, more compact poached egg.
Crack your egg into the strainer over a sink or a bowl. You don't need to save the liquid that comes through the strainer, so over the sink is fine if you don't want to dirty another bowl. If you want to get really suave with your egg poaching technique, you can use the strainer to gently lower your egg into your simmering water. Once the egg whites begin to coagulate, gently slide the strainer from underneath the egg. And again, once it's done, use the fine mesh strainer to retrieve the egg. This minimizes dishes, increases egg poaching efficiency, and boosts your chances of a compact, beautifully poached final product.
Cracking the egg directly into the water
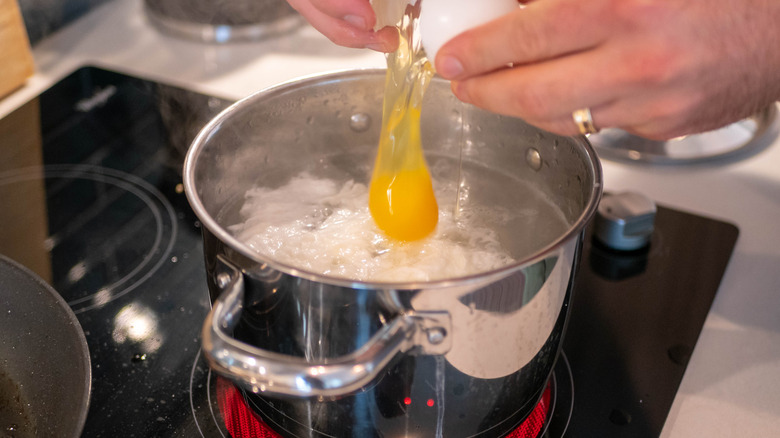
If you don't want to use your fine mesh strainer to lower eggs into simmering water, don't just crack that egg into the pot. Do this, and chances are good you'll end up with stray bits of eggshell on your breakfast table.
While your water is heating up, grab a couple of ramekins, one for each egg. Position the mesh strainer over a separate bowl, and crack the egg into the strainer. Once the watery portion of the egg white strains through, place the egg in a ramekin. In addition to removing any broken eggshell, preparing your eggs for poaching in this way lets you check the quality of the egg before poaching. It's also a good way to prep when poaching eggs for a crowd. When all of your ramekins or bowls are loaded up and ready to go, it's just a matter of easing each egg into the pot.
Overcrowding the pot
Even if you are poaching for a crowd, adding too many eggs into the pot at once is more likely to result in egg drop soup than in perfectly poached eggs. Overcrowding makes it difficult to create a swirl into which each egg is added, and it also makes it difficult to retrieve the eggs that are done. You might also find that your eggs stick together, and a slotted spoon or spider breaks the yolk as you try to separate them.
For best results, don't poach more eggs than your pan can handle. No more than three eggs are recommended for a 6- to 8-inch pan. If you want to poach more than that at a time, look for a 10- to 12-inch pan or buy a specific poaching pan that has individual slots for each egg. These can poach half a dozen or more eggs at a time with less fuss and no swirling. Some of these pans also have cups that are removable. All you do is crack each egg into the cup and place it in the pan.
Using eggs straight from the refrigerator
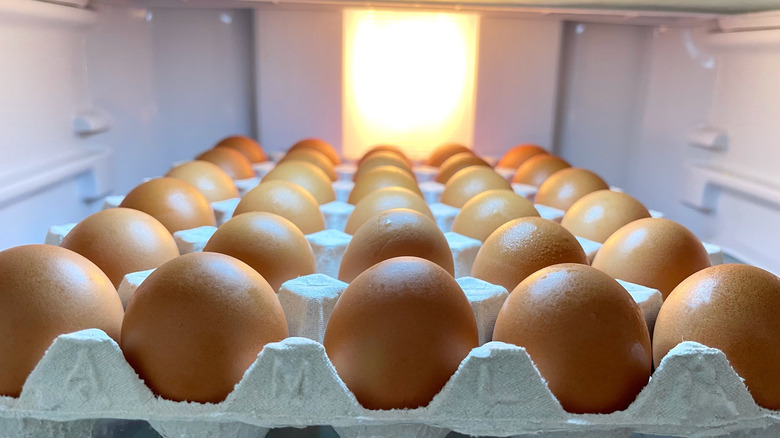
If you are using eggs straight from the refrigerator, you might find your poached eggs are unevenly cooked, with a hard, rubbery outside of the white and a barely set area near the yolk. When you know poached eggs are on the menu, it's best to bring the eggs to room temperature before poaching.
Room-temperature eggs do not suffer shock when they touch the simmering water. If your eggs are cold and the water is hot, the white might curdle or coagulate too fast. Additionally, room-temperature eggs cook more evenly because there is no temperature difference between egg white and yolk.
But where room-temperature eggs really shine is when it comes to consistency. If you are poaching eggs for a large group, room-temperature eggs have a more consistent cooking time. This means that everyone will get a perfect poach in the same amount of time. No waiting on that one cold egg that isn't quite done.
Stirring too vigorously
Let's get one thing straight. You are not aiming for cyclonic circulation in your poaching pot. Stirring your egg whites vigorously, even in service to wrapping egg whites around the yolk or creating a vortex into which you place the egg, leads to broken whites and even ruptured yolks. When this happens, there's no going back. You're stuck with wasted eggs and hungry people.
Use a light touch in all aspects of poaching. The firmest action would be when you are cracking the eggshell. Other than that, treat your eggs like a young fawn in the woods. Move slowly, be gentle, don't make direct eye contact. Since eggs have no eyes, the last one is purely jest. But you get the idea. You aren't kneading bread or whipping cream here. Treat your eggs with tenderness, and don't stir beyond the initial swirl (and maybe one wraparound with a spoon if necessary).
Overcooking them
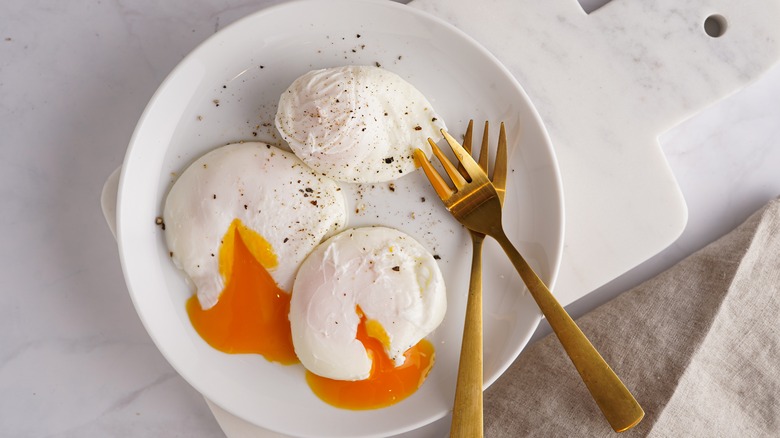
Keep an eye on the eggs and remove them promptly when the whites are set, but the yolks are still slightly runny. Overcooking results in firm yolks, which are completely against the point. The timing varies depending on the size of the eggs and the water's temperature.
As a general guideline, the poaching time depends on how set you want your yolks. Very soft but set lights, poach your eggs for no more than three and a half minutes. The white will be just set, and slightly loose closer to the yolk. If you want your egg white completely set but still tender and your yolk starting to firm but still run, poach for four minutes (and not more than five).
To determine if your poached eggs are done, look for an opaque egg white. You can also lift the egg out of the water and touch it. it should yield slightly, indicating that your yoke is still running. A final test is for a wobble. Gently shake the poached egg on the spoon. If the yolk wobbles slightly but the egg white is set, it's likely done.
Not draining excess water
It's a strong opinion that few people would argue against: Wet poached eggs are gross. Even though you might intellectually know that it's just water clinging to the finished egg, there is something about the presence of wetness that isn't yolk that makes the poached egg completely unappetizing. You've worked so hard to make sure that your whites are set, tender but firm, so to ruin it by not draining excess water when you remove your eggs is a crime against breakfast. Practically speaking, wet eggs also cause your beautiful Hollandaise to slide right off.
Use a slotted spoon or a spider to remove your eggs from their water bath, allowing excess moisture to drain. Then go one step further and use a paper towel to gently pat the eggs dry. At this point, you can also season with salt and pepper and proceed with your final presentation.
Poaching a la minute
If you are poaching for one or two people, it's an easy task to use the proper pan and create a freshly poached egg or two. But what if you're hosting brunch or feeding a crowd? If it takes a minimum of three minutes per egg, and you're feeding 21 people, poaching just three eggs at a time, the last set of people get their eggs 30 minutes after the first have already eaten.
Do yourself a favor and poach a large batch of eggs ahead of time. You can do this in two different ways. Poaching in muffin tins by adding a couple of tablespoons of water and then cracking an egg in each hole and baking is one common and easy solution. Another is to poach them in the traditional way ahead of time, placing the eggs in an ice water bath when they are poached and storing them in the fridge until just before it's time to eat. These can then be placed in a simmering water bath to warm up. This should just take a minute or two to fully warm the egg white and yolk. Then remove the reheated poached eggs, pat dry, and serve.
Skipping less traditional poaching methods
The saying is there's more than one way to skin a cat, but it's much nicer to say that there's more than one way to poach an egg. The traditional method is classic for a reason. It works well, and it lends itself to subtle changes in poaching liquid that bump up the flavor of the final product even more.
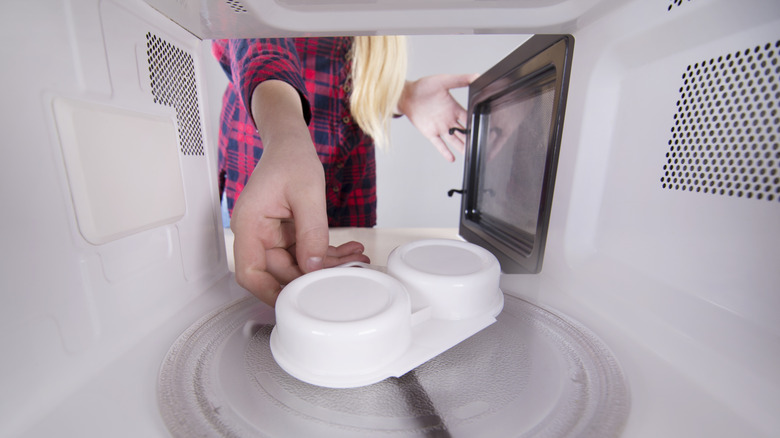
But there are other ways to poach eggs that are equally effective, sometimes easier, and produce a beautiful final product. Poaching eggs in the microwave speeds up the process but uses the same basic method. Add a splash of vinegar, a pinch of salt, and half a cup of water to a microwave-safe bowl. Crack an egg into the bowl, cover with plastic wrap (leaving a small vent), and microwave for one minute or until the white is set. You can also use silicone poaching cups in the microwave or the oven, using less water in each. Don't forget to grease the silicone cups so the eggs release when they are done.
If you have a full-size sous vide machine or a device that turns a pot into a DIY sous vide egg poaching bath, set your temperature to 147 F, and crack as many eggs as fit comfortably into the pot. If you have a vacuum sealer or resealable bag, you can also place the eggs in there individually. Let simmer for about an hour or until the yolk is set.