The Smartest Way To Freeze Apple Pie Filling
Maybe you need to prepare an apple pie in advance, so you can save on some much-needed time later, or simply so that future-you has the makings of a delicious apple pie ready to go and waiting to be popped in the oven. Whatever your reasons, when it comes to freezing that apple pie, there's not necessarily a right way to do it ... but there is a smart way.
Say goodbye to gallon-size freezer bags full of fruit and chunky containers, and instead, do this: Freeze your apple pie filling using your pie pan.
Just prepare your apple pie recipe so just the filling is done, and freeze the mixture in the exact form and shape you need to save tons of time and effort once you're ready to bake. No thawing, refilling, or reshaping necessary — all that's left to do is pop it into your pie crust and bake to perfection.
How to freeze apple pie filling in your pie pan
The key here is to use the same pie pan you'll be using to bake your pie so that you can shape your filling exactly the way you need. But since you'll be putting your pan in the freezer, make sure it's a material like metal or ceramic — which will hold up to the cold freezer and hot oven — rather than something like glass, which might crack or shatter.
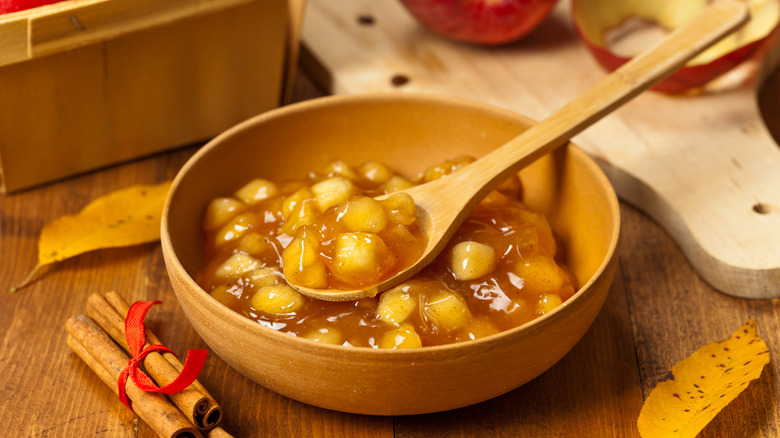
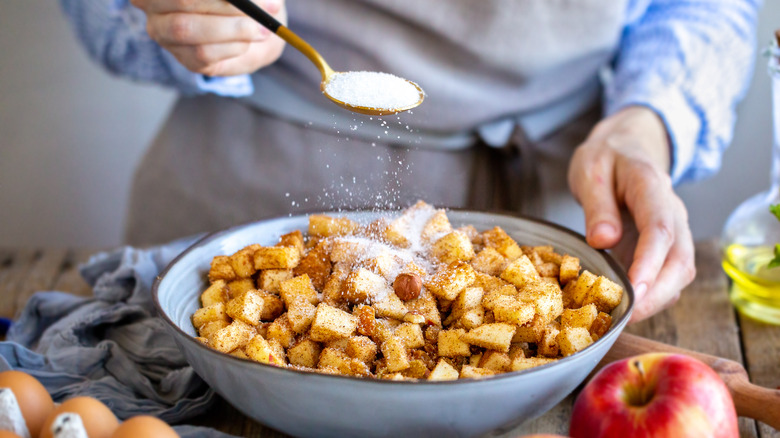
If you typically cook your apple pie filling on the stove before you bake it, do so and then let the filling cool to room temperature. If not, simply prepare your filling with your chosen ingredients. Once it's prepared and ready, line your pie pan with two large sheets of heavy-duty aluminum foil. Pour your filling into your pie pan like you normally would, and pop the whole thing in the freezer.
After the filling becomes completely frozen and solid, which could take 24 hours or so, you can tightly wrap the filling with the rest of the foil it's resting in and remove it from the pan. From there, you can add additional plastic wrap or seal it in a freezer bag to prevent any icy buildup or freezerburn.
Tips for baking frozen apple pie filling
What's a huge time-saver when baking your apple pie? The fact that there's no need to thaw your filling in the fridge days ahead of time. It's already in the perfect shape to pop into your pie crust (whether it's a flaky, buttery pie crust that's store-bought or homemade). So you can simply assemble your pie (in that same pan) and bake the filling from frozen — but keep these trusty tips in mind to ensure successful baking.
First, since your fruit is frozen, you'll need to adjust your baking time to make sure the filling cooks through completely. A good rule of thumb is to add around 15% of your bake time, but it'll depend on the size of your pie; you may need to bake your pie anywhere from 15 to 45 minutes longer than usual.
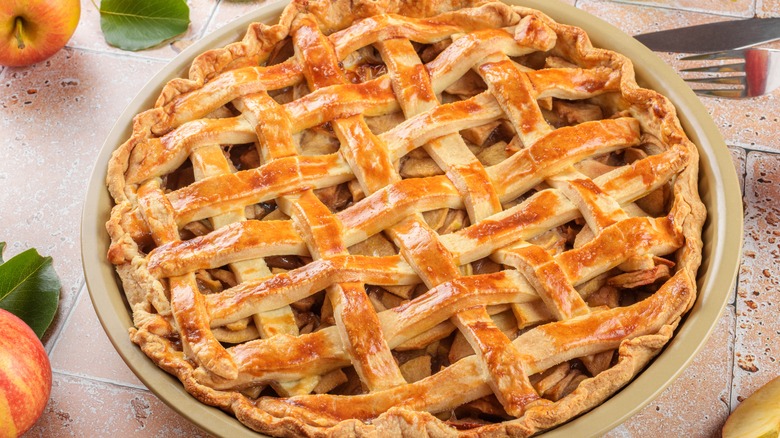
But since your pie will be in the oven longer, keep in mind that this will affect how brown your crust gets — so if you don't want it extra brown or crispy, you may want to consider leaving off any egg wash or sugar topping. You can also add your lattice later, or cover it with foil to prevent burning. You can also choose to dust your fruit filling with a thickening agent (like cornstarch or flour) before you bake it, to help thicken or soak up any excess liquid as it bakes.