All Your Burning Questions About Crème Brûlée, Answered
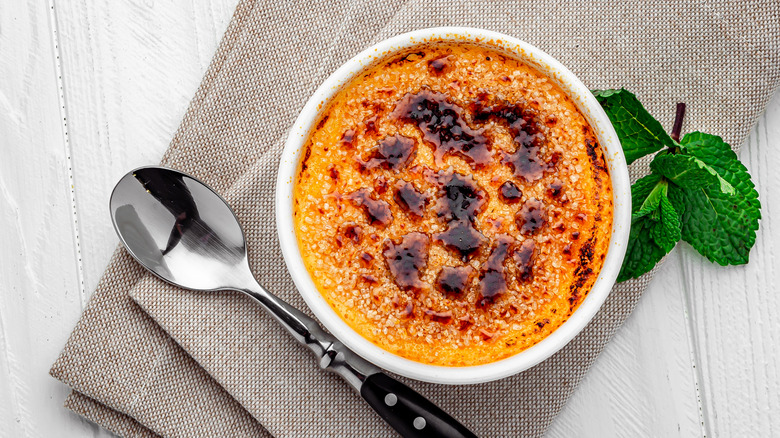
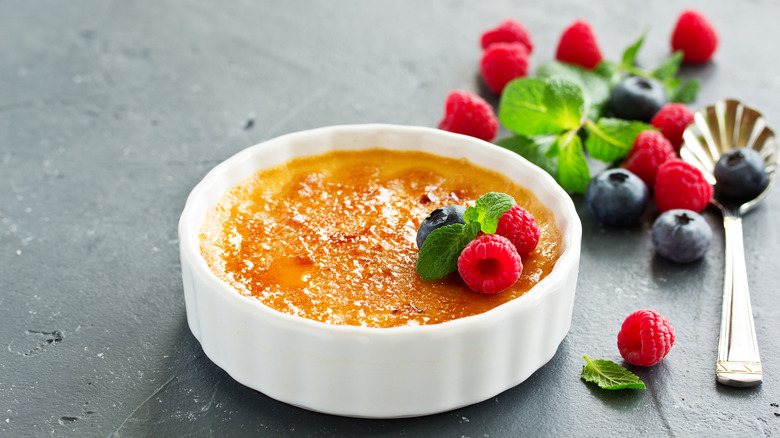
For many dessert lovers, crème brûlée is the sweet of choice at the end of a meal in a higher-end restaurant. It seems to hit all the right notes — the soft, vanilla-scented custard is comforting and familiar, like the vanilla puddings of our childhood. The brittle, bittersweet caramelized top, however, gives it grown-up sophistication. For all these reasons, it's no wonder some form of crème brûlée almost always appears on the dessert menus of nicer restaurants.
Let's go way back for a second — because crème brûlée has a long history. The term crème brûlée is French for "burnt cream," and while the first known written recipe for the dish comes from France and dates to 1691, creamy desserts with burnt sugar toppings also appeared in England and Spain as early as the 15th century. It's a treat with timeless appeal, but just because cooks have been making it for hundreds of years doesn't mean it's easy to produce — as many a disappointed home cook has discovered. If this sounds familiar, don't feel bad — the secrets to a perfect crème brûlée are far from obvious. Here we answer some common questions about the art and science of crème brûlée.
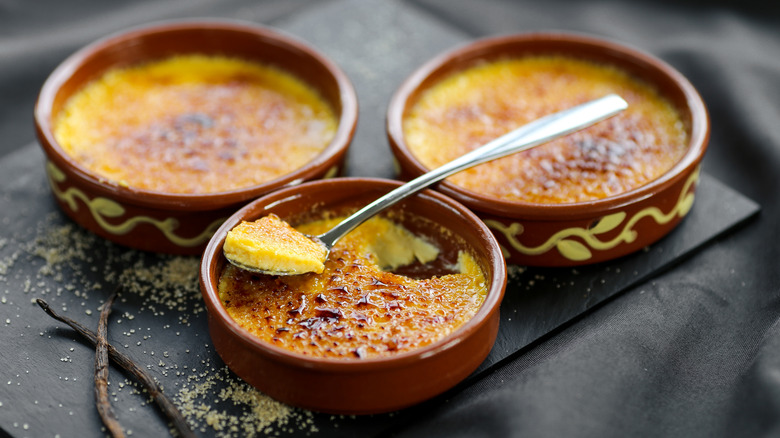
The difference between crème brûlée and flan
We'll start with the basics: What exactly is crème brûlée, and how does it differ from closely related desserts, such as flan? Both are delectable baked custards finished with caramel — but they differ in how they're cooked and presented, as well as in their texture. Flan is made with a pre-made caramel poured into the bottom of the baking container before the custard mixture (typically, eggs, sugar, milk, and flavorings such as vanilla or citrus zest) is poured on top. The custard is baked, cooled, then inverted onto a serving plate. By this time, the caramelized sugar will have liquified, forming a flavorful bittersweet sauce for the flan. The resulting dessert is tender and saucy.
Crème brûlée also starts with an eggy custard, but one that's typically richer and creamier than that used for flan – it'll often contain only the yolks of the eggs and include cream instead of milk. Crème brûlée custard is baked in shallow containers, then cooled before the caramel topping is added. This is where the fun (or hard) part begins: The caramel topping is nothing more than a layer of sugar poured over the cooled, cooked custard, then heated until brown. Once the cooked sugar cools, it hardens into a crisp, glassy topping. The result is a dessert with a satisfying combination of contrasting textures — rich, creamy custard and a crunchy caramel crust.
Is crème brûlée served hot or cold?
If you're not familiar with crème brûlée, it might be difficult to envision exactly how it's supposed to be enjoyed. The dessert literally has the French word for "burnt" in its name, and its topping is brown and toasted, which suggests it ought to be served hot. And indeed, some custards can be served warm. So all of this points to crème brûlée, like fruit crisps, being a warm dessert best served straight from the oven.
But if you've had crème brûlée in a restaurant, it came to you cold. There's a reason for this. The custard in crème brûlée needs time to cool and set to its proper texture before it's ready to eat – so ideally, your crème brûlée will have been refrigerated for several hours before you get the chance to taste it. Also, the custard needs to be fairly cool so the caramelized sugar topping can cool and harden to its desired glassy texture. So while you may encounter a freshly torched or broiled crème brûlée with some residual heat in the topping, the custard underneath will be cool.
This is how long it takes to make crème brûlée
While crème brûlée is far less labor-intensive a project as say, making a layer cake from scratch, it's far from a last-minute project. While putting the custard together is fast — it's a simple matter of mixing together heated cream, egg yolks, sugar, and flavorings – baking it can take up to 45 minutes, and on top of that, the custard needs to be thoroughly cooled before the crispy caramel topping can be added. Some experts say crème brûlée should ideally be refrigerated overnight to ensure the best texture. So putting together your prep, baking, and required resting time, you'll need about 10 hours to get your crème brûlée on the table.
The good news is that most of this time will be just waiting for the custards to cool and set, and you can break up the production process to fit it into your schedule. For instance, if you want to serve crème brûlée at your dinner party on Saturday and you're working all day Thursday and Friday, you can put together the custard mixture and store it in a sealed container in the fridge on Thursday night, bake the custards on Friday night after work, then add the topping right before serving on Saturday. Guests have to postpone their visit? No worries — the cooled, cooked custards (sans the sugary topping) will keep in the fridge up to four days.
My crème brûlée is runny
At first read, most crème brûlée recipes appear to be dead simple: Mix together some basic kitchen staples, pour into ramekins, and bake. The only part that looks even slightly tricky or exotic is the matter of adding the caramelized sugar topping. But as is the case for many recipes, the devil's in the details. It's possible to follow the recipe down to last letter and still end up with a failure.
A common complaint of many home cooks is discovering the custard refuses to set. There are a couple of reasons this could happen — the custard gets its desired texture when the egg yolks in the custard mixture cook and thicken, causing the custard as a whole to set. A custard base that remains runny could mean that either more baking time is needed or your recipe did not use enough egg yolks to provide proper thickening. If your crème brûlée still looks runny after the recommended baking time, give it a few minutes more, but don't go crazy – overcooking it can cause it to separate. You'll know it's ready when it's firm around the edges but still jiggles slightly in the middle.
How can I keep water from getting into my crème brûlée?
One of the fussier aspects of making crème brûlée is the need to bake it in a water bath. This means that instead of just putting the ramekins of custard into the oven to bake, you need to put them in a pan of water, which heats up along with the custards. This is a proven technique to help custards cook gently and evenly — recipes for other custards, such as flans and even cheesecakes, also call for baking in a water bath. The moisture from the steaming water keeps the tops of these foods from drying out so they won't crack while cooking.
Useful as they are, however, water baths can be a bit of a pain to work with — they introduce the possibility of water splashing into your custard. This risk is especially high when making crème brûlée, which is baked in shallow ramekins, making it easier for water to splash in when the water-filled pan is moved. One way to reduce this risk is to add water to the pan only after it (and the filled ramekins) are placed in the oven — pour it in slowly from a low height until it reaches halfway up the height of the ramekins. Another is to wrap the ramekins in a collar of foil before baking as a barrier against splashes.
Why is my crème brûlée grainy?
Many home cooks who attempt to make crème brûlée imagine that getting the hard sugar topping to come out right would be the trickiest part of the recipe. But the most fundamental part of the recipe — the custard — can pose even more frustrating problems. Ideally, it should be smooth and creamy, just thick enough to stay on a spoon. But many cooks find themselves instead with runny mixtures or even worse, grainy, lumpy ones.
To prevent lumps and graininess in your crème brûlée, your most important tool is patience. If your recipe calls for heating the cream before adding it to the eggs and sugar, be sure to stir in a small quantity of the heated cream into the eggs first to temper them and prevent them from curdling and making the mixture lumpy. To be on the safe side, you might also want to strain the custard before pouring it into the ramekins. Also, take your time when baking them: Custards are delicate, and must be cooked at a low temperature to keep the custard from becoming grainy. Don't try to rush the process by cranking up the heat – it won't go well.
Cooking with a water bath
Working with water baths can be fiddly and messy, and we don't blame you for wanting to avoid it. However, there's no denying their benefits: The steam generated by the hot water helps the inside of the oven stay moist, which allows the tops of your crème brûlée to remain moist and tender. This also keeps them from cracking, so you'll have smooth and attractive desserts to present your guests. In addition, a water bath helps ensure custards cook evenly all the way through.
But is there any way to get the same results without all that extra work? Judging from most recipes from reputable sources, no. But a few contrarians say otherwise. For instance, chef Raphael François, former executive chef at Le Cirque in New York City who's also cooked in numerous Michelin-starred restaurants across Europe, revealed that the wildly popular crème brûlée served at Le Cirque is not cooked in a water bath. He could get away with skipping it, he explained to the Michelin Guide, because he cooked his custards in very shallow ramekins and at extremely low heat — 205 degrees Fahrenheit — for a longer period of time, all while watching them carefully for signs of overcooking. (Other recipes, in contrast, call for baking in a water bath at 325 degrees Fahrenheit.)
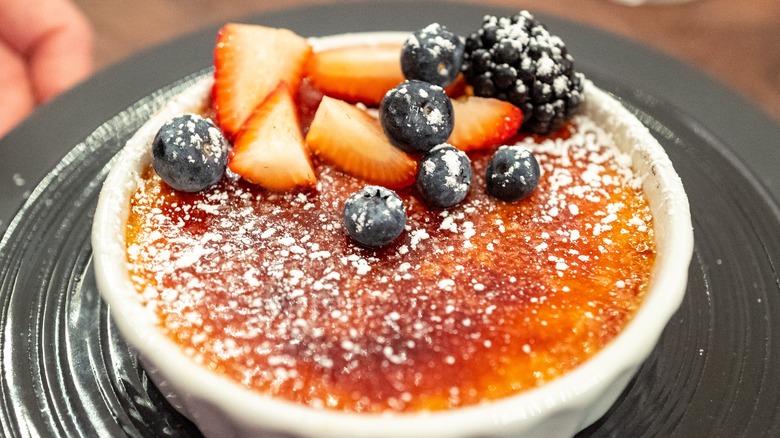
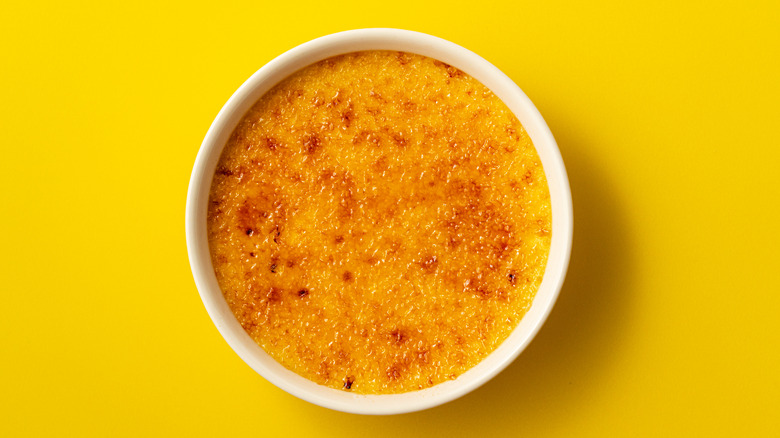
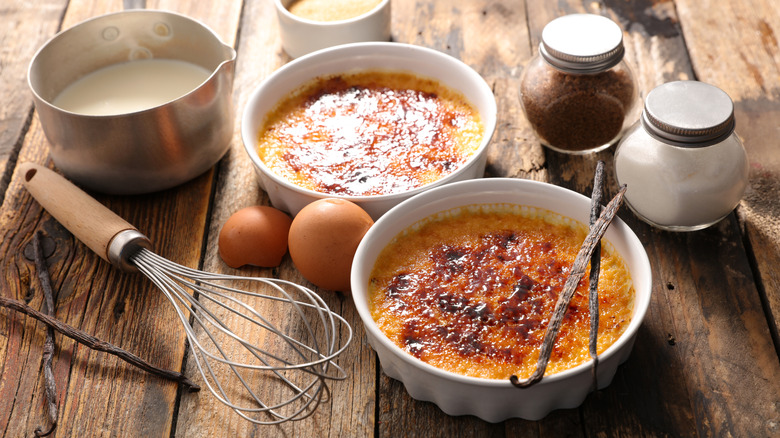
Special flat ramekins for crème brûlée
Part of what makes crème brûlée unique is its presentation. Besides the crackly golden top, it's distinguished by the wide, flat ovenproof ramekins they're served in, often barely more than an inch or two in height. You might have considered trying your hand at making crème brûlée at home, but balked at the prospect of investing in a bunch of ramekins to be used for just one dish. They're not super pricey (a set of six will set you back around $23) — but is this really the best use of your money or kitchen storage space? Can't you make crème brûlée in the regular, deep-sided ramekins you already have in your kitchen?
Unfortunately, no. The flatness of crème brûlée ramekins serves a couple of real functional roles. For one, by providing a lot of surface area, they allow all the custard to cook at the same rate and thus come out evenly textured all the way through, while custard baked in deeper ramekins may overcook on the top before the center of the custard is done. Second, the additional surface area guarantees that diners can enjoy a generous bit of the crunchy sugar topping — everyone's favorite part — with every bite. And these ramekins are more versatile than you think – for instance, you can use them to make baked eggs for your next brunch party.
My crème brûlée always comes out with bubbles

Good crème brûlée is all about smoothness. Not only should the top of the custard be mirror smooth, so should the interior — the goal is a flawlessly creamy melt-in-your-mouth texture. But because such smoothness is essentially the absence of lumps or liquid separating out, it's a feature most of us take for granted until we try to make crème brûlée ourselves — and this is when all the unwanted quirks raise their ugly heads. Among the more baffling of these are bubbles baked into the custard — how did they get there, and how can they be prevented?
Thankfully, it's not that difficult. Crème brûlée batter can get foamy if the eggs and sugar are aggressively beaten, and the bubbles from the foam can end up baked into your custard. To avoid this, gently mix the sugar into your egg yolks instead of whipping it in, which can introduce air. Bubbles can also form when the custard is poured into the ramekins. To prevent them from forming in the first place, pour the custard slowly into the ramekins from a low height. To get rid of any bubbles that do form on the surface of your crème brûlée, gently scoop them off the foam with a spoon or you can even mildly stir.
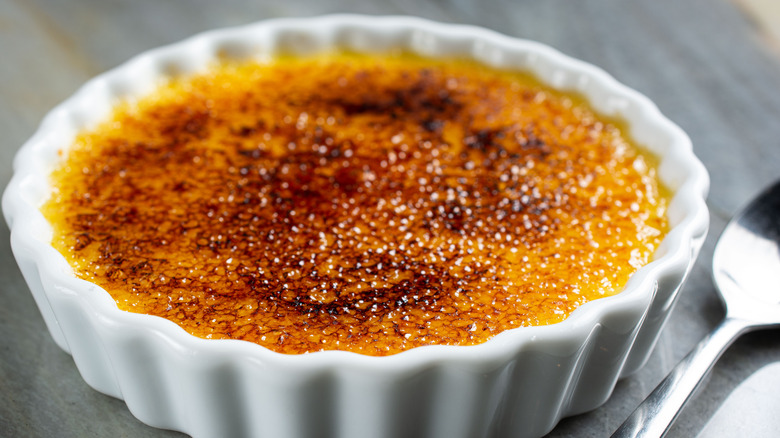
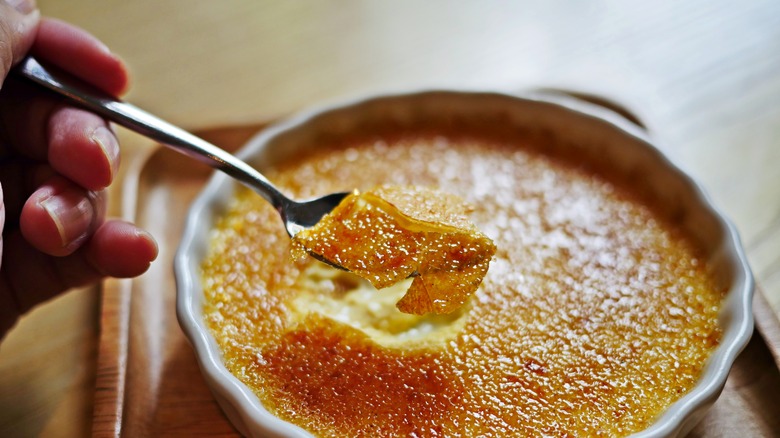
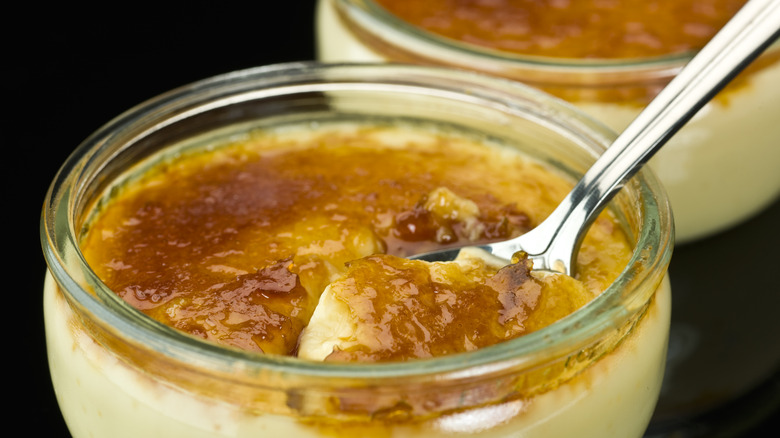
The crème brûlée topping is not hardening
The defining feature that separates crème brûlée from other creamy custards is its brittle, caramelized top. There's something satisfying about breaking through the brittle, glassy layer with spoon and scooping up the bittersweet caramel along with a mouthful of velvety cream. And the idea of making it is just as satisfying — if you pull it off, you'll earn days of bragging rights. So it's beyond frustrating to pull your long-labored-custards from the fridge, top them with sugar, then hit them with your torch, only to find the sugar refuses to harden. You'll still have a tasty caramel-topped custard — but it's seriously not the same.
This doesn't have to happen. To ensure your topping comes out nice and crunchy, the top of the custard should be dry and free of condensation before you add the sugar – pat off the tops of the custards gently with a paper towel if necessary. Some cooks prefer to bypass the torching/broiling steps and create a stovetop caramel topping to be poured over the cooked, cooled custards to harden. This can work, but be sure to use as little water as possible when cooking your caramel – otherwise you'll end up with custard topped with caramel sauce instead.
How can I get my crème brûlée topping evenly browned?
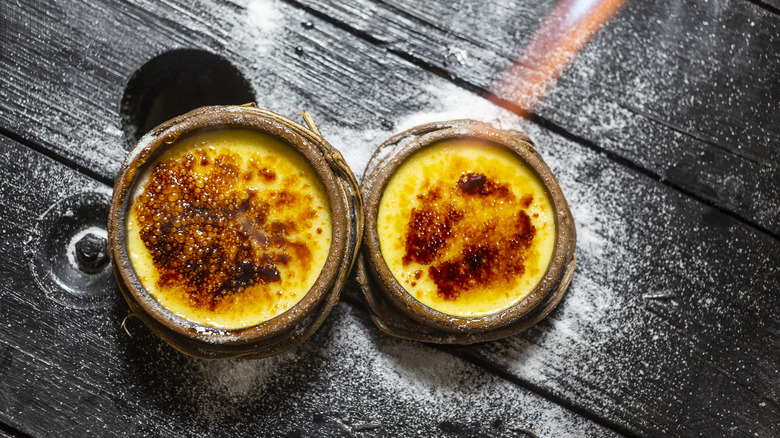
While your guests won't care, you might be striving to up your game by ensuring each serving of your crème brûlée comes out evenly browned on top, with no dark blotches or pale spots. You can do a few things to guarantee more even browning of the sugar — the first is to use an even layer of sugar. The next, if you're using a torch, is to be careful not to position it too close to the sugar, and to keep it moving at all times, being mindful to run it over the entire surface – this will ensure the sugar on each ramekin of custard melts and caramelizes at more or less the same time.
Another traditional method of making the signature caramelized topping is to put the sugar-topped custards under a broiler. This is a sensible option if you plan to make crème brûlée only occasionally and thus don't feel moved to invest in a torch. And a broiler will still give you a topping with color and a nice crunch. But if you're shooting for visual refinement, you'll get more control over the final results with a torch – broiler-browned crème brûlée will come out with splatters of browned sugar and more distinct brown or burnt spots, which have their own charm to some aficionados.
To torch or not to torch
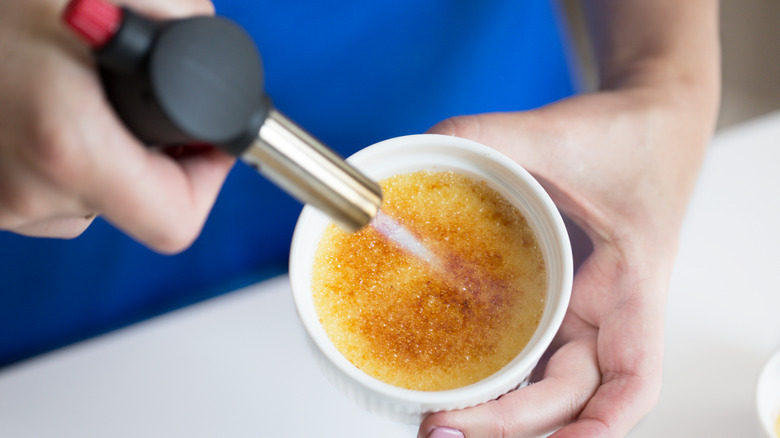
If you enter any fancy cookware shop, you're bound to see crème brûlée torches — small, hand-held butane-fueled devices — prominently on display, most likely by the stacks of crème brûlée ramekins. This may lead you to believe these items necessarily go together — if you're going to make crème brûlée, you need to have a torch. But while some chefs insist a torch offers the most effective browning with the most consistent results, you do, indeed, have other options.
Before the advent of crème brûlée torches for home cooks, the go-to option was to put the cold, sugar-topped custards under the broiler. The secret to success with this technique is to use a broiler on the highest setting to ensure the sugar melts and caramelizes before the custard gets warm and potentially overcooks. Putting the custards in the oven, on the top shelf, before turning on the broiler, will ensure your custards stay cool. The earliest versions of crème brûlée made in medieval times used something akin to a branding iron – a heated iron disk — to burn the sugar topping. A modern version of this is to heat the bowl of an old spoon over a stovetop burner until red-hot, then press this onto the sugar until the whole surface is browned.
Brown or white sugar for the topping?
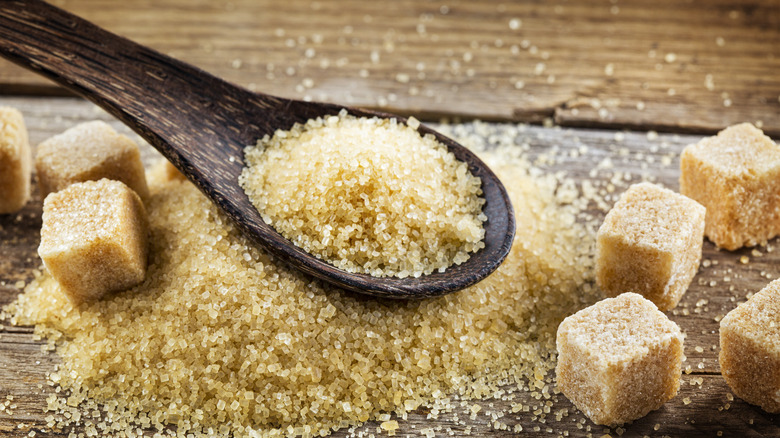
For some dessert lovers, the sugary topping of crème brûlée is the most interesting part of the dish. And indeed, the crunch and complex bittersweet flavor of the cooked sugar offers much of the dish's intrigue. Thus, it's natural for curious cooks to wonder if it's possible to punch up the taste even further by using more richly flavored varieties of sugar, such as brown sugar or coconut sugar.
It's certainly possible, but not always advisable. Plain white sugar works well because it has small granules that melt and brown easily and evenly, while other sugars take longer to caramelize, increasing your risk of overcooking the custard underneath. Moreover, with brown sugar or other dark sugars, figuring out when it has gone from merely melted to perfectly caramelized to burnt will be a lot harder. If you feel like experimenting with something other than white sugar and don't mind a bit of extra guesswork, try muscovado sugar – it contributes extra depth of flavor.
Browning the tops of crème brûlée in advance
Crème brûlée is a favorite dish of restaurant chefs because it's convenient to make and serve. It can be (and indeed must be) made ahead of time, meaning that busy cooks can just pull a serving out of the fridge and garnish it whenever someone orders one. The one thing restaurant chefs don't do, however, is brown the tops ahead of time. This is because sugar, including the caramelized sugar on top of crème brûlée, naturally attracts and binds to water. You've probably seen this effect in the way fruit releases its juices when you toss it with sugar.
So if you try to save time by browning the tops of your crème brûlée a few hours before serving, something similar will happen — the topping will draw moisture from the custard and become soft or liquid itself. For this reason, you should plan to broil or torch the tops right before serving. If you're worried that browning the tops has made your custard warmer than you like, you can briefly cool the caramel-topped ramekins in the refrigerator before serving — but no more than 30 minutes or so.