

11 Mistakes To Avoid When Curing Meat
For much of human history, the ability to preserve your food was often the difference between life and death. But even though these ancient techniques are no longer necessary, people around the world still practice them for lots of reasons. Whether you want a challenge, practice a technique from your ancestors, or are just interested, curing meat requires more energy, patience, and effort.
To the uninformed, the process seems simple enough: Salting the meat draws moisture from its cells and creates an environment inhospitable to harmful bacteria, preventing spoilage and enhancing the meat's taste, texture, and shelf life. But as with making cheese, wine, or soy sauce, curing is more nuanced than it appears. When practicing at home, there are a number of pitfalls you'll want to avoid to ensure your final product is safe, sliceable, and not too salty.
To identify the most common errors, we spoke with several butchers and chefs who specialize in crafting their own proscuittos, brescalos, and salamis (some essential cured meats you should know): owner of La Vita Italian Specialties Deli & Catering Wade Moises, butcher at Under-Study Connor Wetheringron, James Beard Award-winning chef and co-creator of Alphabet Bar & Grill Tim Hollingsworth, chef at Ecco Olivier Reedholm, trained butcher, fermenter, and chef at Finest Brooke Adams, and chef and owner of The Matheson and Valette Dustin Valette. From storage slip-ups to temperature mismanagement to improper hygiene, here are mistakes to avoid when curing meat.
1. Not studying enough beforehand

Dry curing is one of modern civilizations oldest food preservation methods, but that doesn't mean it's easy to execute. Even though people have been doing it for centuries, curing a piece of meat successfully still requires a certain amount of knowledge, experience, and technique. However, unlike an overcooked lamb chop, undercooked pie crust, or any other cooking experiment, a mistake making guanciale or salami can be hazardous to your health.
Everyone has to start somewhere, even the pros. "I have personally created several hundred pounds of landfill in the making process," jokes Wade Moises. "The best practice is practice. You should assume your first few attempts will fail. If they [don't], you can be pleasantly surprised." To familiarize yourself with the subject, Moises recommends reading "Great Sausage Making and Meat Curing" by Rytek Kutas and "Charcuterie" by Brian Polcyn and Michael Ruhlman. There are also tons of online resources, from YouTube videos to curing calculators, that can help you eliminate some of the worry, risk, or guesswork.
2. Starting out with large cuts
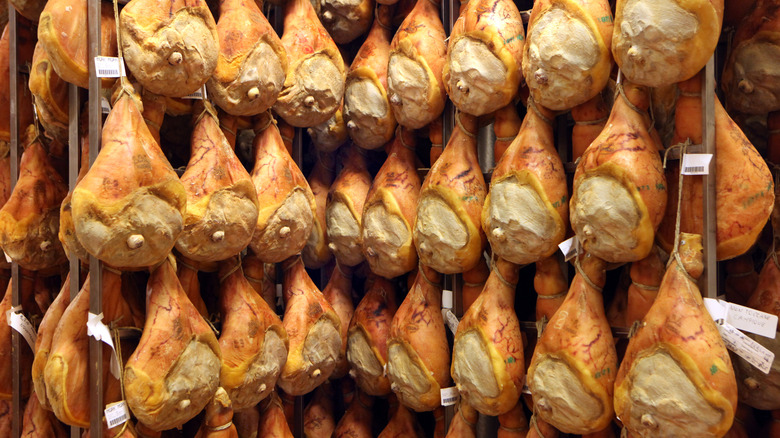
It's tempting to start your meat-curing journey with a large cut of beef or a hefty hindquarter, but you should resist the urge and scale down your selection — at least until you have some practice. Although impressive to look at, large cuts can take months at a consistent temperature and humidity to properly age, which inevitably raises the risk of spoilage. Connor Wetheringron suggests starting out with small whole muscles such as pork coppa, pork loin, duck breast and legs, fish, and beef eye of round. With whole muscles, "there are no internal pockets where bacteria or unwanted mold spores can hide from your observations." The meat ages faster, and there are fewer variables to consider than with a ground-meat salami or a large hunk of muscle, like prosciutto.
Tim Hollingsworth says to pay special attention to the size and thickness of the product. "If you're following a recipe and the product you're working with is much thinner than the one in the recipe, the curing time may need to be adjusted."
3. Failing to manage the humidity levels
Several factors will determine if your cured meat comes out seasoned and succulent or spoiled and inedible. Humidity is one of them. Excess moisture can quickly lead to unwanted bacterial growth, mold, and spoilage. But why should a technique called "dry curing" require any humidity at all? Isn't bone-dry best? Oh, if only it were that simple.
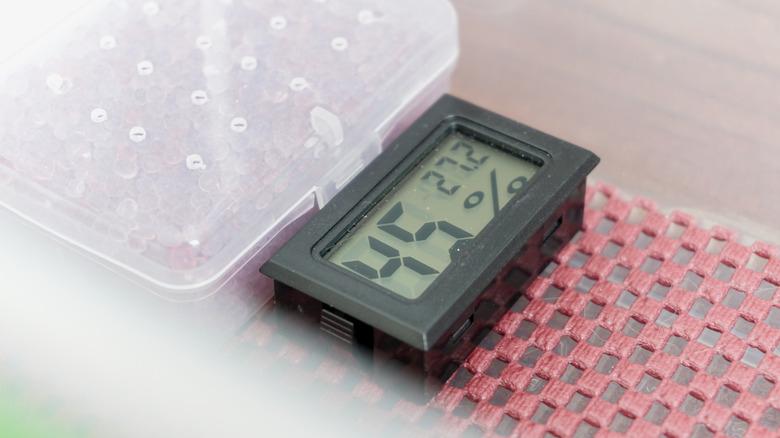
Curing requires a very specific humidity range. If the environment in your curing chamber or refrigerator is too dry, the outside of the meat will harden while the inside stays wet, trapping the moisture and creating a breeding ground for harmful pathogens. But if the meat is stored in too humid of an environment, the exterior stays damp enough for bacteria to grow and spoil the meat. Olivier Reedholm suggests aiming for 70% 85% humidity when working with most meats. "Since most of these projects take substantial time, up to years," Reedholm notes, "consistent heat and humidity are the real secret to preventing spoilage." In warmer, wetter climates, incorporating tools like a humidifier or a dehumidifier and a hygrometer (to measure humidity) can help you keep levels consistent over time.
4. Holding the meat at too warm a temperature
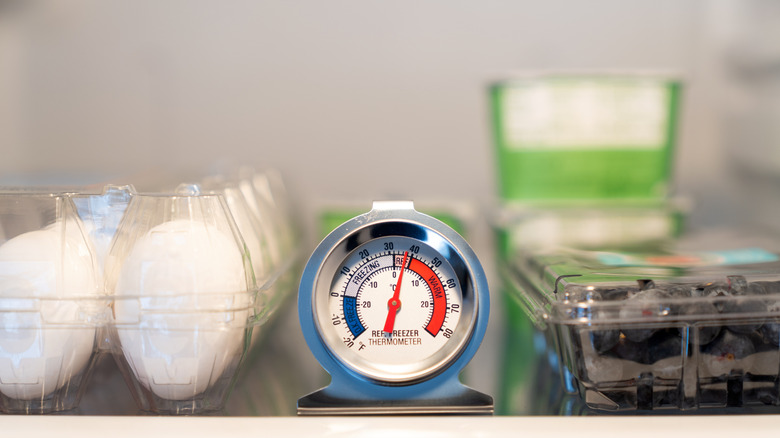
Temperature is another major piece of the curing equation. Just like humidity, it needs to fall in a predictable range and be controlled for the duration of the aging process. For this, Olivier Reedholm suggests a very familiar appliance: the fridge.
But curing meat isn't as easy as bagging up a piece of beef, covering it in salt, and storing it in the refrigerator. Different meats require different temperatures at different points in the process. For example, when you're working with a fermented product, like a salami, chorizo, or summer sausage, you need to start the initial curing process at a warmer temperature — around 65 F to 75 F — in order to let the "good" lactic acid-producing bacteria feed on the natural sugars present in the meat. As the bacteria flourish, they not only help preserve the sausage but also imbue it with a slight tang and umami flavor. On the other hand, a whole-muscle cure, like prosciutto, should start in a cooler environment around 38 F to 50 F, adds Reedholm, because it doesn't require an initial fermentation. For the drying and maturing phase, store the meat at 50 F to 60 F, depending on the size and cut.
5. Not utilizing the proper tools
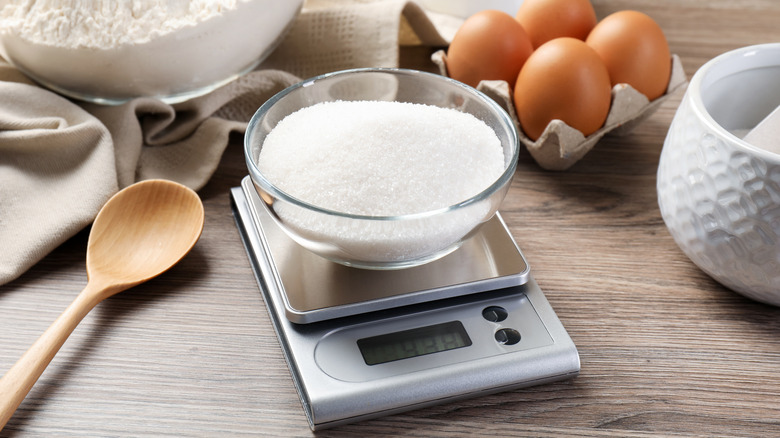
People have been dry-curing meat long before thermometers and dehumidifiers existed, but today we all of this this wonderful technology can help make the job easier, safer, and more efficient. And don't think for a second that adopting any of these modern conveniences at all diminishes the authenticity of this ancient preservation method. Most of the equipment you'd employ is there simply to manage, measure, and better control the climatic conditions that can cause your cured meat to spoil.
When you start curing meat, you should have these few basic tools in your arsenal. The most essential are a hygrometer, which measures humidity — a main culprit in spoilage and mold growth — and a thermometer to track air temperature in your curing chamber or fridge. A digital scale is also important, and Wade Moises recommends having two: "one with slightly lower resolution but larger capacity for scaling bulk items (meats) and a smaller, higher resolution scale (.1 gram resolution) for scaling [lighter] ingredients (spices, salts, etc.)." Then, you need some basic cooking gear, like butcher's twine and meat netting (to help the muscle maintain its shape), cheesecloth, gloves, and, if you have it, a vacuum sealer. If you don't, Ziplock bags will do in most situations.
6. Experimenting
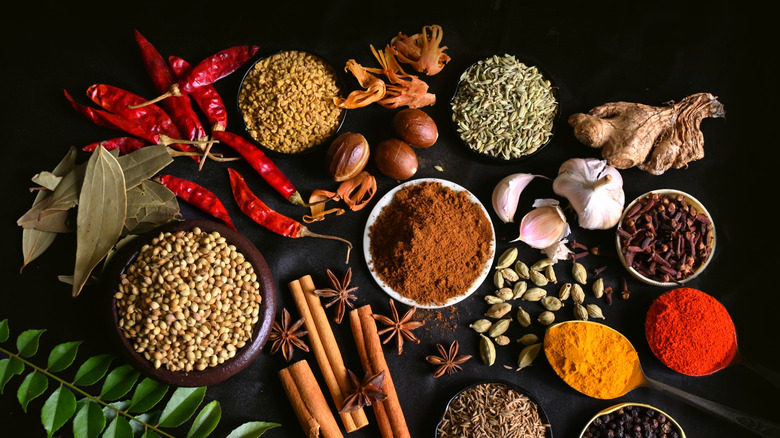
In most of the culinary arts, experimenting is not only permissible but encouraged. Many of the world's most sublime gastronomic creations come from breaking tradition. But when it comes to curing, it's best to follow tried-and-true techniques before venturing too far into experimental territory.
"Curing meats is a tradition brought out of necessity that has been passed down from generation to generation," says Brooke Adams. "The most common mistake I see people make when it comes to curing meats is trying to reinvent the wheel. There are traditional methods for a reason. While a few scientific advancements have proven interesting, going off of proven methods will get chefs stuck in a bind with some questionable meats."
Adams believes it's best to resist the temptation to test different spice blends, ratios, or techniques, too. "Trying to introduce other seasonings can alter your salt ratio or leave room for bacteria. Trying to use curing chemicals to shorten the time it takes can be risky, and even when done right, won't yield the rich and true flavor of a traditional prosciutto."
7. Eyeballing your measurements
Curing meat doesn't require the same precision as engineering a skyscraper, but your measurements still need to be specific. Because with aged meat products, it's pretty hard to hide your mistakes, especially if your pork cheek or beef round is rotten. By weighing your ingredients, you will have greater control over your final product and reduce the risk of mold and spoilage.
"With charcuterie, it's math — meat math," says Dustin Valette. "You're salting by percentage of the meat's weight, and you're finished when the meat has lost the right percentage of water." For example, too much salt can make it unpalatable, while too little won't properly penetrate and flavor the meat.
Weight is another important measurement. As meat ages, it gradually loses moisture and size, which not only concentrates its flavor, but also helps prevent dangerous microbial growth. That's why it's often a more reliable indicator of its stage of curing than, let's say, a clock. "The meat is ready when it's lost enough weight, not a certain date, per se," adds Valette. "A prosciutto takes about a year and a half; in contrast, a salametti might get there in four weeks." A general rule of thumb, according to our experts, is that your cured meat will have achieved its desired texture and flavor when it's about two-thirds of its original weight.
8. Using unsanitized equipment
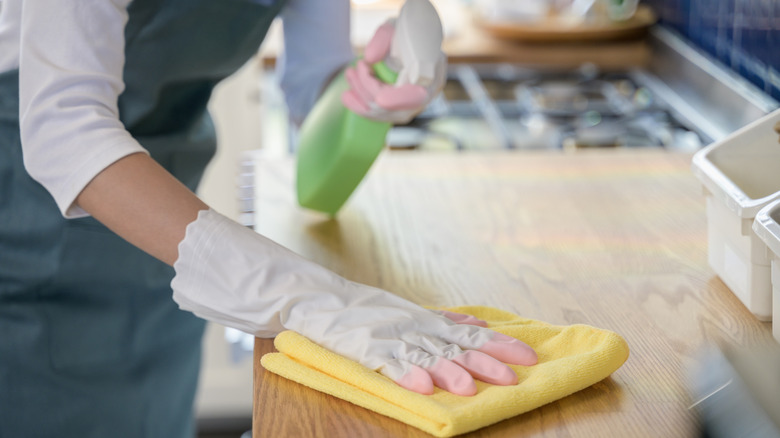
Curing meat is essentially a battle of bacteria, a balancing act of beneficial microbes and harmful pathogens. Maintaining consistent temperature and humidity levels is crucial, but equally important is ensuring that each step of the curing process is carried out in a sanitary environment using sterilized equipment. Dustin Valette reiterates this point, saying that, although there are plenty of things that can go wrong, the worst among them is bad hygiene.
Our other experts agree. Connor Wetheringron says that one of the most common mistakes people make when curing meat is not paying attention to cleanliness. "The best place to cure meat at home is a sterile environment where temperature and humidity can be monitored and controlled: A charcutier chamber, a vacant fridge that has been previously sterilized, or a small sterile container stored under refrigeration are ideal."
Equipment and storage containers can also be major sources of harmful bacteria. If casings, bags, and grinders aren't sterilized before use, they can introduce dangerous pathogens to your meat. Some of these, like botulinum, thrive in oxygen-free containers. Even touching the meat with your bare hands can lead to unwanted bacterial growth, which is why Wetheringron recommends wearing gloves when handling the meat.
9. Using a low quality protein
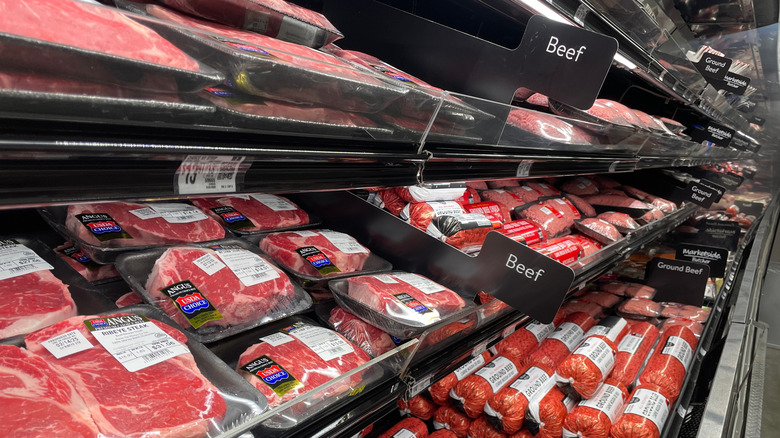
"Your meat is only as good as the animal," Dustin Valette answered when asked where people should go to purchase their proteins. He recommends going to a local butcher instead of a grocery store. "The difference in fat quality makes a huge difference in terms of flavor. Tell your butcher what you're planning on doing; a good one will get excited and set cuts aside for you."
Connor Wetheringron shares the feeling, saying that good meat starts with quality protein from a local butcher. They have a direct connection with the farmer or rancher, "and can help steer you in the right direction." For specific cuts, Wetheringron says legs and shoulders as whole pieces are the most traditional, but you can also use steaks and loins for a short cure to enhance overall flavor. And in case you were wondering, you should only use fresh — never frozen — meats for charcuterie.
10. Forgetting to properly prepare your protein
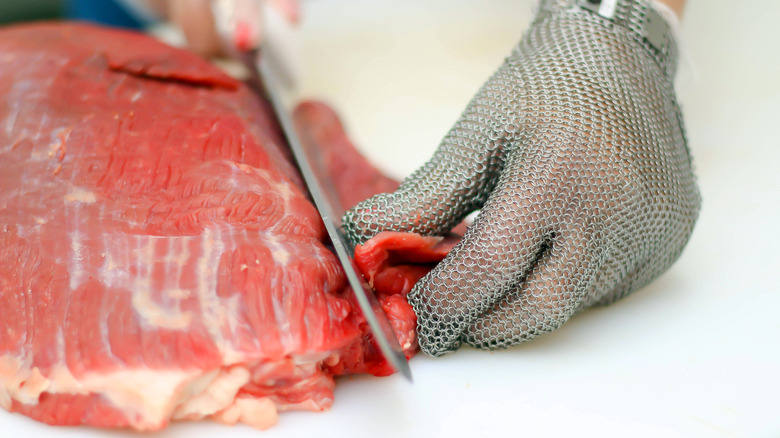
A cut of meat straight from the butcher is not necessarily ready for the curing chamber. Some preparation is required to ensure the meat dries evenly and doesn't spoil or mold. As discussed above, knowing your meat's weight before you begin curing is essential. But before you put it on the scale, you'll want to trim away any excess to achieve a nice, uniform shape. This also helps with cutting the final product into nice, round slices.
Next, is dealing with the fat or silver skin. This should also be removed prior to weighing because it can prevent the salt from penetrating through to the meat. Salt moves quicker through thinner cuts of meat, so keep that in mind as you begin the curing process. After trimming, it's time to weigh the meat. Use a digital scale for an accurate reading, and add a tag with the initial weight. Don't forget to calculate your "target weight loss," which should be between 30% to 40% less than your initial weight, and write that on the card, too. With this information, you'll be able to track the aging process more reliably.
11. Skipping seafood
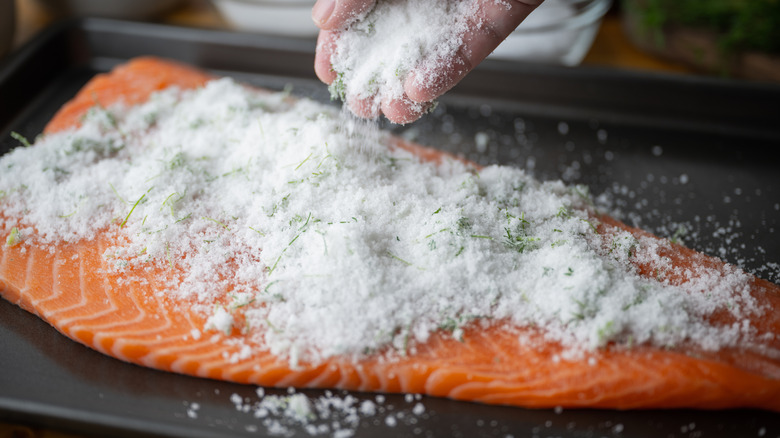
So far, most of the discussion has centered on traditional cuts of land animals, but curing seafood is an equally great option, especially for beginners with limited experience. In an interview with Tasting Table, chef Ed Cotton suggests using fattier fish for curing. "You will always find trout, salmon, cod, [and] mackerel. I have personally cured snapper and bass as well, but they aren't as common as the ones listed above."
Olivier Reedholm agrees and prepares a lightly cured tuna. The fish sits on a rack, where it slowly expels moisture, "allowing the texture to firm up and the flavor to deepen."
But the greatest benefit of curing fish is that it takes a fraction of the time. Lox, an immensely popular version of cured salmon, takes only two to three days before it's ready to taste. Because of this shorter time frame, the same food safety concerns relevant to larger cuts of meat — such as temperature and humidity — don't necessarily apply to seafood, at least to the same degree. That's why Dustin Valette recommends going for a citrus-cured salmon (gravlox) before diving into something like an 18-month-aged prosciutto. "It's quick, easy, and it tastes fantastic," he says. "Not only will you be hooked, but it's super impressive to show off."