Do you have a soft spot for hard shell tacos? Think the skin is the best part of fried chicken? We have just the hack for you. Our friends at ChefSteps wrote in this week with a recipe that'll satisfy a specific hankering for fried chicken and crispy tacos. Be sure to grab a sheet of aluminum gutter screen mesh and a pair of wire cutters to make the best mold for your taco shells. Don't have the hardware? No worries—make nachos instead!
Crispy Chicken Skin Taco Shells
Makes 3 taco shells; 1 hourIngredients:
3 large skin-on chicken legs
Fry oil, as needed
Directions:
Gently pull the skin off the thigh and up and over the leg bone. Repeat with each leg.
On the stove, blanch the chicken skin in boiling water for 15 minutes to tenderize.
Remove the chicken skin from the boiling water and cool in the refrigerator.
Make your chicken-skin taco shell frying mold. Using aluminum gutter-screen mesh and some wire cutters, cut two 4-in-long pieces of the gutter screen and fold them in half into a taco shape. One piece will be for shaping the chicken skin interior and the other mold will be for forming and holding the chicken skin in place from the outside.
Shape your taco shell molds.
When your chicken skin has cooled, flatten it and cut into 3½- to 4-in circles using circle cutters from a baking-tool set. Note that you can cut the circles as big or as little as you would like, but make sure your frying molds are specifically designed around the size of your chicken skin.
Place a medium-sized frying pot on the stove and heat canola oil to 375 °F / 190 °C to 400 °F / 205 °C. Place your shell molds into the oil while the oil is heating in order to season the molds and prevent the chicken skin from sticking. Once your oil has reached 375 °F / 190 °C to 400 °F / 205 °C, remove the inner mold and place your chicken on the outside of that mold, and then place the outside mold around the outside of the chicken skin. Securely crimp the chicken skin into the center to form a shell shape. Next, place the chicken skin in its mold into the fryer and fry for 6–10 minutes, or until perfectly golden brown and crispy.
Once the chicken skin is golden brown and crispy, remove it from the fryer and simply and simply unbend the outer mold from its V shape. This will remove the outside of the chicken skin from the outer mold while the skin is hot. It's important to work quickly because when the chicken skin cools, it becomes crispy and brittle. Once the outside mold has been removed, work carefully by pinching inward to remove the shell from the inside mold. This takes practice, but once you get going, you'll become a pro! When you have the shells removed, season with salt on both the outside and inside of the taco shells. Repeat this step with each chicken skin. You may build as many of these molds as you wish. It'll allow you to fry more skins in the same pot, but remember that working fast and while the skin is hot is key. TIP: If your chicken skin is becoming brittle, dip the skin back into the hot oil so that it becomes pliable again.
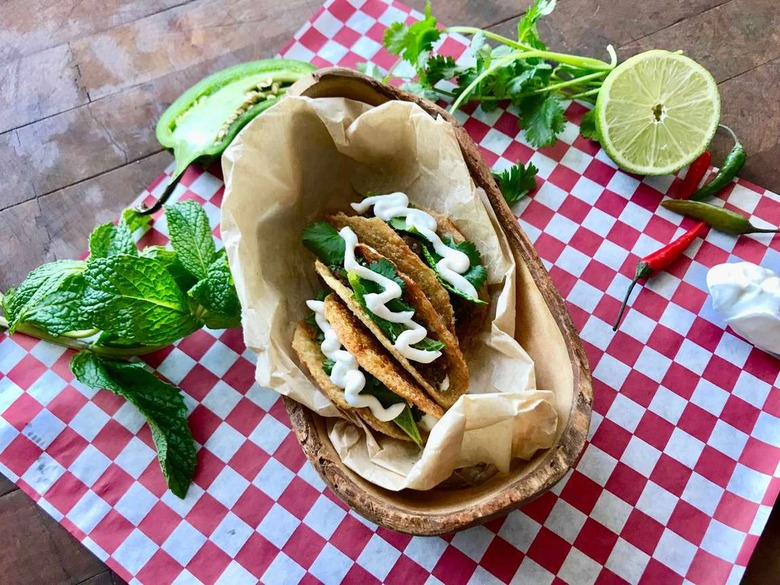
You can fill your Crispy Chicken-Skin Taco Shells with anything your heart desires—but we recommend poke, garnished with herbs and a hit of sour cream.
Skip the shell shape—just fry up the blanched chicken skin, season, garnish, and serve!
ChefSteps comprises a team of award-winning chefs, filmmakers, scientists, designers and engineers focused on revolutionizing the way people cook by inspiring creativity and encouraging expertise in the kitchen. You can also get access to all of ChefSteps' Premium content — including paid classes and dozens of recipes available only to Premium members for a onetime fee of $39. Classes include Sous Vide: Beyond the Basics, Fluid Gels, French Macarons and more!