No Paint Needed: Upgrade Kitchen Cabinets With One Hack (Renter Friendly)
We may receive a commission on purchases made from links.
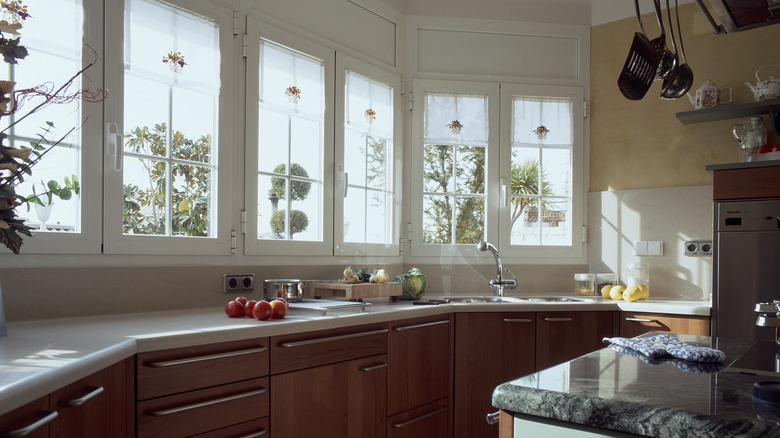
As the most abundant surface in a kitchen, cabinet coloring sets an important tone. So whenever the doors and drawers look drab, the ambiance is accordingly diminished. Nevertheless, a major overhaul like painting or full replacement isn't always feasible — perhaps it's pricey or you're renting the accommodation. That doesn't mean you're out of options; the clever hack of using peel and stick contact paper awaits. To help explain this savvy workaround, Food Republic's grateful for the advice of Heidi Lapka, the executive director of the Wallcoverings Association (WA).
Lapka recommends these stickers for their versatility; they "achieve a wide variety of colors, textures, and patterns." Whether your kitchen revamp vision involves a solid color, a funky pattern (take part in the retro kitchen design comeback!) or even a natural surface like wood or marble, peel contact paper can fulfill all such aesthetics. Plus, if your kitchen includes some mismatched areas, it's a way to standardize a theme. Consider picking a color that contrasts with the area above your cabinets to meld aesthetics into one.
Furthermore, peel and stick contact paper benefits with its ease of application. So long as you have flat surfaces — ideally composed of "laminate, MDF, or finished wood," notes Lapka — you can adhere these new layers, and then take them down with no incurred damage. All such factors make the solution ideal whether you're renting or trialing designs in your own home.
Carefully install peel and stick contact paper for a cabinet enhancement
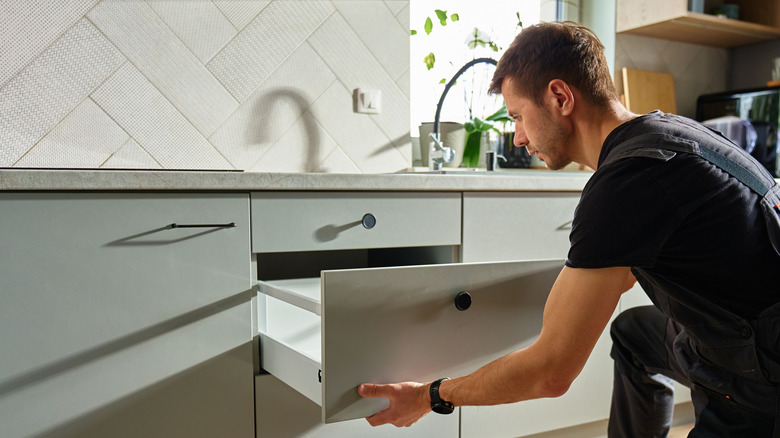
To make the most of the cabinet color overhaul, you'll want to follow a careful application process. Start by giving these surfaces a thorough cleanse; exerting more effort than on a typical chore day. Lapka emphasizes the importance of degreasing, as any residue "prevents adhesion and causes bubbling and peeling." You can clean grease off kitchen cabinets with the common pantry staples of baking soda and vinegar, so no need to purchase extra supplies. Once the cabinets fully dry, you're ready to work.
Adhesive paper's only downside is a predisposition to bubbles — so invest in a smoothing tool to avoid disappointments. If you don't already have one laying around, spend around $5 on the 2 piece Yuntop Wallpaper Smoothing Tool found on Amazon; using it also ensures the paper sticks optimally. And no need to sweat small air pockets amidst the process; they'll smoothen out eventually. Otherwise, a patient, pressurized application will lend your kitchen a new look, so long the cabinets are "free of chips, heavy texture, or peeling finishes," Lapka points out.
Keep in mind this kitsch hack isn't precisely the same as a painting — the adhesive will start to deteriorate. Precise durability is tough to estimate, and comes down to factors like "exposure to moisture and heat," says Lapka. Although with a well-regarded brand and careful upkeep, durability up to 2 years is certainly attainable.