Ice Pops Are Easier Than Ever To Make With This Loaf Pan Hack
There are few things better than a refreshing popsicle on a hot summer day. If you're curious about making your own version of the classic frozen treat at home, but don't have specialty popsicle molds, don't let that stop you. There's an easy hack that requires a kitchen staple you probably already have on hand: a loaf pan.
To craft healthy and delicious popsicles, you can use the same pan you bake banana bread in. All you need to do is pour your popsicle liquid base into a prepared loaf pan, filling it about three-fourths the way. Let the mixture partially solidify in the freezer for an hour or two, then insert four or five popsicles sticks along the center of the pan so they stay in place.
Transfer the dish back to the freezer to set for at least five hours more, or overnight for good measure. Once the popsicle mix has frozen, simply use a chef's knife to cut widthwise into thick popsicle slabs. Lift the frozen fruity slices out carefully by their sticks, and there you have it: a beautiful homemade ice pop — no need to procure any extra molds or equipment.
Customize your popsicle ingredients
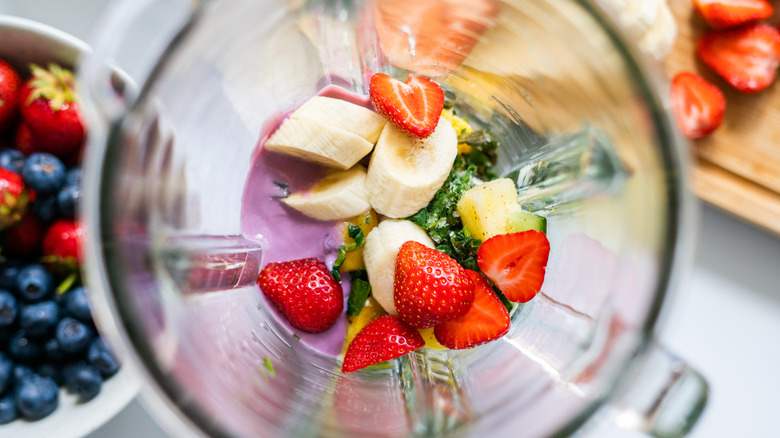
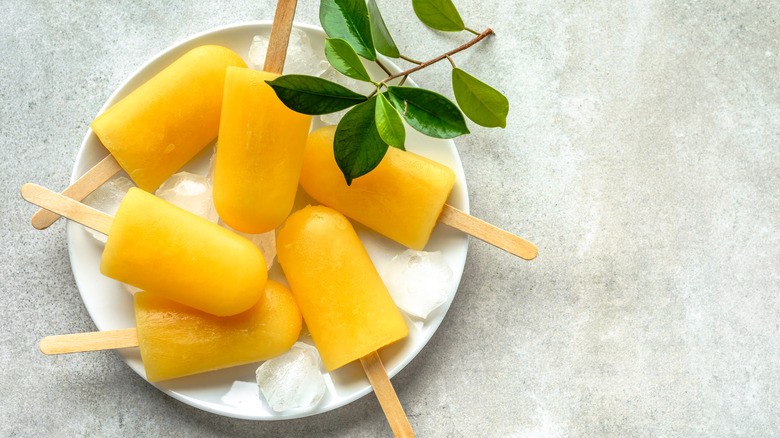
With this seamless popsicle pan hack, you can worry less about fancy kitchen tools and focus more on creating fun flavors to freeze and enjoy. Mix up the popsicle base by puréeing your favorite fresh, seasonal fruit like strawberries, mangoes, or raspberries with milk or yogurt in a blender — until about the consistency of a thinned-out shake or smoothie.
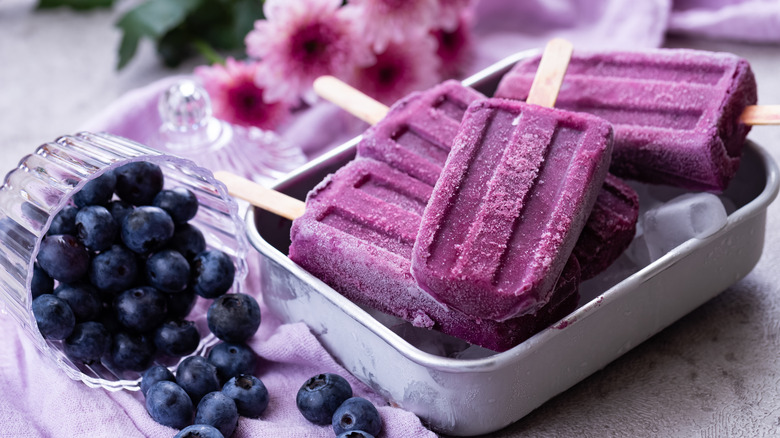
Make your ice pops fruit-forward by incorporating juices like orange or apple, then folding in chunks of fruit right before pouring it into the pan and freezing. Or go the tropical route and add coconut water as your liquid before you purée the base. Incorporate lemon juice with blueberries for a balance of sweetness and tang. It might also be fun to take inspiration from beautiful layered smoothies and pour in different flavored bases for a striated look (just freeze partially in between additions for clean layers).
Whip up frozen yogurt ice pops with blackberries or blend Greek yogurt directly in with your fruit for extra creaminess. To give the frozen pops a luxurious mouthfeel, you can also add in mashed ripe banana, coconut cream, or avocado. And don't stop at fruit — play around with incorporating veggies like zucchini for a nutritious icy twist. Toss in chia seeds for texture and visual appeal. You can even make popsicles with your favorite milkshake base if you're feeling like a grown-up take on a Fudgsicle.
Tips for keeping your homemade treats frozen
Once you try this trick for easy homemade popsicles, you'll always want to have at least one tray of popsicles on hand. For optimal quality, texture, and taste, make sure to take your popsicles out of the loaf pan within the day that you freeze them. To grab a pop whenever you like, store each piece individually in the freezer in airtight wrap or bags to prevent ice crystals from forming on the surface.
Of course, if you don't have a loaf pan on hand, you can always try this same concept in a larger baking dish like a square cake pan. Just be sure to cut your pops, once frozen, into uniform slabs for perfect single serve sizes. Though loaf pans seems work best since they've got a nice balance of height and width, whatever tray you use, the end result will be as impressive as it is easy.
And just because you made these popsicles at home doesn't mean you can't bring them to the park for a picnic. To keep your frozen creations from melting in the cooler, bury them in the bottom under ample ice. After all, the icy delights are best shared and eaten in the sunshine.