Mistakes Everyone Makes When Cooking Homemade Broth
It looks so easy. Chop up some vegetables. Throw in aromatics, a chicken carcass, or maybe beef bones, and soon you'll have a rich, fragrant broth worthy of any celebrity chef. Use it as the foundation for a rich Italian wedding soup, pilaf, or if you're feeling adventurous, as the secret ingredient in mushroom risotto, chicken and broccoli linguine, or a Jamaican beef patty pot pie.
Broth is one of those concoctions that tastes as if it took more time and effort than it did. You put it together and go on about your life while that bubbling pot on the stove does all the work. What could go wrong? Weak, watery broth, anyone? Bitter aftertaste? The lingering thought that you might as well have saved yourself some time and just reached for a can or a carton?
The problem isn't the broth; it's the way it's prepared. The process is part art and mostly craft. The art is your special touch, like which aromatics you choose that make your recipe special. The craft is knowing the basic steps you must take as well as the missteps to avoid. Here are 10 mistakes most people make when cooking homemade broth. Once you're aware of them, you'll be able to enjoy the broth, not only while it's filling your kitchen with its fragrance, but while you're savoring it in any number of delicious creations.
Adding cruciferous vegetables
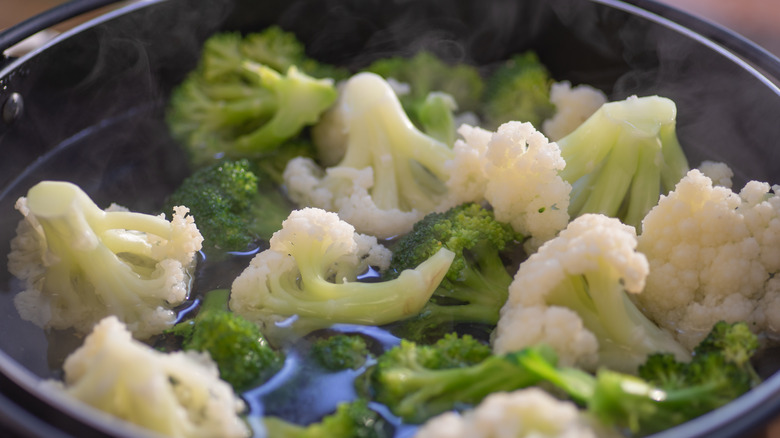
What's that bitter taste taking over your otherwise wonderful broth? Could it be that leftover broccoli you just added? That handful of watercress? That freezer bag of unidentifiable scraps you've been saving for months? Saving all of your scraps for homemade broth and soups is economical and satisfying. The more vegetables the better, right? Not when they're cruciferous vegetables.
These vegetables have an important place in cooking. They're heart-healthy, provide fiber, and they're versatile — most of the time. Broccoli's earthy taste makes it the natural star of savory soups, especially when paired with cheddar or creamy blue cheese in recipes where it has no competition. But if you use the everything-but-the-kitchen-sink approach to making broth, you'll soon find out that broccoli, along with cabbage, cauliflower, brussels sprouts, and even arugula, can dominate your end result, and not for the better. Here's why cruciferous vegetables are best left out of the stockpot. In a word, they're overpowering. If other vegetables whisper, cruciferous vegetables shout. They don't blend well, and they make everything taste like them.
Broth is supposed to be subtle, a team player that helps bring all your flavors together. Save those cruciferous vegetables for recipes that allow them to be the center of attention. For the best broth, focus on ingredients like shallots, leeks, carrots, and celery.
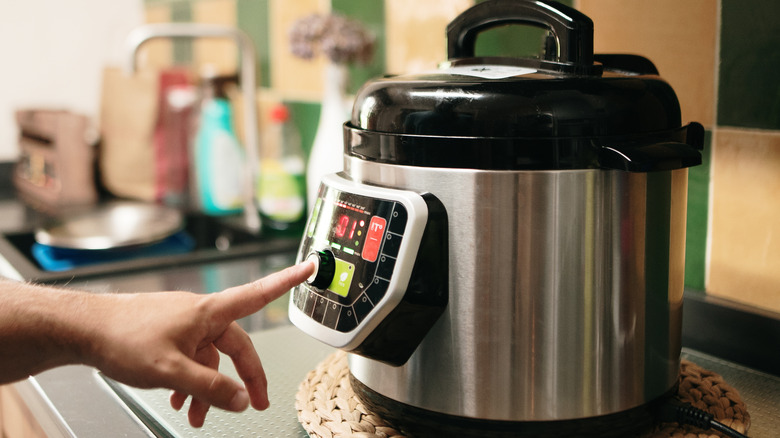
Choosing the wrong pot
Everyone's made this mistake. In your exuberance to get started, you grab the closest pot and start filling it. Only after that too-small pot is in danger of boiling over — or your ingredients are swimming in too much water in that too-large pot — do you reconsider.
The average-size pot like the one that probably came with your cookware set holds 8 quarts, which makes about eight to 12 servings. This is manageable if you're not planning to feed a crowd. Yet, when you go to the trouble of cooking your own broth, you probably want more to show for your efforts than a single meal. Better yet, you're probably planning to freeze some to use later. If you are making large batches, think about investing in a 12-quart pot. Remember that large pots also take up space — so before you buy one, consider how often you'll need it.
When choosing a pot, don't examine size alone. Consider heaviness. Pots with thin bottoms conduct heat faster and are a smart choice for tasks like boiling water or making quick-cooking vegetable or fish broths. They also cost less than thicker pots. A pot with a heavy bottom will distribute heat more evenly than a thinner one. The question to ask yourself is whether you want a quick transfer of heat or a more even one. If your broth is going to spend hours on the stove, a pan with a thicker bottom will be worth the price.
Misjudging how much salt to use
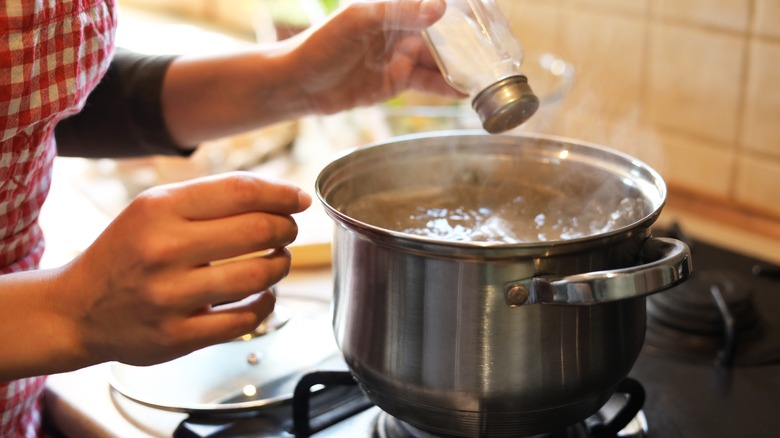
You've done this, right? Automatically sprinkle in that salt before the broth has an opportunity to heat, let alone reduce. It's almost an automatic reflex. Yet as your water evaporates and the liquid reduces, you could be left with a too-salty broth. The goal is a layer of flavors, each one distinct and part of the whole, not one taste that overpowers everything. And while you can correct that problem with acidic citrus or vinegar, water, unseasoned broth, or a fat like unsalted butter, you'll have better results and experience less frustration if you avoid over-salting in the first place.
The type of salt you use matters. Those flakes that add crunch and flavor to your avocado toast will dissolve more slowly than other salts, which makes it difficult for you to taste how much you need. The broth may seem perfect at the beginning of the cooking process, but as the mixture simmers and reduces, the salty flavor will become more and more concentrated. Simple sea salt adds flavor without dominating your broth. Save those trendy black lava, truffle, and espresso-infused salts for finishing.
There are three steps to successfully salting broth. First, use less salt than you think you need at the beginning. Next, taste as you go. If your broth is too bland now, it may need only more time to simmer. Finally, don't forget the aromatics. Adding spices, shallots, or leeks will punch up the flavor without additional salt.
Overcooking
Time is not a magical ingredient when it comes to good broth. It's true that you should cook slowly on low heat, but that doesn't mean indefinitely. Although the idea of a pot simmering all day on the stove may make you think that longer is better, that's not the case.
While larger bones such as beef or ham may be cooked overnight, chicken bones add their flavor in a couple of hours or less, and vegetables are finished in even less time. Those ingredients have only so much flavor in them, and if you continue to simmer that broth, you're not going to magically add any more. Instead, use that last 45 minutes to an hour of cooking to stir in some aromatics like red pepper flakes, fennel seeds, or black peppercorns. For a stronger flavor, smash them with the back of your hand first. They'll add more flavor to your broth than an extra hour or more on the stove.
Omitting umami
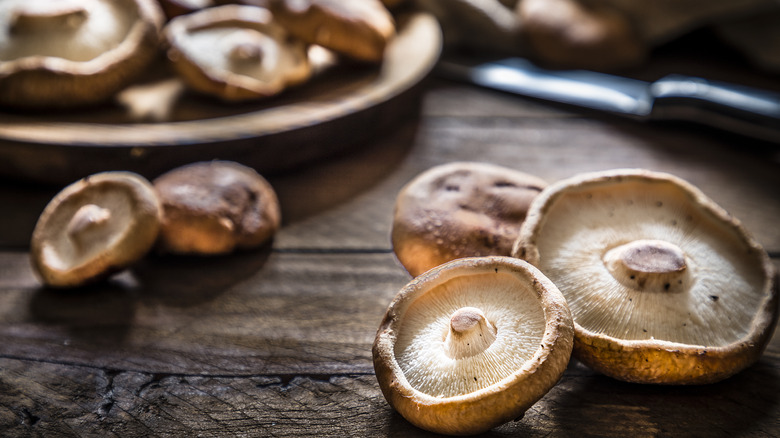
You probably don't remember your grandmother standing at the stove, tasting spoon in hand, saying, "I think this broth needs a little more umami." That savory flavor, which means "delicious taste" in Japanese, is a relative newcomer to Western cuisine. One of the five primary tastes — along with sweet, sour, bitter, and salty — umami provides another flavor layer that's distinctly different from salt. When something you're cooking isn't quite right, when you feel it needs a boost of some kind, the answer may be umami. Furthermore, in addition to adding richness to broth, umami can also replace the need for more salt.
You'll find it in cooked and cured meats like pepperoni and bacon, seaweed, and fermented foods. Chicken broth has an organic umami boost from the bones and meat. Mushrooms are the go-to umami for many chefs. Cremini and portobello mushrooms have more complex flavors than the younger, milder white button mushrooms. Try shitakes that you've caramelized first in a little oil. Stir in miso paste, soy sauce, molasses, or aged cheeses like parmesan.
Don't have time to rush out for dried mushroom powder, anchovies, or seaweed? Check your cupboards for Worcestershire sauce, ginger, or tomato paste. All will help elevate a potentially boring broth to new and intriguing levels.
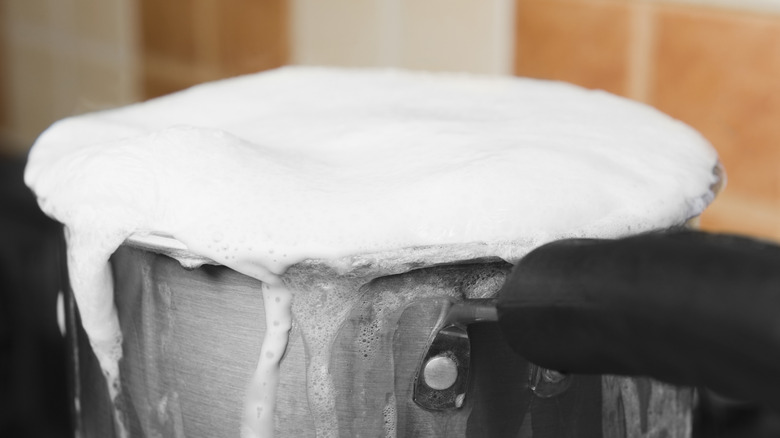
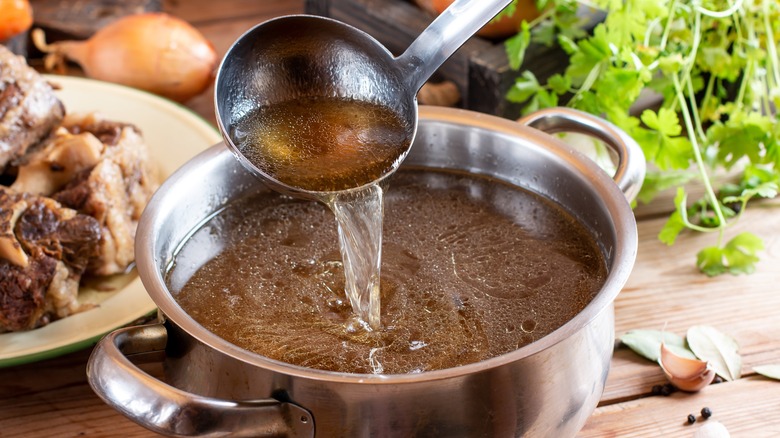
Boiling the broth
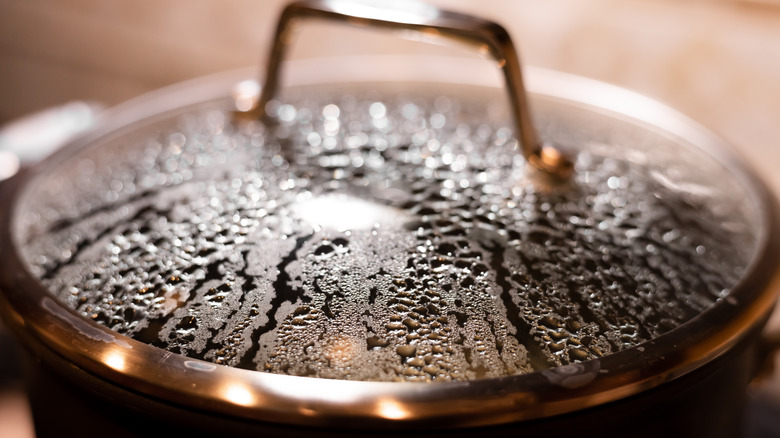
Boiling is what happens when you're distracted from what's going on in the stockpot. It's also what can happen when you're in a hurry. At 212 degrees F, your broth is boiling, and that's too hot. You can end up with mushy ingredients and rapid reduction that leaves your broth less flavorful and more likely to burn.
Boiling can also hinder your efforts to keep the fat from emulsifying into the liquid. If your effort tastes a little bland, and if the texture is on the greasy side, it might be that the fat has boiled and broken down into your broth. This is why it's especially important to simmer bone broth on low heat. If you cook it too fast, the fat from the bones will add a murky, unappetizing texture that will make you wish you'd opted for ordering a pizza.
Your goal when you taste test is a clean mouthfeel, a broth you can add to any number of dishes. For slower, more even cooking, keep your liquid at a simmer, not a boil. A simple glance will tell you the difference between the two. Large rolling bubbles or smaller, more rhythmically bubbling ones? If you're watching the temperature, keep it between 195 to 211 degrees F and keep your pot at a safe simmer.
Cooking it too long

So, you're not the kind of cook to hurry through the process? You already know to take it easy and not rush the final steps of cooking broth, and you made sure the lid is on your pot long enough to keep the liquid from evaporating too fast. Yet the final result lacks the nuanced broth you were going for. That's because time is not a magical ingredient when it comes to good broth. It's true that you should simmer it slowly on low heat, but that doesn't mean you should cook it indefinitely. Although the almost magical smell of a pot simmering all day on the stove may make you think that longer is better, that's not the case.
While larger bones such as beef or ham may be cooked all day — and overnight in a slow cooker — chicken bones give up their flavor in a couple of hours or fewer, and vegetables are finished in even less time. Those ingredients have only so much flavor in them, and if you continue to simmer that broth, you're not going to add any more. Instead use that last 45 minutes to an hour of cooking to stir in some aromatics like red pepper flakes, fennel seeds, or black peppercorns. For a stronger flavor, smash them with the back of your hand first. They'll add more intensity to your broth than an extra hour or more on the stove.
Not skimming
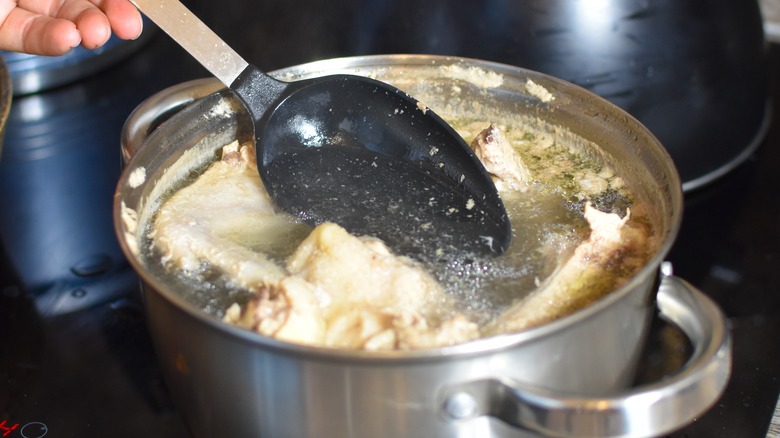
Skimming is one step you cannot skip. If you do, you won't achieve a clear, shimmering broth. You'll end up with a cloudy one. Not only does cloudy broth lack visual appeal but its flavor is diminished by fat and the texture of the remaining vegetables. Not a very appetizing thought, is it?
When it comes to removing the residue from your stock pot, anything cold is your best friend. If the broth is extremely fatty, you can chill it first and remove and dispose of the hardened fat residue, but that's a long process that requires time to cool as well as the chilling time. The whole process can take from six to eight hours, and you probably don't want to hang around that long before you can finish the job.
Instead, you can use a metal soup skimmer to keep your broth clear. Just run it over the top of the broth while it's still simmering. Ice cubes are another shortcut. Take a piece of cheesecloth and fill it with the ice cubes, and then lower the ice-filled cheesecloth into your broth. When you remove the cloth, the fat will come up with it. This approach is on the messy side, but it does work. If you plan to cook your own broth regularly, consider investing in a fat separator or pitcher. They'll make the job and the cleanup much easier.
Straining only once
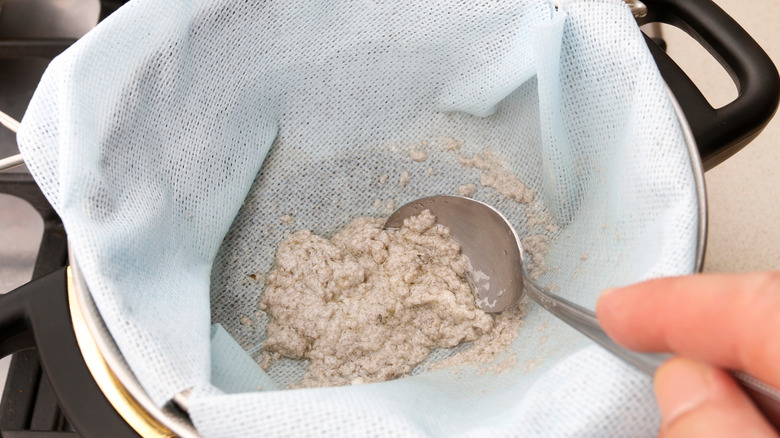
Regardless of the type of broth you're making — chicken, vegetable, fish, beef, ham, or bone broth — you need to strain it twice. If you don't, you can end up with unwelcome little bits of vegetables, maybe even bones or grit in your broth.
First, strain everything through a colander. This will get rid of the larger pieces of meat, vegetables, and larger bones. But you aren't finished yet. You need to eliminate the smaller pieces too. If you cook broth frequently, you may already own a fine strainer. Possibly, though, your strainer is the one you use for draining vegetables or pasta, and it's too small to take on quarts of steaming liquid.
Cheesecloth is a quick solution. Consider adding it to your list of kitchen essentials. Named for its use in separating ingredients while making cheese, it may be what your mother used to drape over a roasting turkey to keep the moisture in. It's also used in making Greek yogurt and paneer — and even drying and polishing silverware — and it's an effective and inexpensive solution for anyone who needs a meticulous straining tool. You can find it online or at stores like Target and Walmart. Choose Grade 90 cheesecloth, which is both sturdy and fine enough to handle most of your needs. A sieve or fine mesh strainer is a must for that final step. Line it with cheesecloth, and you'll guarantee a velvety, smooth emulsion, even when making an ingredient-heavy bone broth.
Sticking hot broth in the fridge
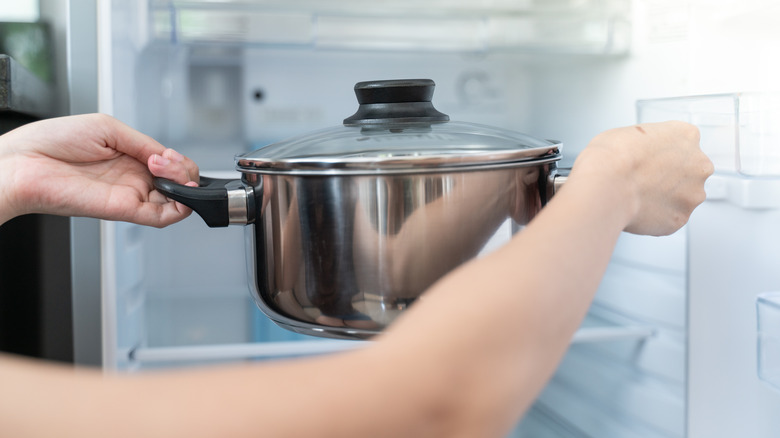
When you've cooked broth for any time at all, you become familiar with the b-word: bacteria. If left out too long, broth can invite bacteria growth, which according to the USDA Food Safety and Inspection Service, is 40 to 140 degrees F. Why not put that freshly simmered broth in the fridge? Don't. Heat flows from hot to cold, so when you invite that hot liquid into the cool world of your refrigerator, it will make its way to the cooler items in the fridge — your butter, eggs, cheese, salad ingredients, desserts — thus warming them to potentially unhealthy temperatures. Too-hot liquid is not kind to your fridge's internal temperature either. There are better ways to cool your broth.
This doesn't mean you have to rush out and buy the cooling paddles used in commercial kitchens. You're simply trying to add cold to hot, and the easiest way to do that is with ice. One way to safely cool your broth is to bathe it — in ice water. Fill your sink or a large kettle with ice and carefully place your container of broth in it. Then, stir it to hasten the cooling process and get the broth to a safe temperature. You can also stir ice directly into the soup at the end of cooking. To keep it from diluting the broth, start at the beginning by using less liquid and keeping the mixture thicker than you want the final broth to be.
Treating all broths the same
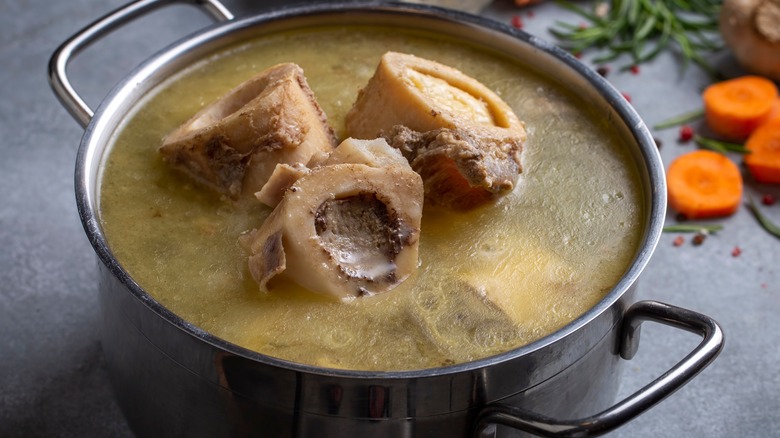
You made a great bone broth last month, and today you want to make the most of those leftover vegetables you scored at the farmers market while they're still at their peak. Except the resulting broth is less than stellar, too strong, not nuanced enough. That's because broth is not one-size-fits-all.
Vegetable broths and bone broths are similar but far from the same. In a vegetable broth, you're trying to bring out the delicate, complex flavor of your key ingredients, while in a bone broth, you're going for a long simmer to enhance the meaty flavor of the bones. Broths of fish and vegetables are even more delicate. For instance, flakes of bonito fish can be added to chicken stock or even water to make a healthful broth in minutes. That's a far cry from beef marrow bones or oxtails, which require hours on the stove.
As a rule, bone broth cooks longer than vegetable and other broths. Remember, you're not just cooking broth. You're building it. Aromatics are your personal signature on the broth you've created. Chicken broth benefits from the deep colors and flavors of turmeric, ground ginger, cumin, and paprika. Bone broth benefits from the same aromatics that bring out the flavor of meat dishes: bay leaves, leeks, garlic, celery, parsley. Pay attention to how long and with what to cook the specific type you're craving, and you'll be rewarded with a savory broth you can get only in your own kitchen.