13 Mistakes Everyone Makes When Baking A Cake (And How To Avoid Them)
tiered, layered, filled; flourless, upside down, naked; rolled, pound, bundt; sponge, lava, bombe — cake comes in many flavors and forms, and it's the dessert of choice for nearly every occasion, both momentous and mundane. It's a sweet that is infinitely customizable and can reflect every taste preference.
The first cakes in Greece and Rome were dense and sweetened with honey; those created later by ancient Egyptians were nothing like the sugary, elaborately decorated confections we know today. These were yeasted and risen on a bed of hot stones before baking. Wider use of sugar in the 16th century resulted in sweeter cakes, but it wasn't until the 1800s that cakes were leavened with baking soda and baking powder. At this point, cakes were lighter and fluffier, enabling bakers to create multi-tiered cakes that towered over the dessert table.
I started baking when I was 12 years old, baking two elaborate cakes from Maida Heatter's "Book of Great Desserts" (a Viennese Dobosh torte and a chocolate mousse-filled bombe cake), both of which took hours to make but were a big success due to Ms. Heatter's excellent recipes. Since then, I have transitioned in the last decade to gluten-free baking, a new exercise in persistence and patience. Years of success and failure have taught me some solid lessons in what works (and what's disastrous). Whether you're using gluten-free or regular flour, it's easy to make a perfectly baked, artfully frosted cake — if you avoid these 13 mistakes.
Not properly preparing the pan
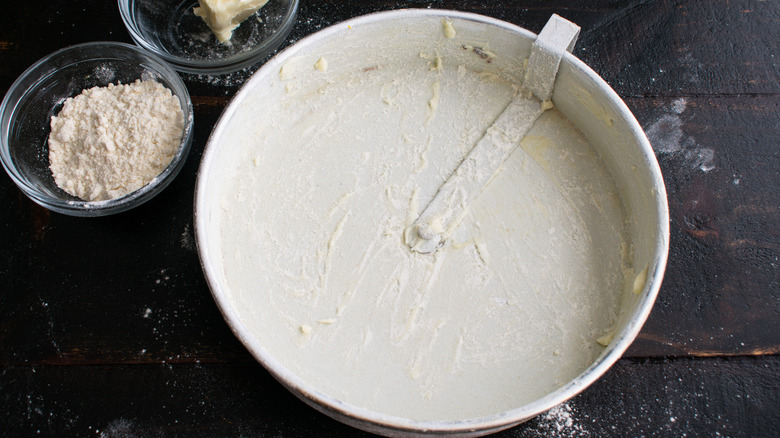
Proper pan preparation is the difference between a perfectly baked cake that releases easily and a crumbling, wretched disaster. Too many bakers neglect this crucial step, dooming their cake-baking enterprise from the very start. Some believe a quick burst of non-stick cooking spray will do the trick, only to turn their cake out and leave half of it stuck to the tin.
Don't let this happen to you. There are several different ways to prepare a cake tin. The most traditional way involves buttering and flouring. Spread at least a tablespoon of cold butter around the sides and bottom of the pan. Pay special attention to the area where the bottom of the tin meets the sides. Once the buttering is complete, add a heaping tablespoon of flour to the tin and move it around to coat the bottom and sides evenly. Tap the excess flour into your second baking tin if you have one or the trash if you don't.
For more non-stick protection, add a circle of parchment paper to the bottom of the pan. Some bakers also like to use cocoa powder instead of flour, and some cake recipes call for a light dusting of sugar in the tin on top of the butter. Note that it is not possible to over-prepare a cake pan — going a little overboard is better than skimping on the butter or flour.
Overmixing the batter
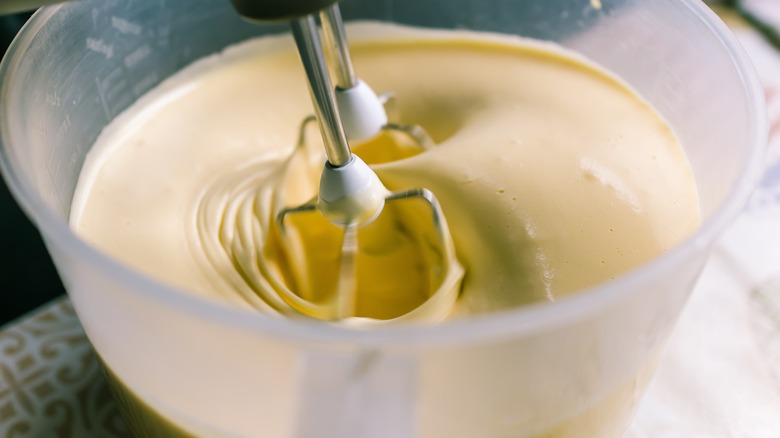
In their zeal to ensure that all ingredients are incorporated, inexperienced bakers might beat their batter into submission. While it is important to combine ingredients so that no flour, sugar, or leavening agents remain in clumps, too much mixing can result in a tough cake. Regular flour has gluten, the stretchy protein that makes bread so delightfully chewy. People who bake bread know that kneading the bread to activate the gluten is essential, but they also give the dough ample time to rest before baking.
When baking a cake, there is no such resting time. When liquid ingredients are added to flour and leavening agents, the baking powder or soda becomes activated and the clock starts ticking. These activated ingredients are responsible for the cake's rise, but the action won't last forever and needs the oven's heat. This means that cakes are mixed and baked immediately. Mixing your batter too vigorously makes your final cake dense, tough, and chewy.
To avoid overmixing the batter, follow your recipe's directions carefully and stop mixing when all of the ingredients are incorporated. You could avoid this gluten development entirely by baking a gluten-free cake, but that comes with its challenges, too. In either case, it's best to hit the Goldilocks level of mixing batter: not too little and not too much.
Using expired ingredients
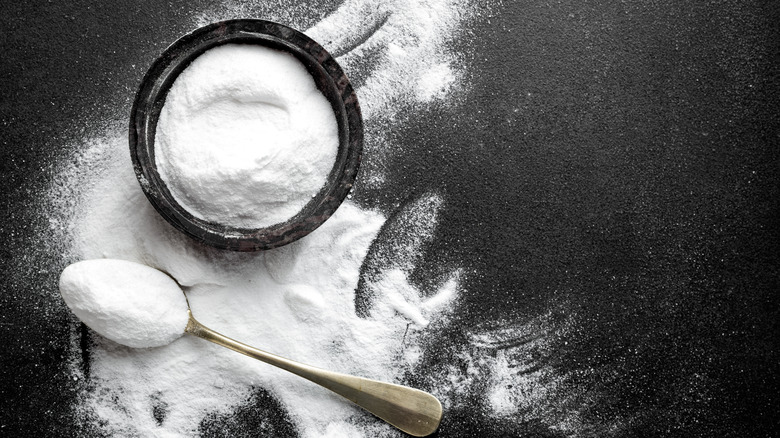
By now, it's fairly common knowledge that sell-by and use-by dates are primarily suggestions. Fresh and shelf-stable products will be at their best if used before those dates, but in most cases, there's no harm in using them after their expiration. This is not the case when it comes to baking a cake. Using expired baking ingredients can throw off your cake's crumb or turn out a flat puck of dense pastry.
There are simple ways to prevent this from happening. First, check the expiration dates on your baking powder and baking soda. Throw out the expired baking powder and repurpose baking soda that is getting close to its expiration. You can use it as a cleaning agent or place it in the back of your fridge for a month to absorb odor.
If your cake recipe calls for yeast, you'll need to make sure it's alive before you begin. The best way to do this is to warm a little milk or water (or the liquid your recipe calls for) and dissolve in some sugar. Sprinkle the yeast on top and let it sit for five or 10 minutes. The yeast should begin to foam, indicating that it's alive and happily feeding on the sugar in the liquid. If your liquid remains flat and still, your yeast is no good.
Using cold ingredients
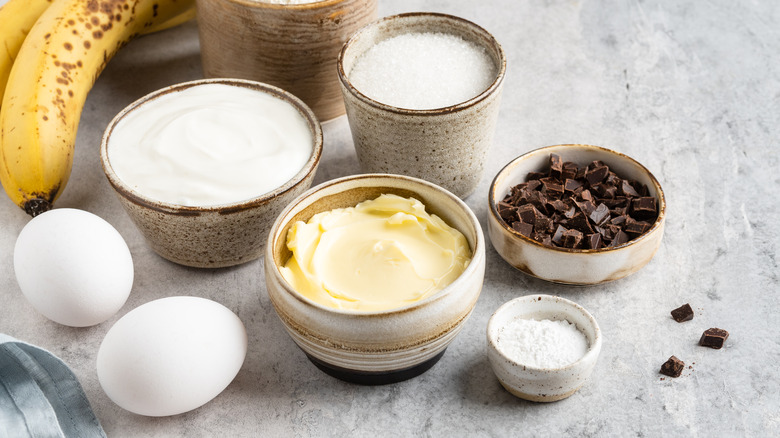
Most bakers are familiar with bringing butter to room temperature to cream it with the sugar, but many neglect to remove their other ingredients from the fridge along with the butter. Adding cold eggs, milk, and other liquids to your batter is a big mistake; cold ingredients are harder to incorporate, which means you may spend more time mixing (which can lead to the overdevelopment of gluten and a tough cake). Cold ingredients also bring the temperature of the batter down, which can affect the baking time and rise. Warm ingredients trap more air than cold ones, resulting in a lighter, fluffier cake.
The most straightforward fix is to take all of the cold ingredients out and measure them, leaving them on the counter as the butter softens. This also makes for a quicker assembly of the batter. If you forget this step, there are ways to correct this mistake. Milk can be quickly warmed (not heated) in a microwave, but eggs and butter require a different approach. To bring eggs rapidly to room temperature, fill a bowl with warm (not scalding hot) water and submerge them for 10 minutes.
For soft butter fast, place the butter on a plate and grab a pint glass. Rinse the pint glass with water that is as hot as you can stand it, dry the glass, and cover the butter with it. The heat of the glass will soften the butter without melting it in less than 10 minutes.
Using the wrong type of flour
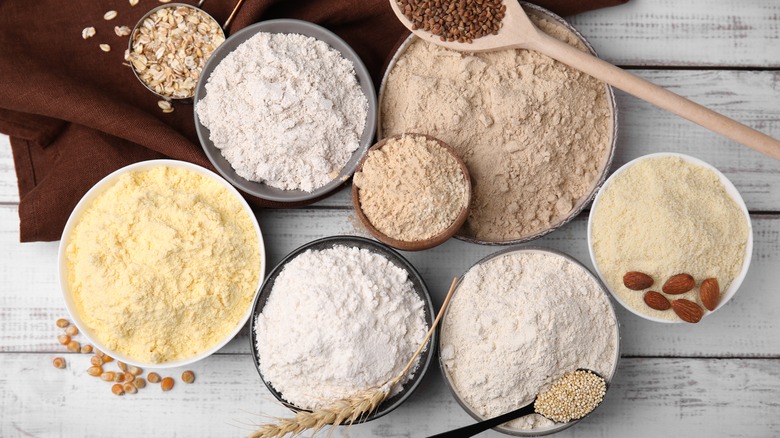
Cooks often use improvisation when crafting a savory dish. A little bit of this and a pinch of that often create a beautiful plate that's a joy to eat. When it comes to baking, improvisation is less than ideal. Baking involves chemical reactions that cannot be messed with. One of the ways amateur bakers torpedo a successful cake is by substituting flour. Different types of flour have different weights and varying levels of protein, both of which affect the texture and structure of a cake. It's not possible to swap out flour without changing the cake.
Many recipes call for cake flour. Cake flour has a lower protein content, less gluten, and is made from a different type of wheat. Cakes made with cake flour are tender and fluffy, but simply swapping in all-purpose flour won't work. But, don't despair: If you're out of cake flour, you can make your own. It won't provide the exact results, but you can get close. To make a cup of a decent substitute for cake flour, sift together 110 grams of all-purpose flour with 16 grams of cornstarch and use as normal.
Feeling desperate enough to reach for bread flour? Resist the urge. Bread flour has extremely high gluten and protein that's perfect for bread but disastrous for cakes. It's better to put off baking than to use this flour. The same goes for gluten-free flour; very few brands are a perfect one-to-one swap for cake flour.
Not measuring ingredients accurately
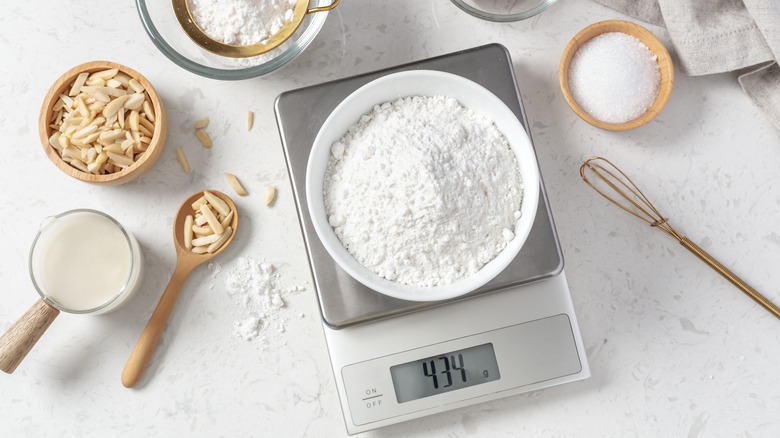
You have followed the recipe perfectly, prepared your pan impeccably, and used the correct ingredients, and it's still possible that your cake will fail. Why? Your measurements may be off. When a recipe calls for one cup of flour, it's not enough to scoop into the flour bag and dump it into your mixing bowl. This action is imprecise and packs the flour into the cup; you may use 25–50% more flour than you need, resulting in a dry, crumbly cake.
For the most accurate measurements, grab a kitchen scale. Place a bowl onto the scale, and tare it to zero (how you do this varies according to your scale — check the user's manual if you're unsure). If you don't have a scale, all is not lost. The fluff-and-scoop method results in more accuracy than the scoop-and-level. Open your flour container and use a spoon to mix it briefly, fluffing it up to separate any clumps. With that same spoon, scoop flour into your measuring cup, letting it sift into the cup over the container to prevent loss. Do this same action until the cup overflows, then use the flat side of a knife to scrape the top level.
Measuring wet ingredients? Use the proper measuring cups and spoons for the most accuracy. A dinnerware tablespoon or teaspoon is different from a measuring spoon, so don't cut corners. And, eyeballing amounts is not good, either.
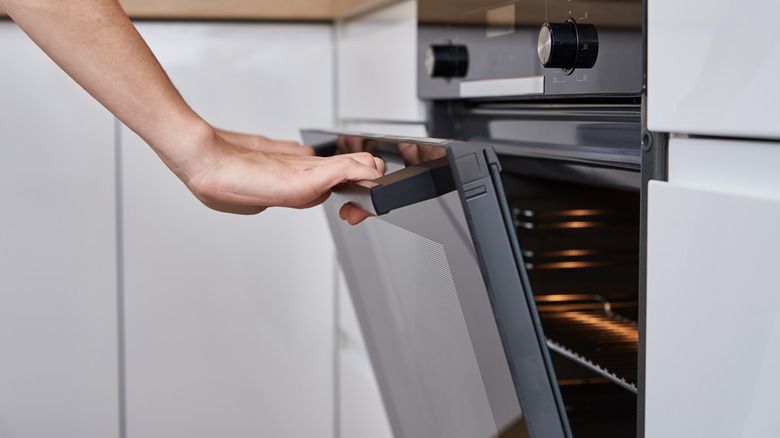
Not preheating the oven
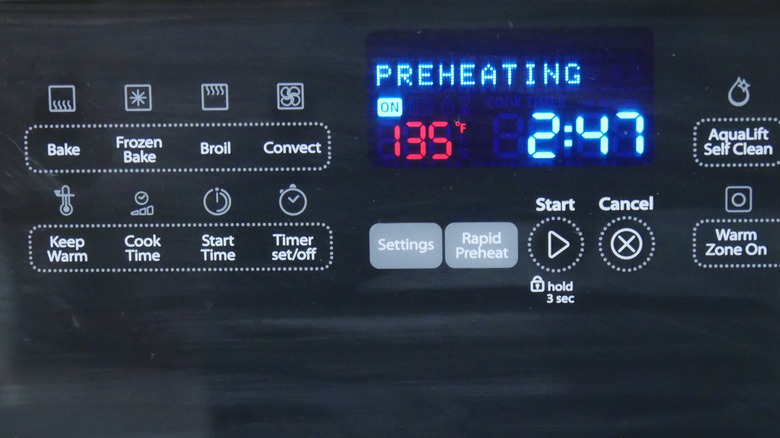
Remember those leavening agents like baking soda and baking powder? And, your room temperature ingredients that you so painstakingly Incorporated in the proper amounts? Don't make the mistake many amateur bakers make by putting your cake in a cold oven. Inexperienced bakers might think this saves them time; after all, the cake is beginning to bake as the oven heats up, right?
When baked goods are placed in the oven, the heat activates the leavening agents. For bread, this results in something called oven spring, that quick burst of rising that triggers the yeast but also occurs to a smaller degree with baking soda and baking powder in a cake. If the oven is cold and the ingredients are wet, the leavening agents may be less effective, resulting in a flat, dense cake.
Take the time to preheat the oven properly. This means bringing it to the temperature indicated by your recipe and waiting an additional five minutes. Invest in an oven thermometer to gauge any adjustments you need if you are still determining the accuracy of your oven temperature.
Opening the oven door too often
It's a totally natural impulse to open the door to check on your cake. Is it rising? Is it too brown? Are there bubbles or air pockets that should have been popped? These are all questions that inquiring minds have. But, the exact wrong thing to do is to open the oven to check on your cake's progress. Baking is a temperature-dependent chemical process — whenever you open the oven door, the temperature fluctuates by as much as 150 degrees (depending on how long you gaze at your cake). This fluctuation can cause a poor rise and make for a longer cooking time. This longer cooking time creates a crust on your cake, making eating less pleasant. Your cake may even sink in the middle due to uneven temperatures.
Do yourself (and your cake) a favor. Don't touch the oven for the first 20 minutes of baking, and use the oven light and the oven glass to check progress. Cake recipes often provide a range of times in which your cake may be finished. Don't check for doneness until the lowest baking time is reached, and only after you've peeked in the oven door window to see if it's close.
Overbaking or underbaking the cake
Unlike individual cookies, cakes are challenging when it comes to knowing when they're done. And, it can be nerve-wracking baking something where the final result is revealed in front of the people you're serving. Because of this, many amateur bakers add a few extra minutes to the baking time to make extra sure that the cake is done. Some go in the other direction, pulling a cake out the second it gets some color.
There are different ways to check for doneness to avoid over or underbaking your cake. The first is to use the pan and the temperature your cake recipe calls for. Many bakers swap out pan sizes or use a glass pan instead of a metal one, both of which can affect the baking time. If you've used the correct pan and you think your cake might be done, grab a cake tester or a toothpick and insert it into the center of the cake. Most cakes are done when the toothpick or tester is clean, but confirm with the recipe — some call for a few crumbs clinging to the tester.
You can also listen to your cake. Professional bakers remove the cake from the oven when it should be done and place an ear close to the top. You can actually hear a crinkling sound if the cake is still baking. This sound diminishes as the cake continues to bake and disappears when it's done.
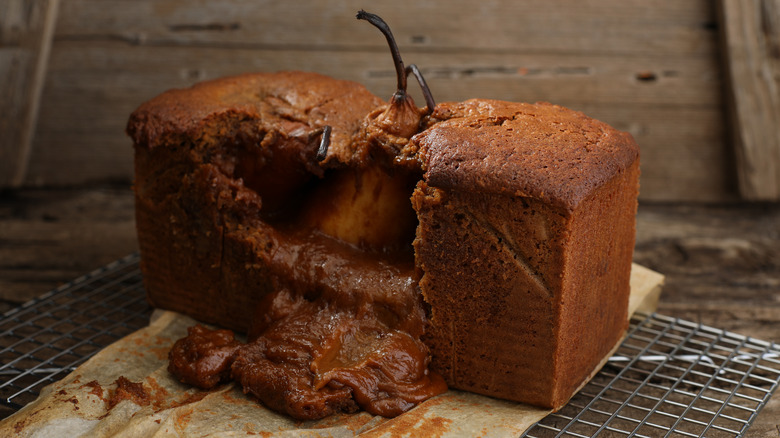
Frosting a warm cake

It's easy to get excited when your cake comes out of the oven, just as it is easy to not plan quite enough time for baking a cake at the last minute. Don't compound this mistake by trying to frost a cake while it's still warm. If your cake is even slightly hotter than room temperature, the frosting will slide off, melting between the layers and creating a goopy mess.
Allow your cake to cool completely after it comes out of the oven. If you're in a hurry, placing cake layers in a refrigerator or freezer is fine for speeding up cooling. This may change the cake's texture somewhat, but it's better than having a frosting that turns into a glaze. A word of caution, though: Placing a hot gluten-free cake in the fridge or freezer may cause it to sink in the middle. Gluten-free flour lacks the structure to hold a cake when the temperature changes quickly.
Not leveling the cake layers
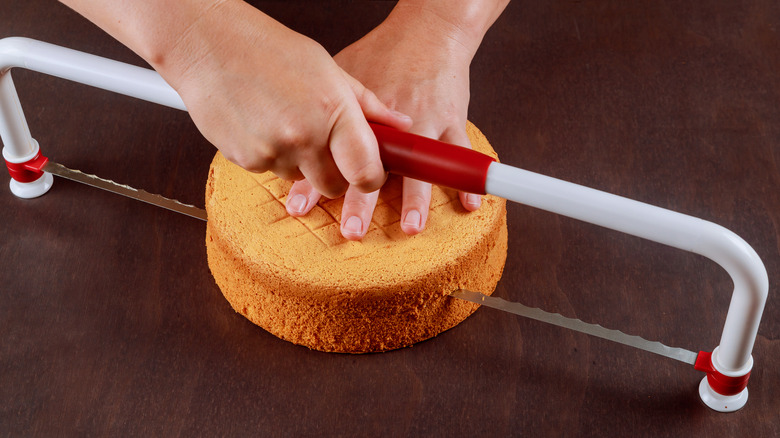
Those gorgeous layer cakes in pastry shop windows are achievable at home with a few simple tricks. To begin with, you'll need to level your cake layers before you frost them. Leveling the layers lays the foundation for a more stable, even cake. Even layers are easier to decorate, and there is less risk of your cake toppling over.
You can certainly purchase a cake leveler; these are purpose-built and make even layers that can be adjusted for height. Depending on the type of leveler, you can level and slice a single pan of cake into two or three layers. If you don't like unitasking kitchen tools (there's not much else you can do with a leveler), reach for your longest serrated knife and a cake turntable. Place a single layer of cake on your turntable and position your serrated knife at the base of the bump in the center of the cake. Hold the knife with a steady hand as you turn the cake and move the knife through the center bump to trim it off.
When all else fails, let your frosting do the work for you. Adding more frosting between the layers can make up for any uneven spots. You can also stack your layers so that the domes meet in the center. You'll need to add more frosting around the edges and sides, but no one will notice (until the cake is cut and they discover the extra frosting — bonus!).
Not allowing the cake to cool properly before slicing
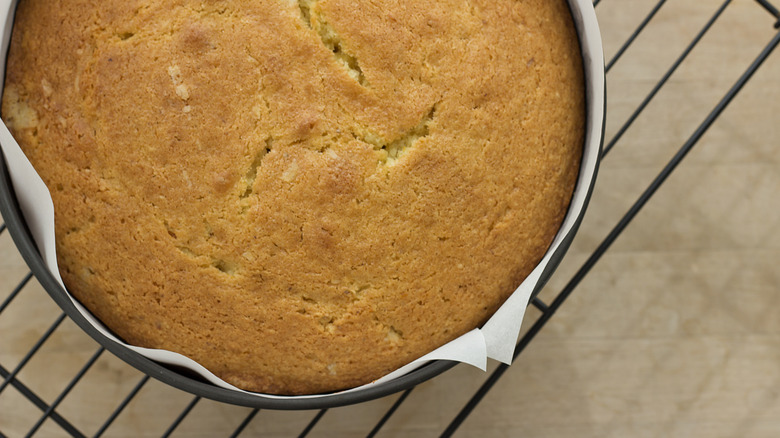
Some cakes don't require frosting. They may even use a glaze designed to melt into the cake (think tres leches with its three luscious milks soaking all the way to the center). It's tempting to slice this type of cake early for a warm, mouth-watering dessert. Resist the urge. Cutting into a cake while still warm can cause it to crumble and fall apart. Cutting into a gluten-free cake when it's warm results in a gummy mouthful.
Allow the cake to cool completely on a wire rack before slicing and serving. If you have made a gluten-free cake, you may need to cool it briefly in the pan before moving it to a wire rack to finish. It's okay to add your glaze or soaking liquid while it's warm if the recipe directs you. Otherwise, leave your cake alone until it is at least at room temperature.
Ignoring altitude adjustments
High-altitude bakers live at least 3,500 feet above sea level. At high altitudes, liquids evaporate faster and water boils at a lower temperature. The gas produced by baking powder and baking soda dissipates faster. This means that a moist and tender cake at sea level is likely to be dry, crumbly, and flat at higher elevations. Baking in these environments can be frustrating because most recipes are not designed to accommodate the difference.
This doesn't mean that you can't bake if you live in the mountains. You will need to adjust your recipes accordingly, though. Start by making the recipe as written to see what happens — not all recipes will fail. If yours does, be prepared with some tweaks. You might need to switch to a higher protein flour, increase the size of your eggs, reduce sugar, or add additional liquid and leavening. Make sure all ingredients are at room temperature and your oven is preheated to give your baked goods the best chance of success, and be patient and persistent.