11 Mistakes Everyone Makes When Cooking With A Broiler
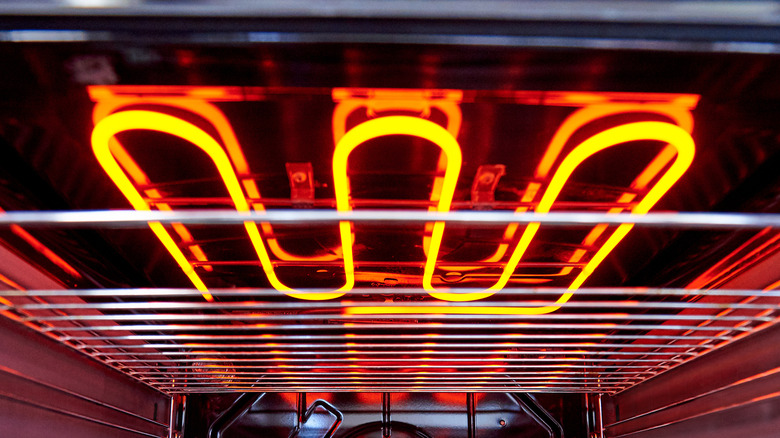
Sometimes referred to as a grill or salamander, a broiler is a common feature in modern ovens that is designed for direct, high-heat cooking. A broiler can quickly brown and crisp up the exterior of foods, improving their texture and flavor. However, despite its simplicity, it's easy for even an accomplished cook to make mistakes with a broiler, and especially so if you're unfamiliar with the basics.
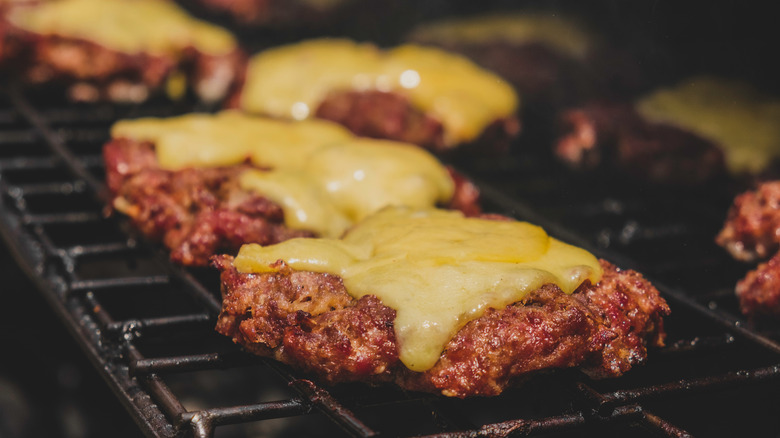
If you've never used a broiler before, you'll quickly discover that it's an extremely versatile kitchen appliance that can elevate some of your favorite dishes and increase the cooking efficiency of others. It can be used for finishing off steaks with a perfectly crisp crust, or melting and browning the gooey topping on a homemade macaroni and cheese. It can also be used as a kind of upside-down grill, quickly cooking thinner cuts of meat, fish, or vegetables.
Although the way a broiler works is straightforward, the nature of the cooking method means there are a few mistakes people frequently make that result in things like ruined appliances and cookware, and burnt or undercooked food. This article covers all of the most common issues you might face and, most importantly, how to avoid them.
Placing the rack at the wrong height
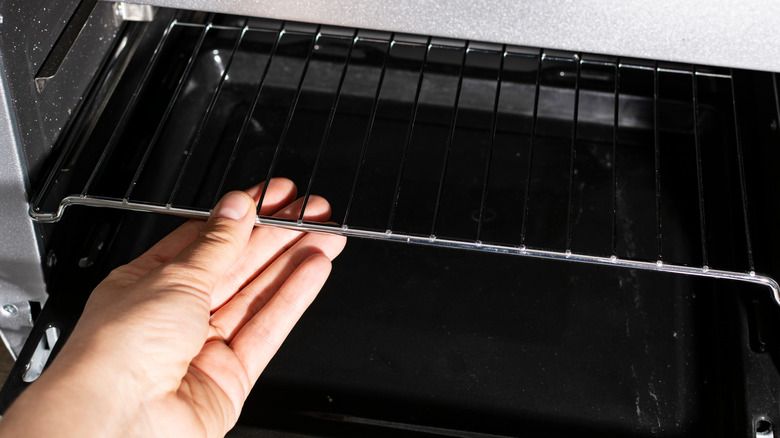
Whether you're using a broiler pan that slots into your oven or placing a broiler-safe dish on a rack, it's crucial that you place it at the right height. Proper placement ensures even cooking and allows you to achieve the best results. If the rack is set too close to the broiler element, you risk burning the exterior of your food before it's done cooking, leaving you with a charred surface and an undercooked interior. Depending on the food you're cooking, the outcome can range from an unappealing meal to one that's potentially hazardous to your health. At the same time, if your rack is placed too low in the oven, the broiler's heat will have a minimal effect and you'll miss out on the desired browning, caramelization, and crisping, leaving your dish lacking in both flavor and texture.
Unfortunately, there's no hard and fast rule as to where your rack should be placed, as it depends on the food you're broiling and what effect you're looking for. Different recipes will call for specific rack positions to ensure optimal heat distribution, so keep an eye out for these instructions and be sure to follow the recommendations. If you're unsure how high to place your rack and can't find any tips, it's best to start in the middle and change the height as required. Also, try to remember the cooking outcomes in case you need to make adjustments for next time.
Not using the broiler pan
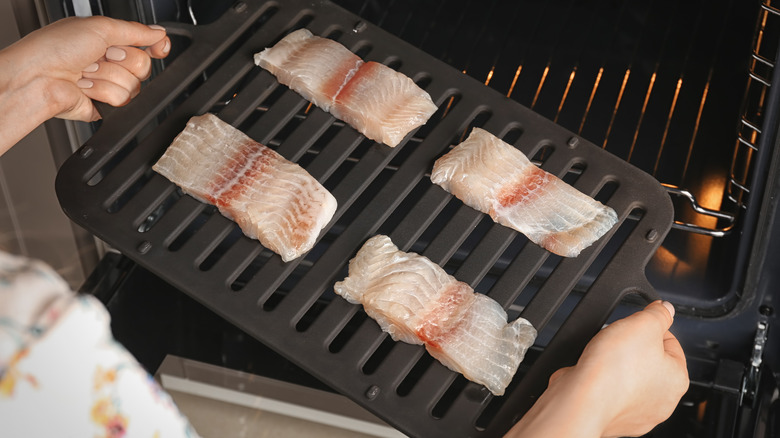
Failing to use a broiler pan means you won't get the most out of the appliance, as the pan is specifically designed for this method of cooking. Broiler pans come in different shapes and sizes but tend to consist of two parts. The upper section is often a shallow, slotted pan that allows for excess liquids to drain away, while the lower section is typically a deeper pan designed to catch these cooking juices. With some broiler pans, the upper section consists of a metal rack that sits inside the top of the catchment pan, and they work in much the same way; they are only unsuitable if you're broiling smaller food items that might fall between the gaps. However, it should be said that a broiling pan is unnecessary if you're doing something like browning the top of a casserole.
From a safety perspective, allowing the cooking fats to drain away reduces the risk of them flaring up from the high heat, and from a taste perspective, it prevents your food from sitting in liquid and becoming soggy. Having space below also allows for better air circulation which promotes more even browning. Not only does having a catchment tray mean you're not going to make a mess of the bottom of your oven, but it's a great way to stop those flavorful cooking juices from going to waste, as you can save them for things like basting or creating a rich gravy.
Using inappropriate cookware
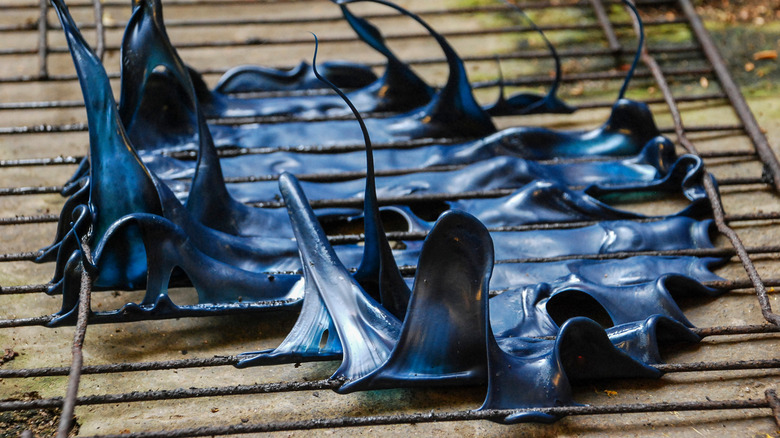
Given the high temperatures involved with broiling, it's crucial to ensure you're only using cookware that can stand up to the heat. If you're using a dedicated broiler pan, you can assume it's up to the task, but what about the times when a broiler pan isn't the right tool for the job?
Some cookware will be labeled as "broiler safe," but this won't always be the case. Stainless steel is a suitable material as it's extremely durable and heat-resistant, and cast iron is another excellent choice due to its ability to retain and distribute heat evenly. While it is possible to use non-stick cookware, bear in mind that not every type of non-stick coating is suitable for use at high temperatures, as some degrade more quickly when exposed to extreme heat thus losing their non-stick properties. Similarly, others can break down in a way that releases potentially harmful chemicals into the air.
Make sure that your cookware doesn't have any wooden or plastic handles that could catch alight or melt under the intense heat. Furthermore, note that some cookware that works for baking, such as glass or Pyrex casserole dishes, may not be suitable when placed higher up next to a powerful heating element, and may crack or shatter. Also, make sure your cookware is the correct size; if it's too big, it will restrict airflow and prevent even and efficient cooking.
Overcrowding the broiler pan
Overloading the pan with too much food is another common mistake that people make when using a broiler. We've already touched briefly on the importance of good air circulation when broiling, and overcrowding results in poor airflow.
Poor airflow means your food will cook unevenly as hot air gets trapped in pockets, preventing sufficient browning and possibly leading to burned or undercooked sections. When you cram everything close together to the point of touching, the heat from the broiler has to penetrate a larger mass of food; this can increase your cooking times and make things appear done before they're actually ready. Additionally, if you're trying to broil individual items and they're crowded to the point of touching, they'll likely stick together as they cook, making them harder to separate when they're finished. This adds the risk of ruining their visual appeal when you have to pull them apart.
Overcrowding also traps moisture when the cooking juices can't flow down and out of your broiler pan. The excess liquid might make your food soggy, flare up from the heat, or even evaporate in a way that steams your ingredients rather than broils them, leaving you with undesirable results. If you find yourself with more food than will space out nicely on your broiler pan, the best solution is batch cooking and then keeping them hot or reheating the early batches before serving.
Not using aluminum foil
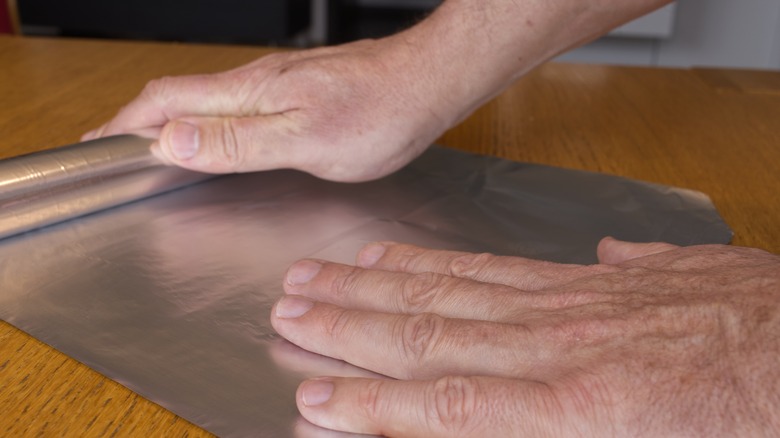
As we pointed out above, using a broiler pan or grilling rack with a catchment tray is critical for draining liquid away from your food while broiling. Aside from helping your food cook properly, the pan also stops the bottom of your oven from becoming covered in fat and cooking juices, but that still leaves you with a pan that needs deep cleaning. Anyone who's had to clean a pan after the fats and liquids have solidified knows that it requires no small amount of elbow grease. Plus, if you find yourself having to scrub your pan too hard, there's a risk of damaging it, especially if it's made with a non-stick layer. The solution is remarkably simple — just line the tray with a piece of aluminum foil.
When you're finished broiling, let the foil cool enough so that you won't burn your hands touching it, and carefully remove it from the catchment pan. You can bunch it up and throw it away without making a mess, and you only have to give the tray a quick wipe down with a clean, damp cloth. That said, make sure to use a foil-lined pan or tray and never place the foil directly on the base of the oven. Otherwise, you might make even more of a mess than if you'd skipped it.
Neglecting to preheat the element
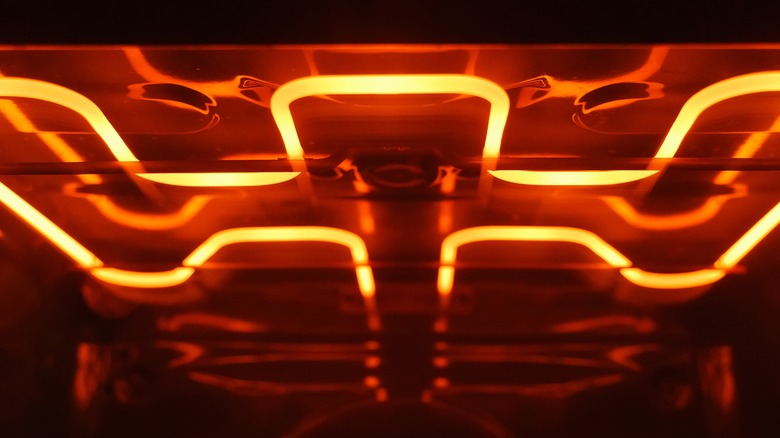
Preheating the broiler element before you place anything under it is necessary for achieving consistent cooking results. Just like with other cooking methods, failing to bring the heat source to the right temperature first can cause all sorts of problems.
If the element is still heating up with food under it, the food won't start cooking immediately, so your planned timings become null and void. The heat won't distribute uniformly across the cooking space and dishes will take longer to finish cooking. In this case, you'll again be at risk of undercooking the interior or burning the surface. When roasting or baking, we can put foil over the top of dishes that are browning too quickly on top, but this technique defeats the whole purpose of using a broiler in the first place.
Remember that we're broiling because we want to apply intense, direct heat to the surface of our food. A broiler is effectively pointless if we don't let the element reach the high temperatures necessary to efficiently start the browning process, as we won't be able to unleash the deeper, richer flavors we're aiming for. Fortunately, broiler elements rarely take long to reach the correct temperature, as it is not meant to raise the internal temperature of the whole oven. Just make sure you switch the broiler on at least five minutes before you put your food under it.
Closing the oven door
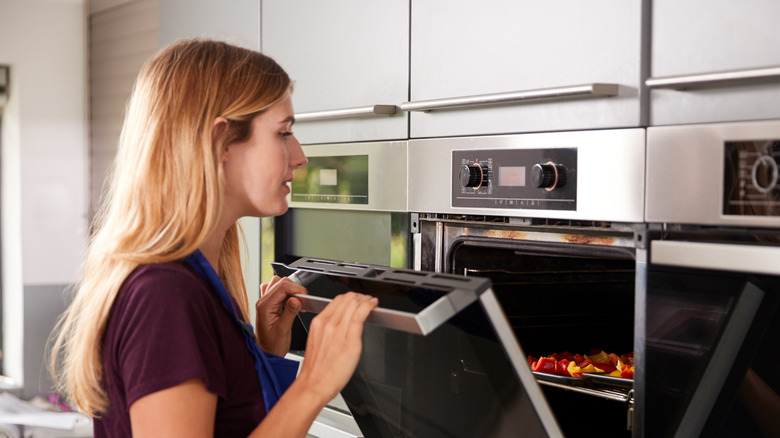
One of the most frequently overlooked aspects of broiling is what to do with the oven door. It might seem counterintuitive, but you have to leave it open if you want your food to cook properly. The whole point of using a broiler is to apply dry, direct heat, and we've consistently highlighted the need for good airflow. Even if your food is nicely spread out on a well-ventilated broiler pan, if you keep the oven door closed, the hot air will become trapped inside the oven. Without additional airflow, you're basically just using your oven as an oven, albeit one that's being heated up unevenly by a single element.
This means all sides of your food will start to cook, something you probably want to avoid if you've decided to broil instead of roast or bake. You don't need to open the oven door completely, just a few inches should be sufficient, but be wary of your kitchen space — if the door is open too wide, you risk catching yourself on it which can be dangerous when you're dealing with hot items and sharp utensils. Most newer ovens will have doors that stay in place at the right point when you want them partially open, but older appliances might require a hook to keep it in position. Some gas ovens are already ventilated and the broiler can be used with the door closed, but you'll need to check this based on the model.
Leaving the broiler unattended
While some cooking techniques allow you to take your eye off the ball for a few moments while you prep other ingredients, unfortunately, broiling is not one of them. Generally, it's a fast-acting method that requires close attention throughout.
Cooking methods that call for intense heat can produce rapid changes in the cooking state, meaning your food can go from light, golden brown to black and charred within a matter of moments. Besides the risk of burning your food, inattention can also pose a significant safety hazard, as you might miss potential flare-ups of fat or oil that will damage your appliance or worse. The potential for problems increases with fattier foods, like certain cuts of meat, and when you're using higher rack placement.
Broiling doesn't usually take very long, so the solution is as simple as keeping a watchful eye on your food. If you need to slow down the process, you can always lower the height of your broiling rack or slightly reduce the temperature of the element, making sure to test for doneness and checking that you're still getting the desired browning effect.
Not using oil
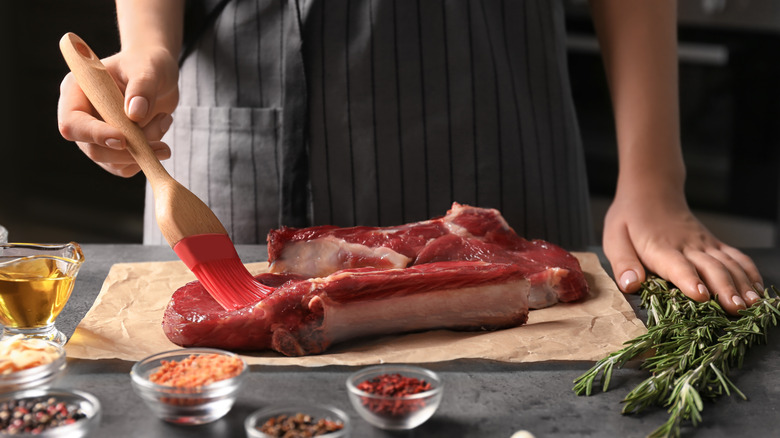
While extra oil isn't always needed for broiling, especially for foods like bacon that are naturally fattier, there are some cases when it shouldn't be skipped. As a heat conductor, oil brushed on food before broiling helps distribute the heat evenly across its surface. Not only will oil help to uniformly transfer the intense heat of the broiler and prevent under or overcooking, but it also helps to kick start the Maillard reaction, giving you a higher chance of achieving the crispy brown texture and roasty flavors you're after. Oil is an excellent medium for enhancing the taste of any herbs, spices, and seasonings you're using to enhance your dish. If you're cooking leaner ingredients, the added fat will prevent foods from drying out too quickly and instead help them remain juicy and tender.
We often talk about the "smoke point" of oil, as different oils will start to break down at different temperatures and begin to burn, imparting an unpleasant, acrid taste to food. We know that broiling uses high heat, so some oils aren't as suitable as others. To be on the safe side, stick to oils with high smoke points, such as canola, vegetable, or sunflower oil, and avoid those with lower smoke points, like virgin olive or unrefined avocado oil.
Forgetting to flip the food
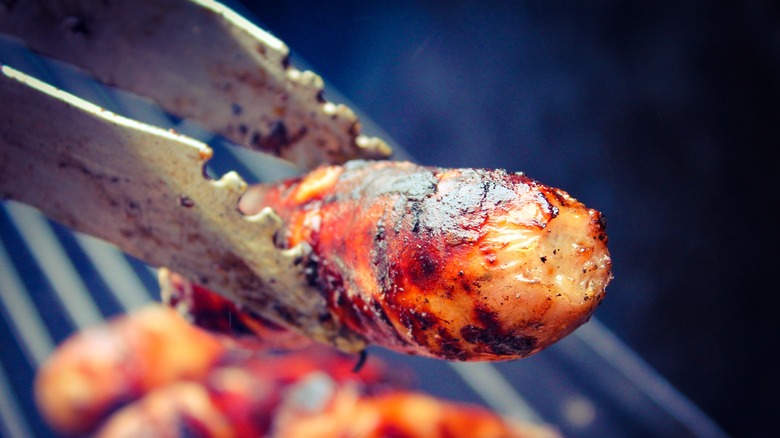
In many ways, broiling is similar to grilling. If you're using the broiler to fully cook items instead of adding a finishing touch, you'll need to flip them over occasionally. For thinner foods like bacon or sliced vegetables, you'll likely be able to cook them through without flipping, but only one side will be exposed to the direct heat. This means only one half will be getting the benefit of beautifully crispy crust and boosted flavors. For thicker foods like steak, burgers, or sausages, flipping is even more important as there's a much higher chance of undercooking the interior.
In terms of how often you need to flip the food, your best bet is to treat it as you would if you were cooking on a grill; there should be visual signs of browning that indicate when it's time to turn things over. However, unlike an open-top grill, you may need to remove the broiler pan from the oven to give yourself enough space to flip things over. Bear in mind how hot the pan will be and make sure you're using oven mitts or a heat-resistant cloth to remove it. And always use kitchen tongs to flip food to avoid burning your fingers.
Disregarding safe cooking temperatures
You've probably noticed a bit of a theme in this piece — that despite being a hugely worthwhile cooking method, it can be easy to undercook or burn food when broiling. In some instances, this will only impact the quality of your meal but in others, you might be putting your health at risk.
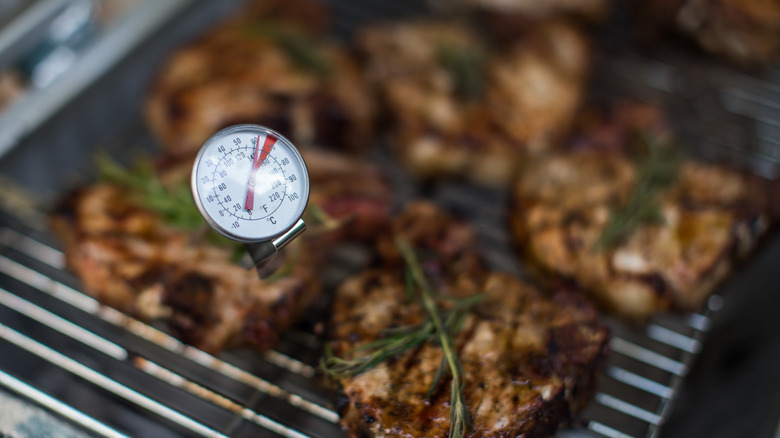
While undercooked meat usually poses the biggest safety hazard, it's not the only type of food that can harbor harmful bacteria if not cooked to the correct temperature all the way through. The surface appearance of food is never a perfect indicator of whether it's done, and the nature of broiling means your food will almost always look ready, regardless of what's happening beneath the surface. To guarantee doneness every time and avoid the chances of getting sick from food borne illnesses like E. coli or salmonella, you're going to want to invest in a cooking thermometer.
Fortunately, a thermometers is relatively inexpensive, and it's easy to use as long as you make sure it's properly calibrated. Stay mindful of the safe cooking temperatures for destroying bacteria. For poultry, this means reaching an internal temperature of 165 degrees Fahrenheit. The safety temperature for other types of meat can vary depending on the cut, so be sure to check these in advance, but as a general rule, you never want to go below 145 degrees Fahrenheit for these.