15 Mistakes Everyone Makes When Baking Apple Pie (And How To Fix Them)
No matter how you slice it, well, literally, apple pie is one of the most popular desserts across the globe. From Dutch apple pie with its crunchy streusel topping to a crispy Swedish apple pie with no crust, Americans also love to bake this treat at home (and buy it from the store when need be, but we're talking homemade today, folks). But as simple as the ingredient list can be, the technique is what makes this pie tricky to master. If you've cut into a hollow pie or gnawed your way through the tough crust, chances are good you've struggled with some basic elements.
Baking an apple pie can be a delightful experience, but it is also easy to make mistakes along the way. Here are common mistakes people make when baking apple pie (and how you can totally fix them in no time). You could say it's as easy as pie.
Choosing the wrong apples

Not every apple is the best choice for every cooking application, and apple choice is significant when it comes to pie. As with all plants and animals, apples are comprised of cells. These individual cells have a cell wall through which water and nutrients pass. When sugar is added to raw apples, the cellulose and pectin of the cell wall softens, releasing liquid. This makes the exterior soft — a good start — with big trouble once the apples hit the oven.
The oven temperature and baking time required to cook a pie means that softer apples pass quickly from perfect to disastrous, becoming mushy and unappetizing instead of holding their shape. Adding lemon juice shores up the pectin's ability to keep things together, as does par-baking your filling, but an ounce of apple picking prevention is worth a pound of cure.
Select firm, tart apples like Granny Smith, Honeycrisp, or Braeburn. These are flavorful and sharp, with a texture that holds up well to the assault of the oven's heat. If you like the flavor of a softer apple but want to maintain some apple firmness, a mix of apples works well, too.
Unevenly slicing apples
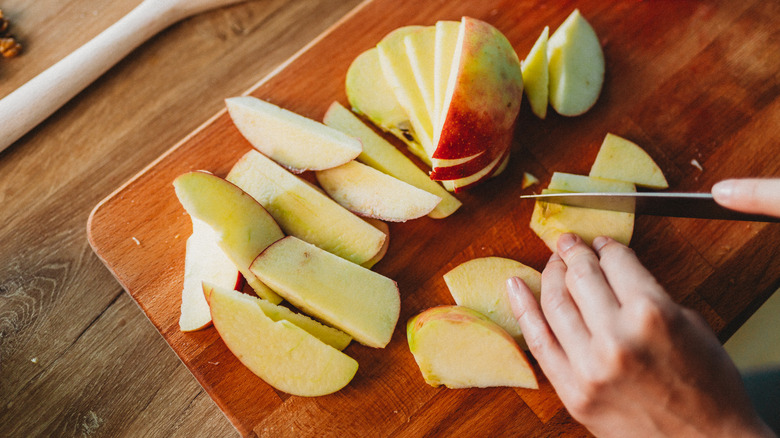
Depending on the crust variety, apple pies generally spend at least 40 minutes in the oven. This ensures that the apples are cooked, and the crust is crisp (no soggy bottoms here). But if you've ever eaten a pie that featured oozing applesauce and still-crunchy apples, chances are good you've made the common mistake of unevenly slicing your apples.
Unevenly sliced apples will not bake at the same rate, resulting in some that are overcooked while others are still firm. Unless you prefer this mix of textures (and no one is going to yuck your yum if you do), use a very sharp knife and a steady hand to slice apples to a uniform thickness. The size is less important than the uniformity.
Not sure you can make these even slices happen? Grab a mandoline and set it to the thickness you like. Mind your fingers as you slice (use the guard), and keep the mandoline away from young cooks who might not be as careful.
Using the wrong amount of filling
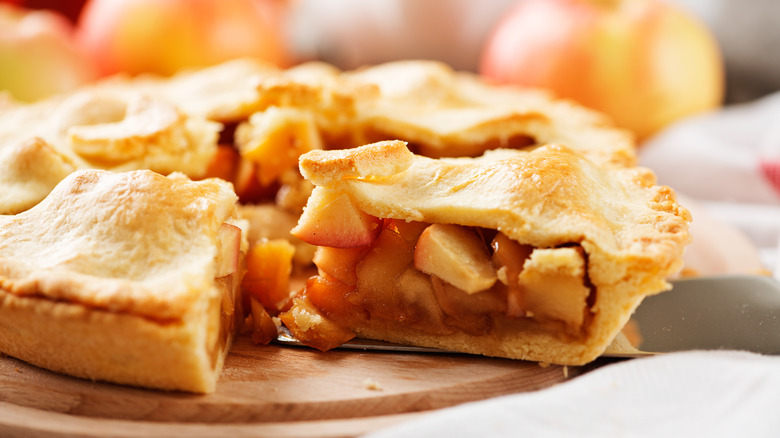
One major mistake occurs on either end of the spectrum: using too much filling or not enough. One results in a pie with a soggy bottom crust and still-raw apple in the middle, and the other has a hollow top with very little apple after baking. It doesn't help that many pie recipes call for a number of apples instead of a volume. A small Fuji apple isn't going to provide the same amount of peeled, diced flesh as a larger Cortland or McIntosh.
While the size of the pie tin or type of pie dictates the number of apples needed for filling, most 9-inch pies will take about 6 to 8 cups of fruit. Again, the size of the apples you use determines how many, but it's a rare variety that uses more than ten apples for this amount. If you prefer to think of this in terms of weight, figure that 1 pound of apples, peeled, cored, and diced will result in 3 cups of apples. So approximately 2 pounds of apples are needed, at minimum, for the proper amount of filling.
Adding raw apple pie filling
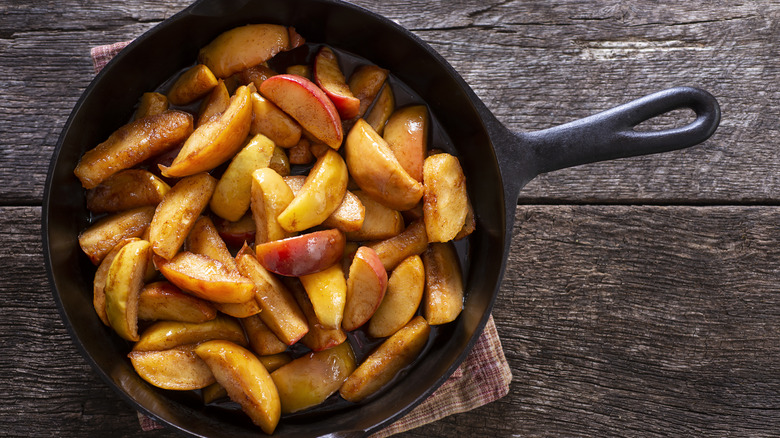
It's a standard trope: Chunks of apple are tossed in spices, sugar, maybe some thickening agent, and lemon juice, poured into a waiting crust, and covered with a perfectly crimped top crust. That process is romantic but imprecise and impractical. The chemical structure of apples means that baking a pie with raw apples results in either an undercooked or overcooked filling. You're more likely to cook applesauce in a crust (or end up with al dente chunks of unevenly cooked apples).
The solution? Parcooking (partially cooking, also known as precooking) your filling. By precooking your filling, the apples begin to release moisture that would otherwise linger on the bottom crust. Stirring during the process means that heat touches all apples evenly. This goal is not to cook the apples completely but to begin the process so that flavors come together and the cell walls inside the apple allow moisture to be released.
To properly parcook apple pie filling, combine all sugar, spices, lemon juice, thickening agents, and apples in a large pot and cook over medium heat for five to 10 minutes — just long enough for the juices to release and the cooking process to begin. To save time on future pies, you can even double the amount of apples and freeze the extra pie filling for later.
Neglecting spices
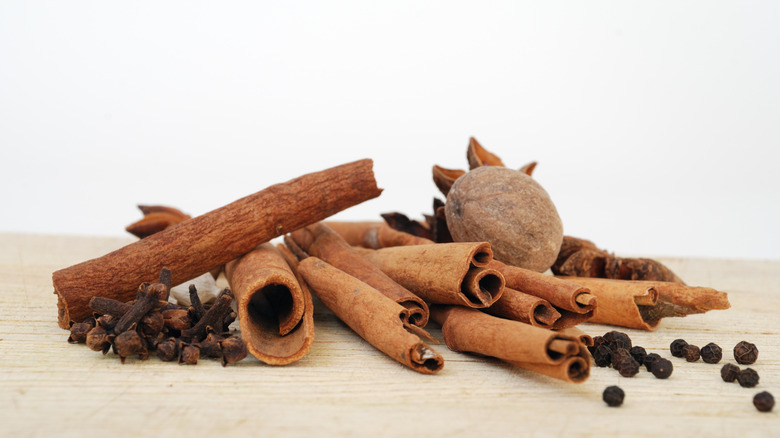
Sugar, spice, and everything nice: Spices make an apple pie's distinctive flavor. Cinnamon is a must-have, and some bakers add other warming spices like clove, allspice, nutmeg, and even ginger. Regardless of your preference, the key is to find the correct balance. Too much cinnamon results in a sharp bitterness, but not enough is swallowed by the sugar. Excessive clove can actually numb your mouth, and too much ginger creates a spicy kick that obliterates the palate.
The best news? Tasting and adjusting the spices is easy, especially when you precook your filling. Remember that the goal is to taste mostly apple flavor, bolstered by a chorus of spices and sugar. A good rule of thumb is about 1½ teaspoons of all spices for a 9-inch pie, and no more than 1½ cups of sugar. Of course, adjust these amounts to the type of apple you are using and your personal preference.
Skipping lemon juice

The beauty of the perfect apple pie is its very apple-ness. When perfectly spiced, the apples should shine through, with essential flavor notes singing. So why is your pie dull-tasting, flat, and uninteresting? If you skipped adding lemon juice, you've not only compromised the flavor of the pie, but you've also compromised the texture.
Lemon juice adds a brightness that enhances all of the flavors of your pie. From the sugar to the apples to the spice, adding at least 1 tablespoon of lemon juice (and a little bit of zest, too) makes each ingredient taste more like itself.
But lemon juice does more than make your pie taste delicious. Lowering the pH of apple pie filling — adding acid — helps the pectin in the apples hold their shape better during cooking. This can keep mushy apples like Golden Delicious from turning into applesauce in the oven. If you're dead set against adding lemon, preferring a sweeter pie, it's possible to parcook your apples to help them retain their shape while still softening, but adding a dash of lemon juice is recommended.
Overworking the dough

Making pie crust is very simple — in theory. In practice, there is a fine line between a perfectly developed, easily manipulated ball of dough and a tough, terrible disaster. The difference? The amount of handling.
Made of five basic ingredients — flour, water, salt, butter, and sugar — pie dough should only be kneaded slightly to bring the ingredients together. Some bakers use a food processor to make this happen, but if the dough is mixed for too long, the result can be cement-like. Bakers using their hands are not immune to overworking the crust, either. The initial mix may be delicate, but a heavy hand during shaping and rolling can also develop a tough crust.
The solution? Handle the dough as little as possible to preserve moisture and prevent the gluten from overdeveloping. Using a low protein flour (or baking gluten-free) is another good way to set yourself up for success, but generally, keep the mixing and kneading to a minimum.
Using the dough immediately
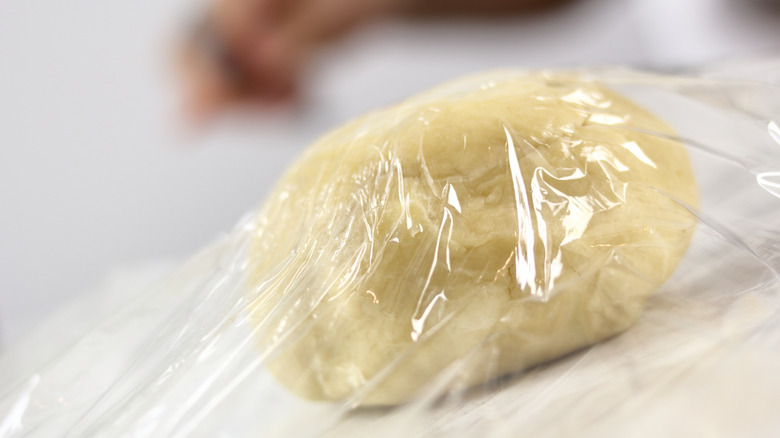
You've handled your dough with kid gloves and used the correct ingredients. You pull out the rolling pin, but your dough is a floppy, sticky mess. You add flour, and the dough gets dry and brittle and cracks. If you persist, the resulting crust will be more like a cracker that slips down the sides of your pie tin than the tender, flaky pastry case you dream of.
Before rolling out and shaping your pie crust, wrap it tightly in plastic wrap and let it rest in the fridge for at least 30 minutes. This brief rest period relaxes the gluten you've developed during the mixing stage. It also lets the butter firm up. When the butter melts during baking, it steams the pie crust into the flaky layers you crave. If you skip this step and roll out your pie crust as soon as it's mixed, chances are good you won't even be able to line the pie tin without the dough breaking, cracking, or covering the rolling pin and your hands in a sticky, gluey mess.
Not lining the pie pan properly
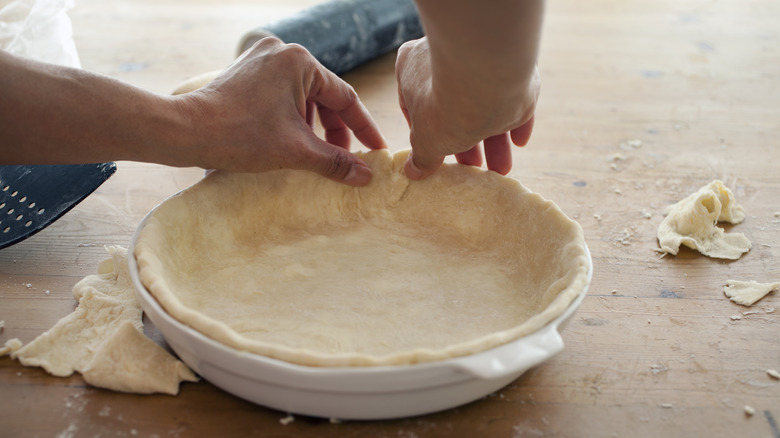
Lining the pie pan lays the solid foundation for your delicious filling. But too many bakers rush this process, with disastrous results. An improperly lined pie pan results in a crust that cooks unevenly, shrinks, and bubbles up under the oven's relentless heat.
Roll out your crust on a floured work surface. When it is the thickness you like, gently double the crust over your rolling pin to transfer it to your pie plate. Center it over the pie plate, and gently lay it down. Press the crust into every part of the pie pan. Don't press so firmly that you alter the thickness of the crust you just rolled — use just enough pressure so that the crust is evenly contacting the pie tin. This becomes even more important if you blind-bake your crust before filling it, but all styles of apple pie with a bottom crust need careful attention so that the crust evenly lines the pie tin.
Skipping the blind bake
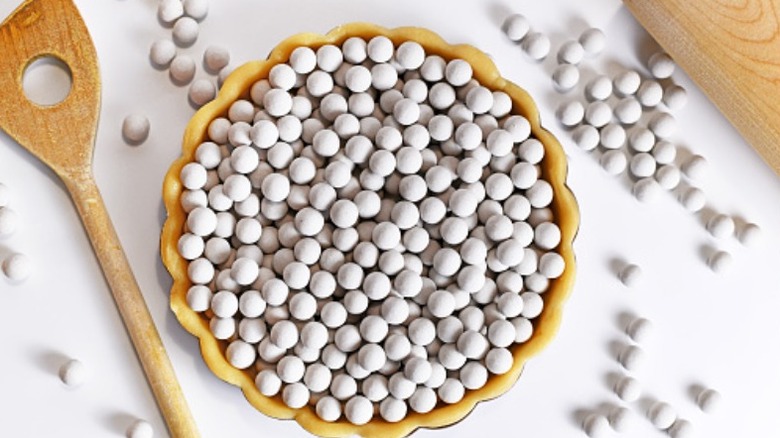
Blind baking is not necessary for a double-crust pie. Double-crust pies need both top and bottom crusts raw so that the edges can be decoratively crimped together. However, for single-crust pies, a blind bake ensures a crisp bottom crust.
To blind bake, preheat your oven to 375 F. Roll out your pie crust and properly line the pan. Chill the crust for 30 minutes before lining it with parchment paper and filling it with pie weights. You can use rice or sugar to fill the empty crust if you don't have pie weights.
Bake with pie weights (or rice or sugar) for 15 minutes. Remove the crust from the oven, then carefully lift the parchment paper out and continue to bake the now-empty crust for another 10 to 15 minutes. You're looking for the bottom to be lightly browned. If the edges of the crust begin to burn, cover them with foil when baking the filled pie.
Not venting the pie
The double-crust apple pie is a classic with one hidden challenge. If you can't blind-bake your crust and apples release moisture, how do you prevent the bottom crust from becoming a soggy mess? The answer is venting.
Venting a sealed double-crust pie is easy. Use a sharp knife to cut a few half-inch slices in the top of the crust. These can be simple or decorative, but most are cut into the center of the crust. The vents allow steam from the baking apples to escape, preventing a soggy bottom.
Another option is to create a lattice top. Lattice-topped pies are pretty and functional in that they allow moisture to escape and provide a lovely finish at the same time. You can also use a kitchen tool called a pie bird (or pie vent, pie funnel, or pie whistle). These whimsically shaped ceramic birds (or other creatures) sit in the pie filling and poke out through the top crust. A tube in the center of the pie bird releases steam and can sometimes make a whistling sound (hence the name).
Omitting the egg wash
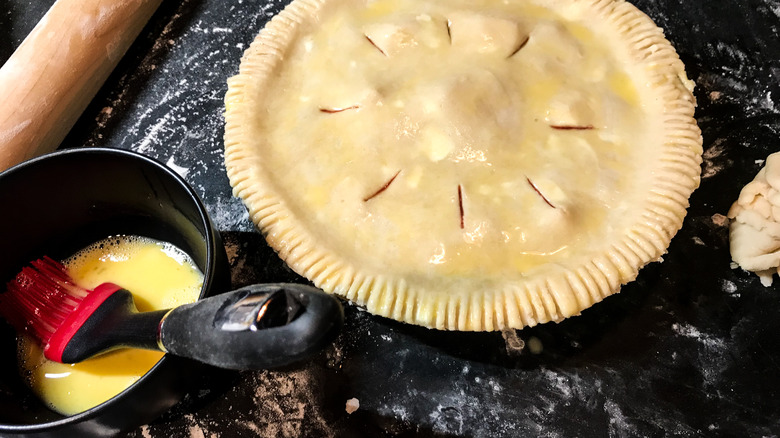
The perfect apple pie is finished when the top crust is golden brown. This is the best indicator that the center of the pie is fully cooked. But sometimes, a crust refuses to brown. Crusts made with sugar tend to brown quickly, but even with a tablespoon of sugar added, a pale, dull crust can detract from your final product.
Adding an egg wash is key to a professional finish. Egg beaten with a bit of water or milk and brushed onto the top of the pie before baking results in a golden, shiny finish. If you want to add textural contrast and a little extra flavor, sprinkle the top of your egg wash with Demerara sugar. This creates a little sparkle on top of the shine. You can also skip the egg and just brush the top of the crust with milk.
Be aware that the contents of your egg wash affect the color and texture of your crust. Cream or milk instead of water produces a lighter, softer crust, but egg alone produces a deep, golden shine. Make adjustments depending on your desired result.
Baking on the wrong rack
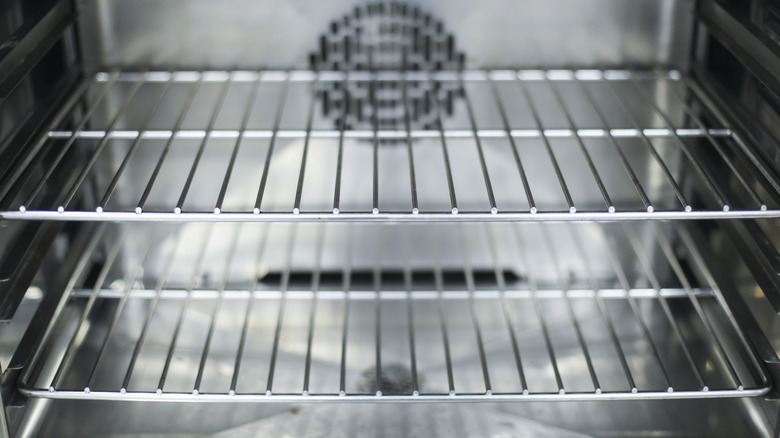
Even if you've done everything right — the filling is perfect, the crust has been handled with kid gloves — it's possible to torpedo the whole endeavor during baking. Contrary to what you might think, your oven does not keep a uniform temperature throughout the entire space. Baking your pie on the wrong rack can lead to uneven cooking, wonky color, and even burnt crust.
Bake your pie in the lower third of your oven for the most even browning. This might mean moving racks to properly position your pie during baking. Another way to ensure even cooking is to use a standalone oven thermometer to test your oven's temperature. The actual temperature of your oven can vary as much as 25 degrees from what's on the display, and different areas of your oven can be hotter or cooler. Place your oven thermometer in the area where your pie will bake, and adjust your temperature accordingly.
Baking directly on the oven rack
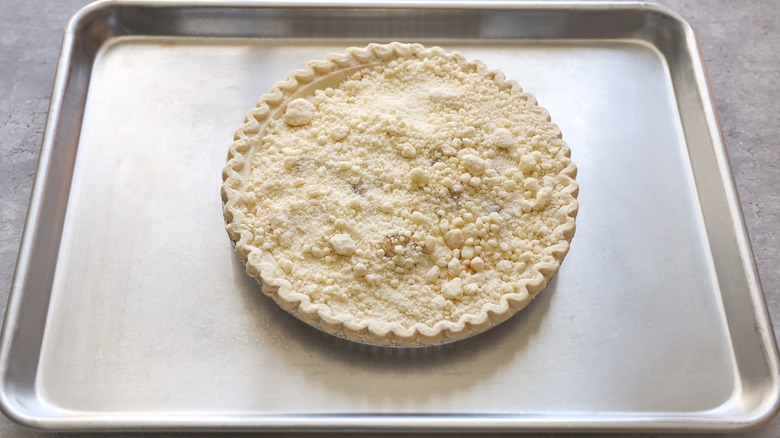
Baking a pie is messy work from start to finish. Flour from the dough gets everywhere, and apple pie bubbles on the stove can make for sloppy cleanup. But few things are more time-consuming to clean in the kitchen than your oven. For that reason, don't make the mistake of baking your pie directly on the oven rack.
Pies that are properly filled are subject to bubbling and oozing. Even the most tightly crimped edges of a double-crust pie can come apart in the oven's heat. Placing a baking sheet underneath your pie means all those drips and drops are caught before they land on your oven's floor and burn. You could go one further and line the baking sheet with parchment paper or aluminum foil to make that clean-up even easier. Cooking your pie on a baking sheet also means that the temperature on the bottom of the pie plate is consistent across the bottom of the pie.
Slicing the pie immediately
The house smells fragrant, your golden brown pie is sitting on the counter, ready to go, fresh out of the oven. It can be hard to resist the lure of sweet apple filling and a crispy, flaky crust, but do yourself (and your pie) a favor and wait. If you make the mistake of cutting into a hot pie, the only reward you'll get is runny filling.
If you can wait at least an hour (more than two is better), you will be rewarded with a filling that is still warm but has set up and holds its shape when you slice into it. This cooling process is critical for the eating experience.
Of course, flavor is also a factor. Taste buds are less effective for very hot or cold food. When it comes to apple pie, you're looking for the Goldilocks temperature somewhere in between, that perfect warmth that allows your palate to truly experience all of the flavors of the pie. Aim to cool your pie by somewhere between 60 and 95 degrees for the best experience of its flavor.