You've Probably Been Using The Wrong Pan To Caramelize Onions
You're barbecuing burgers, and it's time to add the ultimate finishing touch: caramelized onions. But, what pan do you reach for to get the job done? If you're like most people, a non-stick frying pan seems like the right choice — but not so fast! There's a better tool for the job if you want to caramelize onions to sweet and soft perfection.
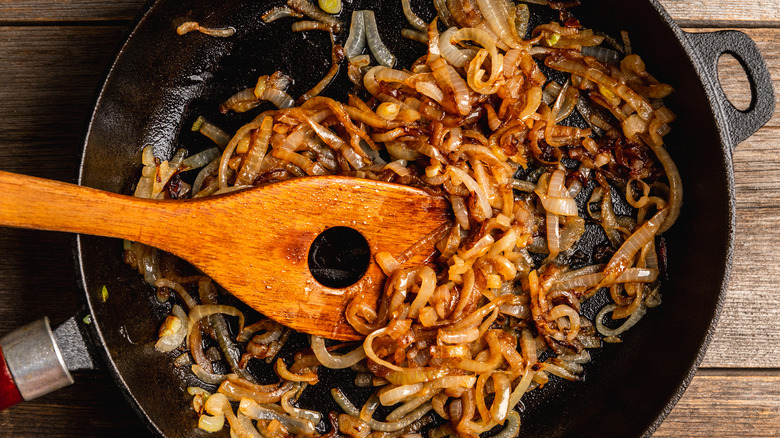
A cast iron or stainless steel skillet with a heavy, thick bottom and high sides provides the right cooking surface for this purpose because it ensures even heat distribution, preventing hot and cold spots that could result in burning and undercooking your onions at the same time.
Why is a non-stick pan no good, especially when it can be so easy to clean up? Technically, you can still caramelize onions with a non-stick pan. However, the key to a deeply flavorful result lies in the formation of a fond (the browned bits of onion that glaze the bottom of the skillet). Building up a fond requires a lot of scraping and stirring of the onion bits, which is likely to damage a delicate, non-stick surface.
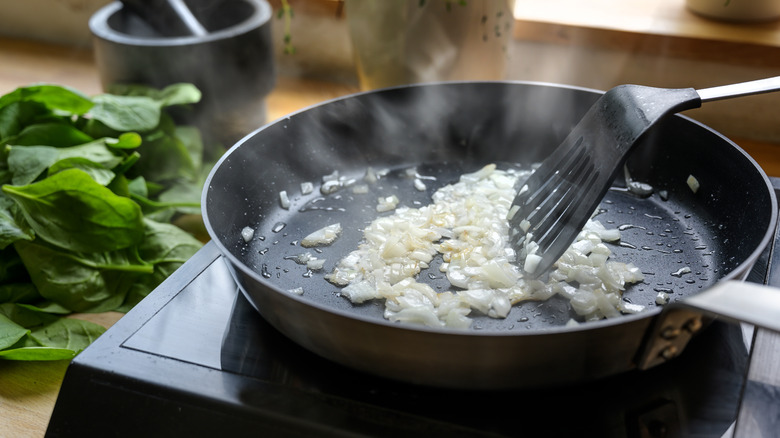
Your skillet also needs to have a large enough surface area for the number of onions you're cooking. Stick to the general guideline of two large onions for a 12-inch skillet, as this provides ample room for the natural water content to release and evaporate swiftly. Don't be tempted to overcrowd the pan though because this can cause the onions to steam in their own moisture instead of crisping and browning.
Top tips for classic caramelized onions
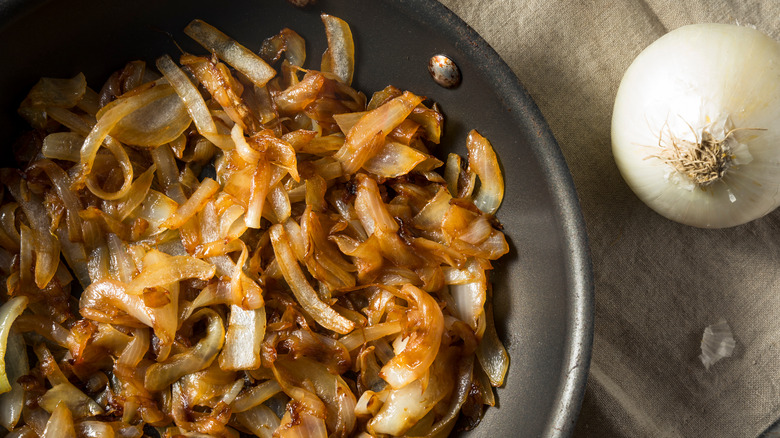
One of the most important ingredients for caramelized onions is, unfortunately, patience. Classic caramelized onions take between 45 minutes and an hour to simmer down to the perfect level of sweet, sticky goodness.
Start at a low heat for the first 15 minutes of cooking to evenly soften the batch, and then toggle between low and medium heat for the remaining 30 to 45 minutes of simmering. You'll need to monitor your onions throughout the cooking process, too, lowering the heat if they develop blackened bits.
Even with the right amount of cooking time and careful monitoring of heat, however, size is another factor altogether. You won't achieve an evenly caramelized result with slices that are big, small, and everything in between. Thinly and evenly slice your onions into 1⁄8-inch strips to ensure they're not so thin that they dry out and burn in the pan, but not so large that they fail to cook through and caramelize. Then, serve up the caramelized onions when they have reduced by about ⅔ their size and have a deep chocolatey brown color.
Balancing caramelized onion flavor with vinegar or sugar
Caramelized onions are prize winners when it comes to delivering sugary and fatty flavors. If you want a more balanced taste profile, though, add a touch of acidity in the last minute of cooking.
When caramelizing red onions (which are less sweet than white or yellow varieties), throw in a dash of balsamic vinegar. Since balsamic contains more sugar than other vinegars, it perfectly complements red onions and adds a zing of acidity. If you are caramelizing white or yellow onions, add a splash of apple cider vinegar, as this type is lower in sugar but still packs a tantalizing acidic punch.
If your onions are accompanying a salty meal that could use a contrasting pop of sugar (such as a hot dog or curry), you can intensify the sweetness of your caramelized onions by adding one to two tablespoons of white or brown sugar in the final 15 minutes of cooking.