Crispy Turkey And Cheese Croquettes Recipe
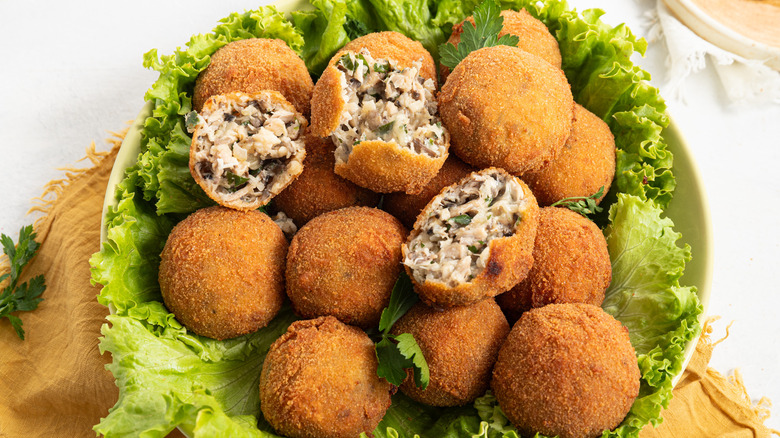
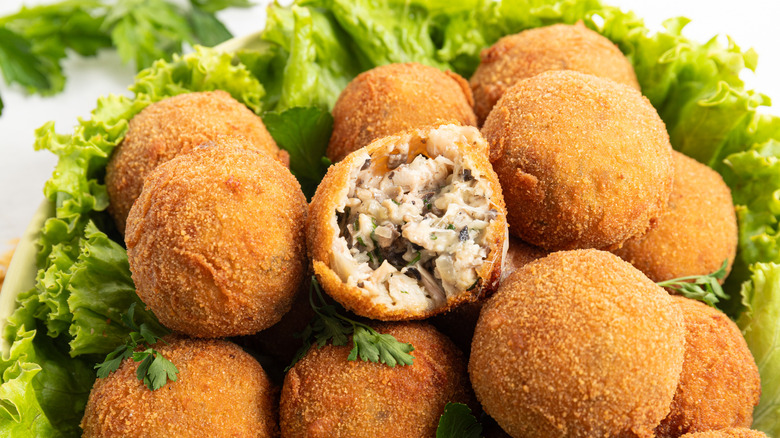
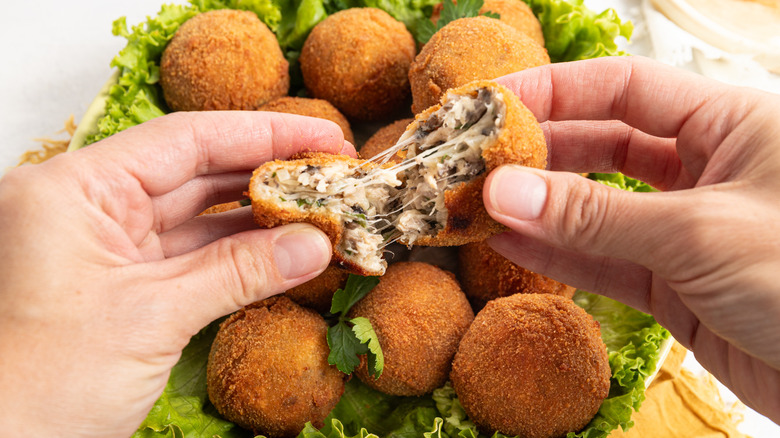
Not only are crispy turkey and cheese croquettes tasty and easy to make, but they are also a great way to repurpose leftover cooked turkey — which means they're a perfectly sustainable solution for post-holiday meals. Recipe developer Milena Manolova notes, "The addition of button mushrooms, yellow onion, garlic, and mozzarella cheese enhances the savory flavor profile while also adding depth and texture to the croquettes, making them irresistible to anyone seeking a delicious way to enjoy turkey leftovers."
Balancing out the creamy, melty mozzarella and earthy mushrooms in these turkey croquettes is a handful of fresh parsley. Coated with breadcrumbs, the fried snacks take on the perfect level of crispy crunchiness, turning them into a delightful treat for all ages. And perhaps best of all, these croquettes can be assembled in advance and then frozen or cooked later. Once fried, they can be served with dipping sauces, used as a topping for salads or soups, or enjoyed as a main course with a side of rice or vegetables.
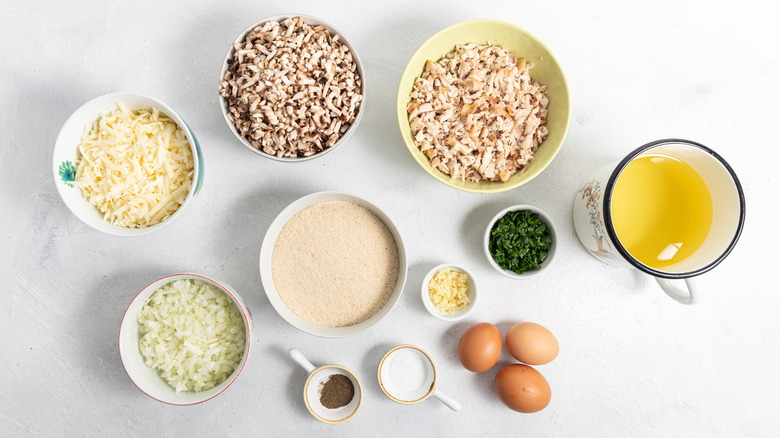
Gather the ingredients for these crispy turkey and cheese croquettes
The ingredients you'll turn into perfectly crispy croquettes are a finely chopped yellow onion, minced garlic cloves, finely chopped button mushroom, minced cooked turkey meat, chopped fresh parsley, shredded mozzarella cheese, eggs, breadcrumbs, salt, and black pepper, as well as some neutral oil for deep-frying.
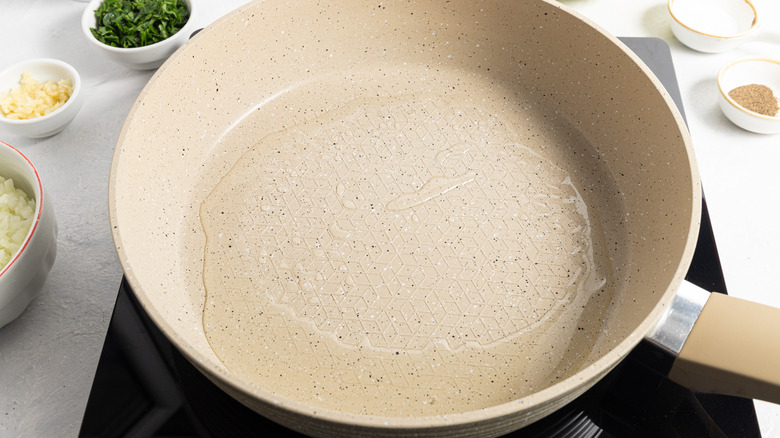
Step 1: Heat the oil
Place 2 tablespoons vegetable oil in a large skillet over medium heat.
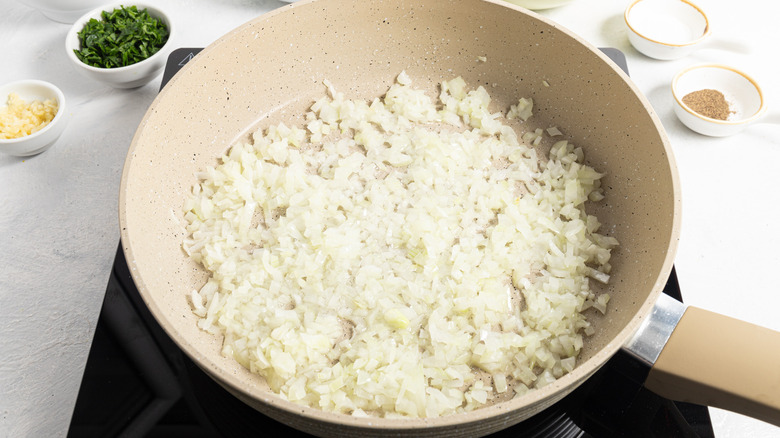
Step 2: Add the onion
Add onion and cook until golden and translucent, about 4 minutes.
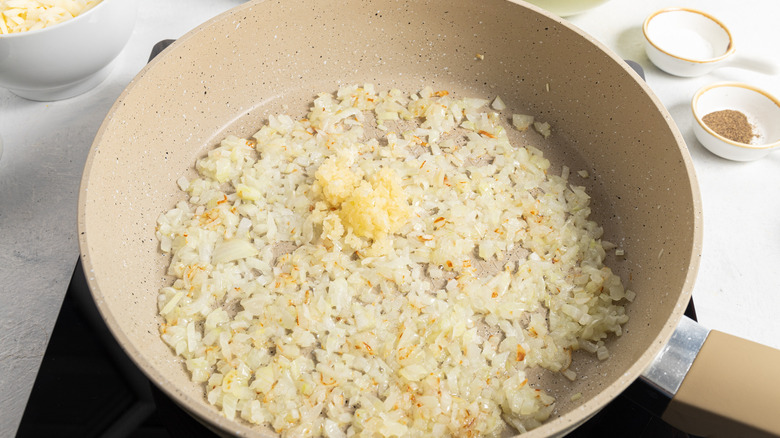
Step 3: Add the garlic
Add garlic and cook for 1 more minute.
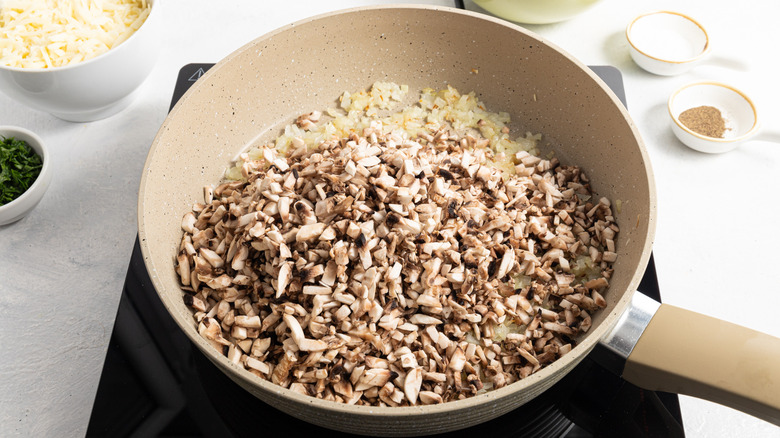
Step 4: Add the mushrooms
Stir in the mushrooms and cook until soft.
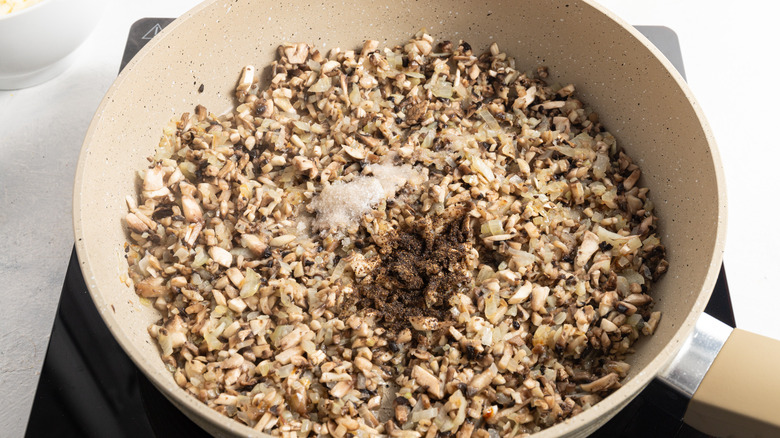
Step 5: Season with salt and pepper
Season with salt and black pepper, and cook for 4-5 more minutes.
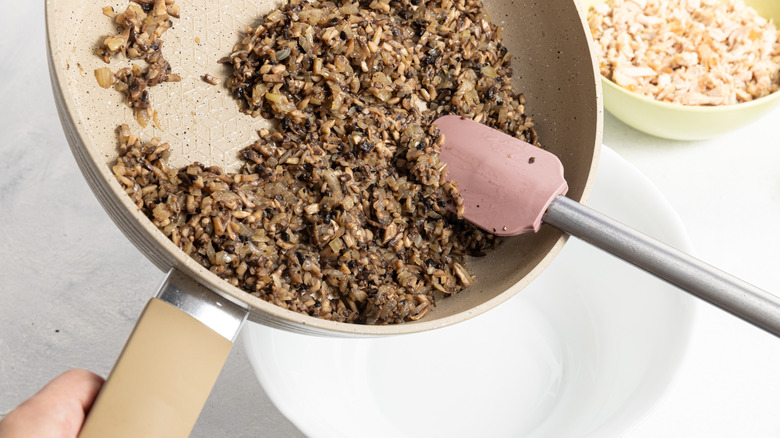
Step 6: Add the cooked mixture to a bowl
Remove mushroom mixture from heat and transfer to a large bowl.
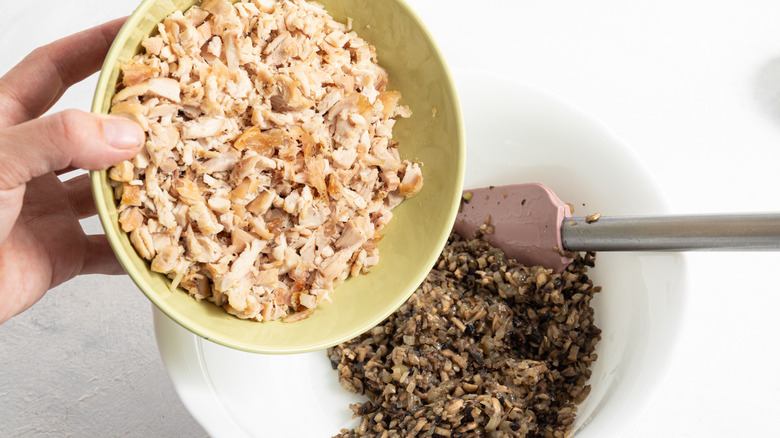
Step 7: Add the chopped turkey
Add turkey.
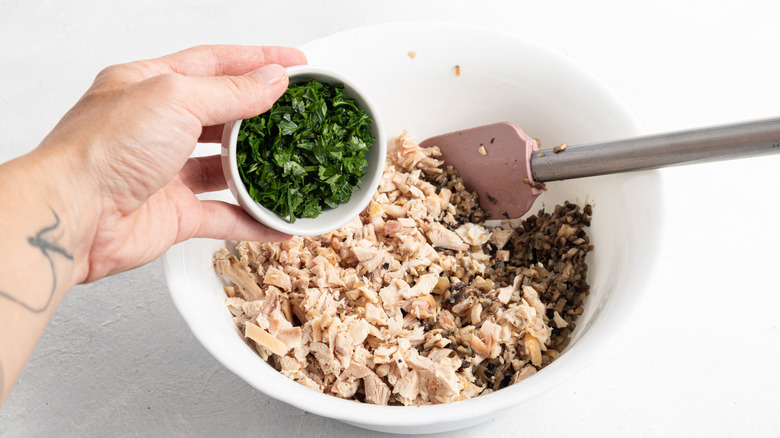
Step 8: Add the parsley
Add chopped parsley.
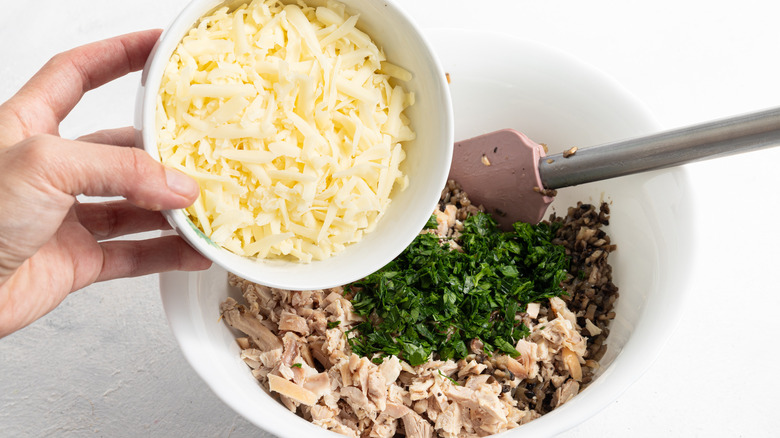
Step 9: Add the mozzarella cheese
Add shredded mozzarella and mix to combine.
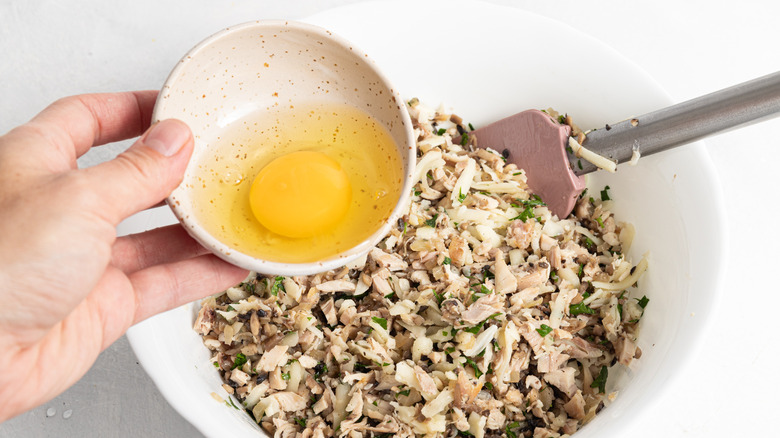
Step 10: Add one egg
Add 1 egg before mixing again.
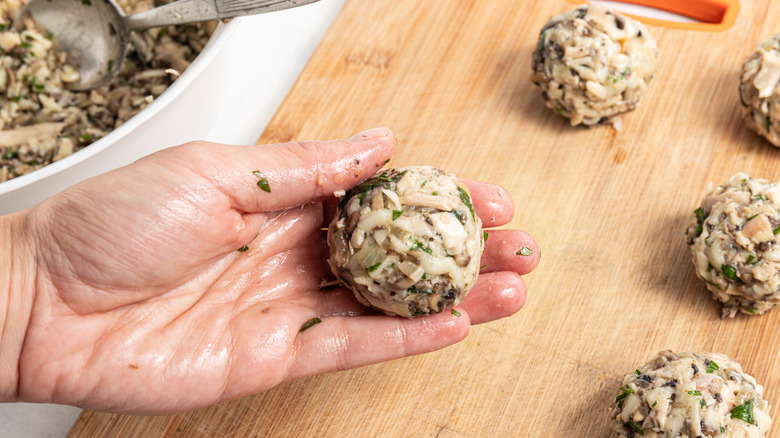
Step 11: Shape the croquettes
Using a spoon, scoop some of the mixture into the palm of your hand and roll a golf ball-sized ball. Repeat with the rest of the mixture.
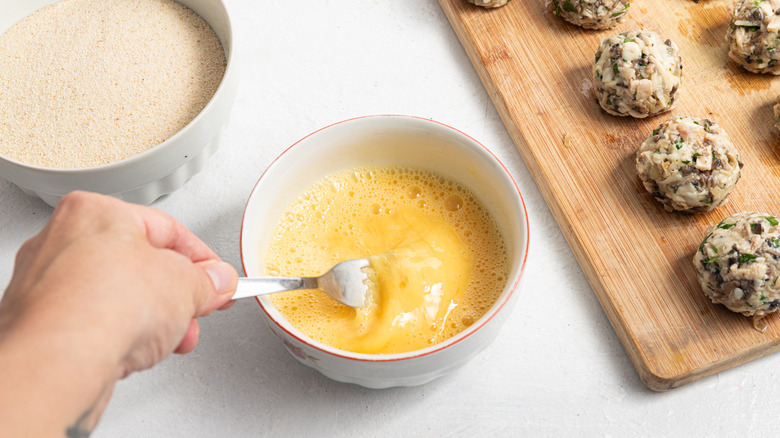
Step 12: Whisk the eggs for coating
In a separate bowl, whisk the remaining 2 eggs.
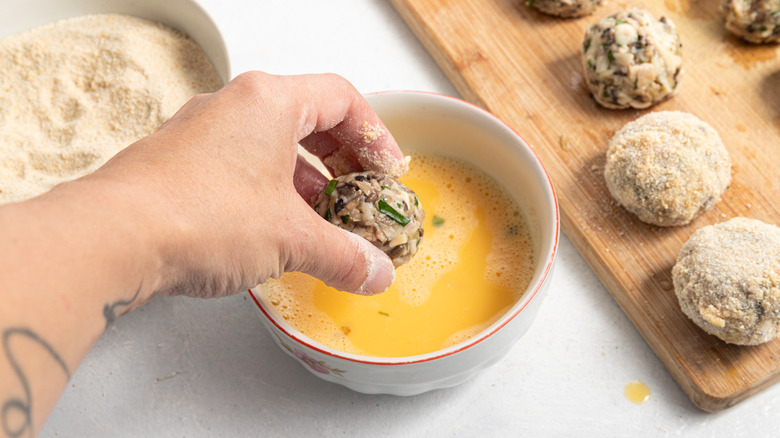
Step 13: Bread the croquettes
Dip each ball into the whisked eggs, then into the breadcrumbs. Repeat 1 more time, dipping each ball in the egg and then in the breadcrumbs.
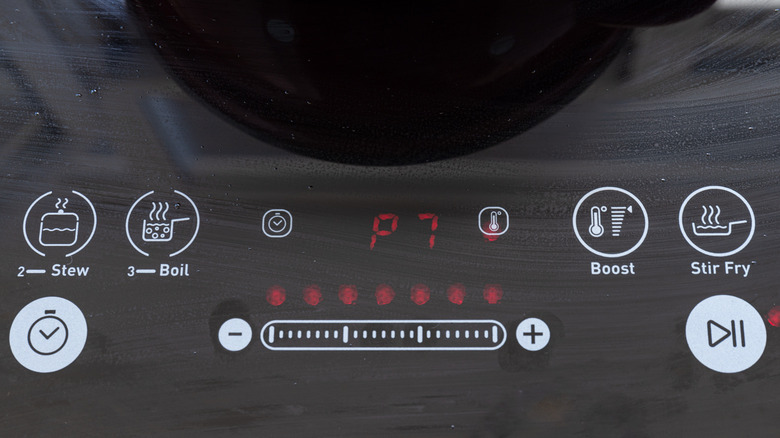
Step 14: Heat the frying oil
Once all the balls are coated, add the remaining vegetable oil to a medium saucepan and place over high heat.
Step 15: Add the croquettes to the oil in small batches
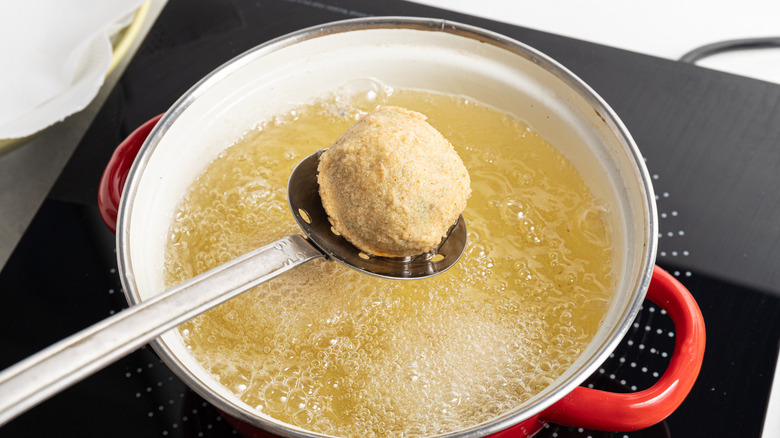
When the oil is hot, use a slotted spoon to place 3-4 croquettes into the pan.
Step 16: Fry the croquettes
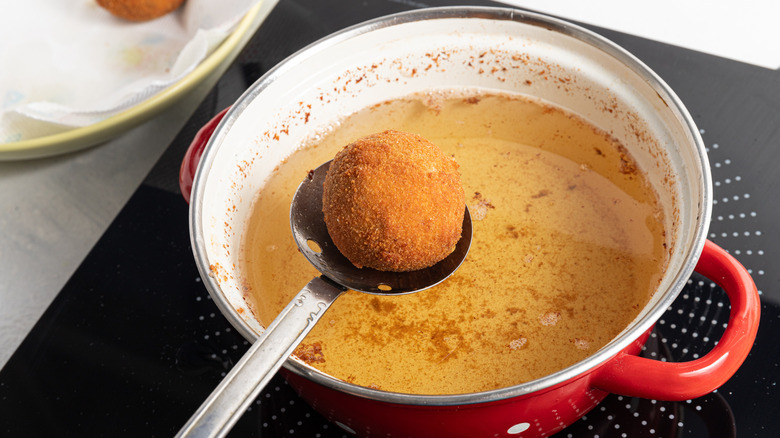
Fry the first batch of croquettes for 4 minutes, until golden brown.
Step 17: Let croquettes drain on paper towels
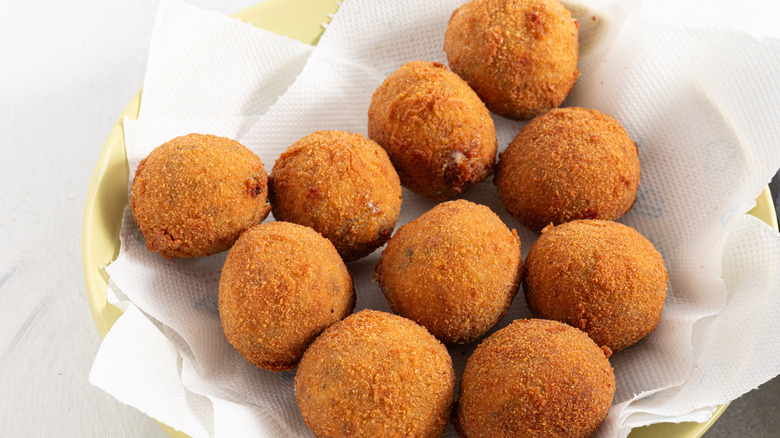
Remove the croquettes to a paper towel-lined plate and repeat the frying process with the rest of the balls, working in batches of 3-4 at a time.
Step 18: Serve
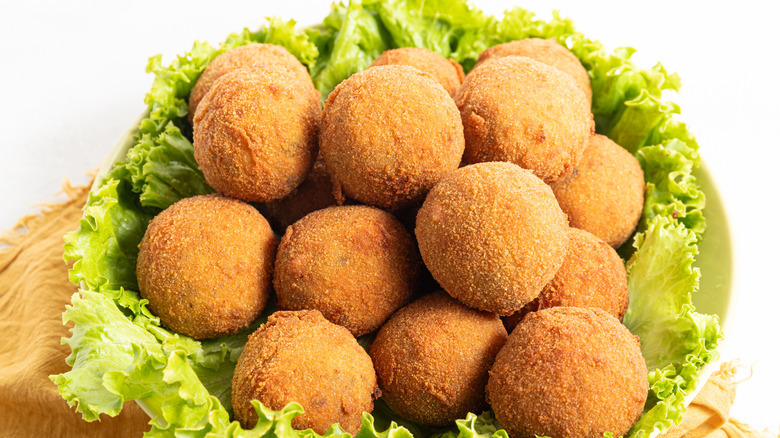
Serve hot with your favorite dipping sauce.
How do you store crispy turkey and cheese croquettes?
After frying the croquettes, let them cool to room temperature on a wire rack or paper towel-lined plate. Cooling helps maintain their crispiness and prevents condensation inside the storage container. Place the cooled croquettes in an airtight container, layered with parchment or wax paper to prevent sticking if you stack them. Refrigerate for up to 4 days.
To store the croquettes for a longer period, you can freeze them. First, place them on a baking sheet in a single layer and freeze until solid. Once frozen, transfer to a freezer-safe airtight container or zip-top bag. Frozen croquettes will last for up to 3 months.
To reheat the croquettes, preheat your oven to 350 F and place the croquettes on a baking sheet. Heat for about 10-15 minutes until they are crispy and heated through. If reheating from frozen, add a few extra minutes to the cook time.
Lastly, if you'd like to make the croquettes in advance and store them for later, follow the recipe as usual, up until the step of coating them in egg and breadcrumbs. Once coated, place the uncooked croquettes on a baking sheet or a tray, ensuring they are not touching. Cover with plastic wrap or aluminum foil and refrigerate for up to 24 hours. When you're ready to cook the croquettes, follow the frying directions in the recipe.
How can you serve crispy turkey and cheese croquettes?
Manolova prefers to serve these croquettes as an appetizer or finger food at parties or gatherings. You can accompany them with a dipping sauce, such as marinara sauce, garlic aioli, or a homemade condiment like honey mustard or ranch dressing. Children often love the combination of crispy croquettes and cheese. Serve them as a kid-friendly meal with a side of ketchup or their favorite dip.
As a heartier option, serve these croquettes as a main course, plated over a bed of greens or a simple salad for a light and satisfying meal. You can also serve them with a side of coleslaw, roasted vegetables, or mashed potatoes for a more substantial dinner.
Croquettes can also be a unique addition to a brunch menu. Serve them alongside scrambled eggs, toast, or a side of hollandaise sauce.
Lastly, you could transform the croquettes into a sandwich or wrap by placing them inside a bun or tortilla along with lettuce, tomato, cheese, and your choice of condiments. This option is great for a quick and delicious lunch.
Can you make crispy turkey and cheese croquettes in an air fryer?
As another cooking option, you can prepare these croquettes in the air fryer. Preheat your air fryer to the recommended temperature for frying, then place the prepared turkey and cheese croquettes in the air fryer basket in a single layer, ensuring they are not overcrowded. You may need to work in batches, depending on the size of your air fryer.
If desired, you can lightly spray the croquettes with cooking spray or brush them with a small amount of oil. This will help them achieve a crispier texture. However, it's not always necessary, as the air fryer will still produce a relatively crispy result without added oil.
Cook the croquettes in the preheated air fryer for about 10-15 minutes, flipping them halfway through the cooking time. Cooking times may vary depending on the size and thickness of your croquettes and the specific air fryer model. Aim for a golden brown and crispy exterior. Once the croquettes are crispy and heated through, remove them from the air fryer and serve immediately.
Crispy Turkey and Cheese Croquettes Recipe
Introducing your new favorite way to use up Thanksgiving leftovers: turkey croquettes filled with mushrooms and cheese and fried to crispy perfection.

Ingredients
- 3 cups vegetable oil, divided
- 1 cup finely chopped yellow onion
- 2 cloves garlic, minced
- 8 ounces button mushrooms, finely chopped
- ½ teaspoon salt
- ¼ teaspoon ground black pepper
- 2 cups finely minced cooked turkey meat
- ¼ cup chopped fresh parsley
- 2 cups shredded mozzarella cheese
- 3 eggs, divided
- 1 cup breadcrumbs
Directions
- Place 2 tablespoons vegetable oil in a large skillet over medium heat.
- Add onion and cook until golden and translucent, about 4 minutes.
- Add garlic and cook for 1 more minute.
- Stir in the mushrooms and cook until soft.
- Season with salt and black pepper, and cook for 4-5 more minutes.
- Remove mushroom mixture from heat and transfer to a large bowl.
- Add turkey.
- Add chopped parsley.
- Add shredded mozzarella, and mix to combine.
- Add 1 egg before mixing again.
- Using a spoon, scoop some of the mixture into the palm of your hand and roll a golf ball-sized ball. Repeat with the rest of the mixture.
- In a separate bowl, whisk the remaining 2 eggs.
- Dip each ball into the whisked eggs, then into the breadcrumbs. Repeat 1 more time, dipping each ball in the egg and then in the breadcrumbs.
- Once all the balls are coated, add the remaining vegetable oil to a medium saucepan and place over high heat.
- When the oil is hot, use a slotted spoon to place 3-4 croquettes into the pan.
- Fry the first batch of croquettes for 4 minutes, until golden brown.
- Remove the croquettes to a paper towel-lined plate and repeat the frying process with the rest of the balls, working in batches of 3-4 at a time.
- Serve hot with your favorite dipping sauce.
Nutrition
| Calories per Serving | 549 |
| Total Fat | 51.9 g |
| Saturated Fat | 8.3 g |
| Trans Fat | 0.3 g |
| Cholesterol | 76.6 mg |
| Total Carbohydrates | 7.3 g |
| Dietary Fiber | 0.7 g |
| Total Sugars | 1.5 g |
| Sodium | 310.9 mg |
| Protein | 14.6 g |

