How To Purge Clams
If you've ever dipped a spoon into creamy New England clam chowder with excitement, only to find your mouth full of grit, the clams probably weren't cleaned properly. Cleaning clams involves purging them, which allows them to filter out sand trapped within their shells. When you purchase clams, they are alive and breathing. As they breathe in saltwater, they filter out all the grit that's accumulated. This is particularly important when buying wild clams directly from a seafood monger, or if you're foraging your own clams, as they will be dirtier. Even supermarket clams, despite the mesh package indicating they've been fully cleaned, should be purged at home to ensure no dirty clam spoils the party.
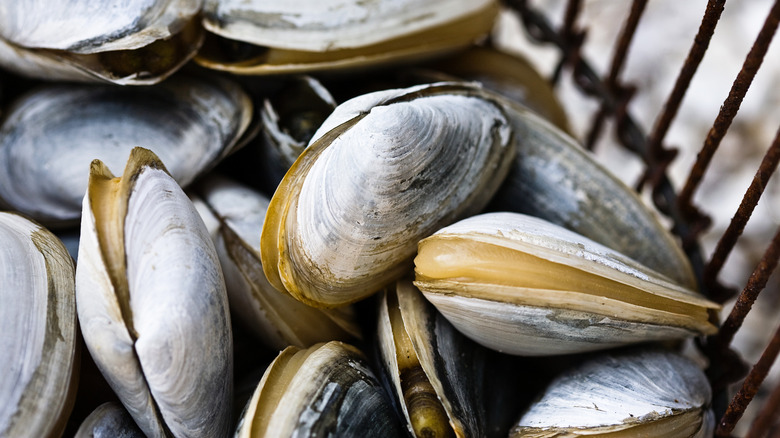
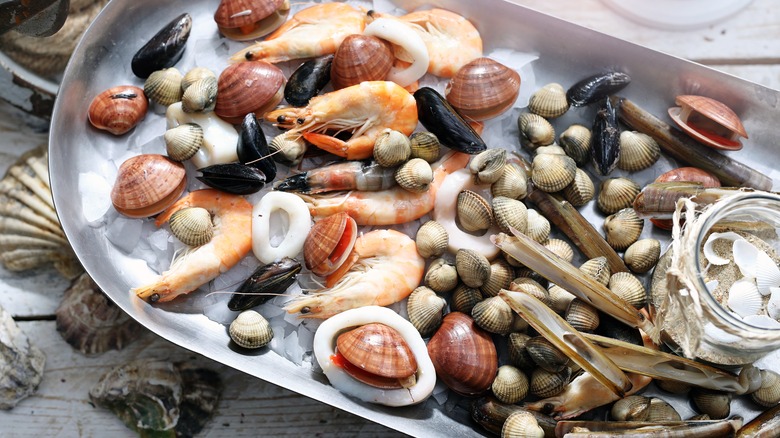
Clams are bivalve mollusks, a group that also includes mussels, oysters, and scallops. Both freshwater and saltwater clams have a foot-like appendage that allows them to burrow into the floors of oceans or rivers. Here, they spend most of their lives covered in sand or mud, unlike other mollusks that stay on the seabed. Understandably, clams become quite dirty, especially soft-shell clams that can't tightly close their shells. They require extra attention at home to ensure your final dish isn't ruined.
What water do you use to purge clams?

Preparing a saltwater solution that won't shock, or worse, kill your clams is crucial for effective purging. Clams that come from the ocean, which comprise the most commercially available clams in the United States, can't survive in freshwater due to their unsuitability. Of course, freshwater clams that aren't accustomed to saltwater are the exception, and for them, freshwater should be used for purging.
If you're foraging for your own clams, consider bringing a bucket of clean seawater from the area you found the clams — this is the water they are most comfortable in. If that's not an option, you can replicate seawater by adding salt to fresh water. Wild foods expert Hank Shaw recommends using about 35 grams of sea salt for every 1000 grams of water, approximately a 3.5% saltwater solution. It's best to match the water temperature to the clam's environment, but clams can filter feed within a range of 34.5 to 78 degrees Fahrenheit. The idea is to cause as little stress as possible — purge them in the fridge if the clams were harvested in winter and at room temperature in summer.
How exactly do you purge clams?
The good news is that when purging clams, they do most of the work. Start by scrubbing the clams well with a brush to remove any sand from the outside of the shell. Look for clams that have a clean, salty scent, and undamaged shells. Make sure they are responsive — since they are alive, they should close when you tap them, and vice versa.
Place the clams in a large non-reactive container, and cover them fully in the saltwater solution. The clams will begin to work, and after about 20 minutes to one hour, you should see sediment accumulating on the bottom of the container. Carefully remove the clams by hand or, alternatively, place them in a mesh strainer, so you can effortlessly lift them out without stirring up dirt.
Repeat this process until sand no longer accumulates in the container. For supermarket clams, one purge should suffice, but wild foraged clams may need several passes. Hard shell clams purge quicker, while soft shell clams might need to be left in water overnight. When the clams are done purging, give them another good scrub and rinse, and they're ready to go. Store cleaned clams in the fridge under a damp towel, and consume them as soon as possible. Clams are a treat best enjoyed super fresh.