How To Pick The Best Oysters
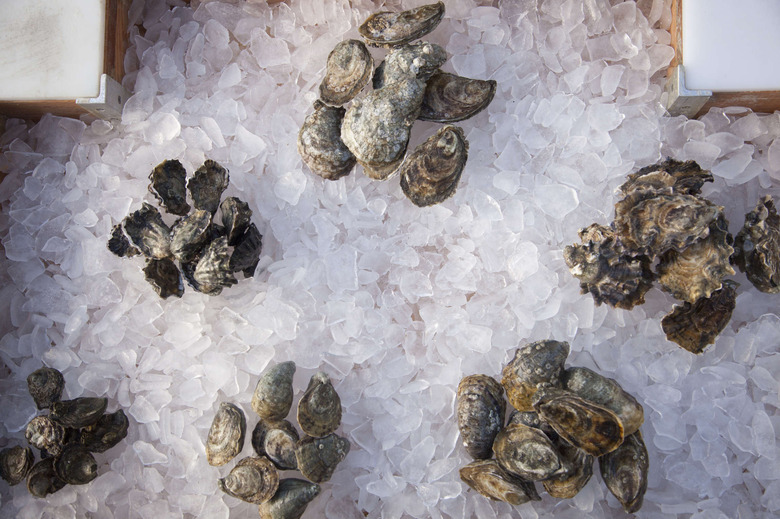
Think of oysters as the bivalve equivalent of the little girl in Longfellow's poem — when they are good, they are very, very good. And when they are bad, they are horrid. But if fear of a bad one has kept your bivalve yen at bay, well, then this is your lucky day. Because when you know what to look for, you are almost guaranteed to avoid any half-shell horrors. To that end, our friends at ChefSteps have enlisted Marco Pinchot — a true mollusk master — to show us everything we need to know about picking oysters. He's an expert on sustainability at Taylor Shellfish Farms, the world-renowned shellfish cultivator based in Washington state.
Pinchot's lessons are not the sole purview of hard-core foraging types — these tips will come in handy whether you're perched at the raw bar, shopping at the farmers' market or dragging a shovel along a rocky stretch of Puget Sound sand. So go ahead and school yourself on picking oysters — your newfound knowledge is sure to pay off over a lifetime of superior slurping. Take a look at the instructional video and tips below.
Picking oysters
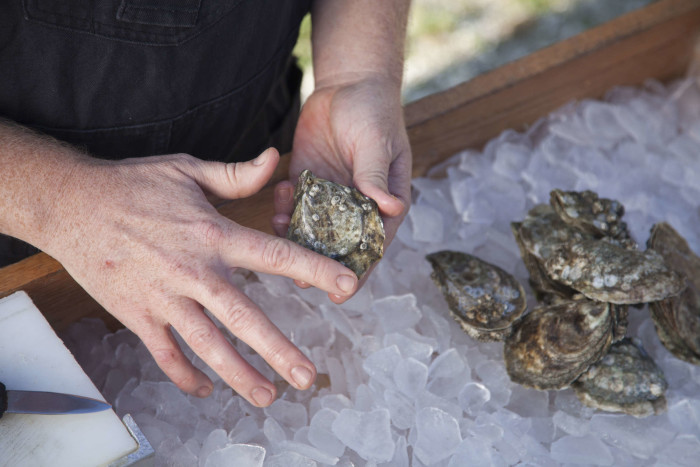
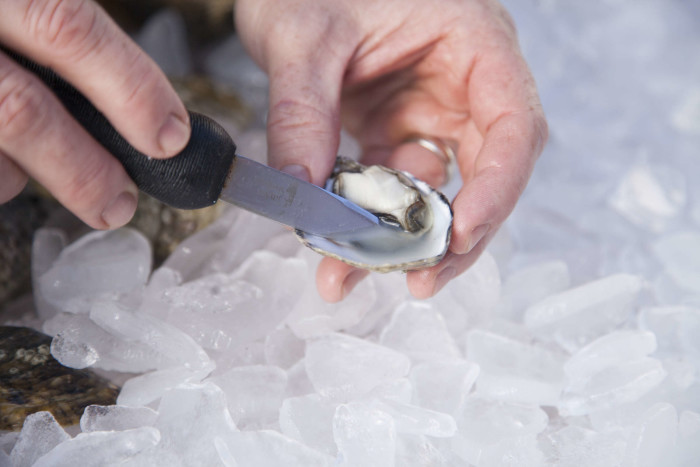
1. Identify the flat side. Every oyster has a flat shell and a rounded one. When you are shucking an oyster, you want this flat side to face upward. It is also always better to store your oysters with the flat sides facing up. Examine the shell for any chips or broken bits. You want a shell that is closed and entirely intact. Now is also a good time to notice whether the shell is sealed. If you see cracks where the two sides of the shell meet, move on to the next oyster.
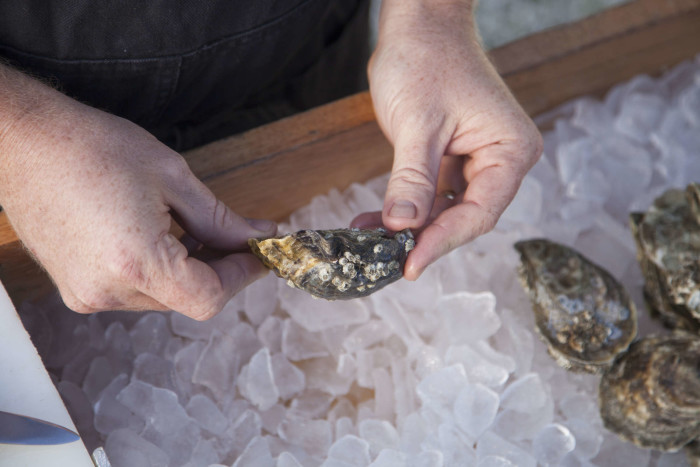
2. Check out the cup. Depending on the species, the growing method and the environment, the rounded shell — or cup — of an oyster might be very deep or more shallow. An oyster with a deep cup will have a nice amount of meat inside. As with the flat side, look out for cracks and broken bits. And if you see them, don't eat that oyster.
3. Listen. Hold the oyster close to your ear and knock on it. Do you hear a hollow sound? That indicates an oyster that is dehydrated. You don't want that one.
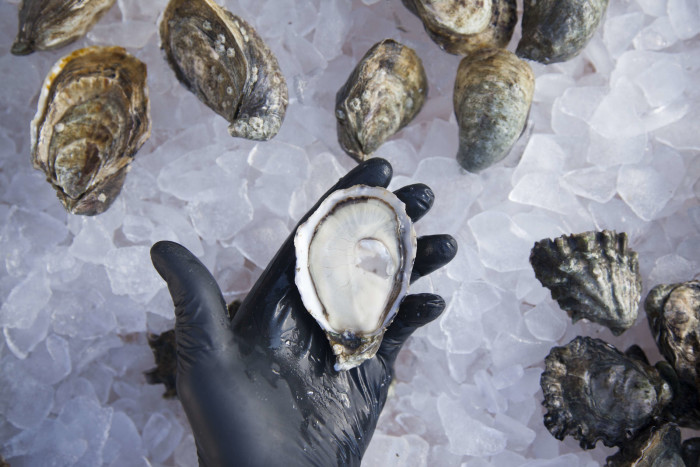
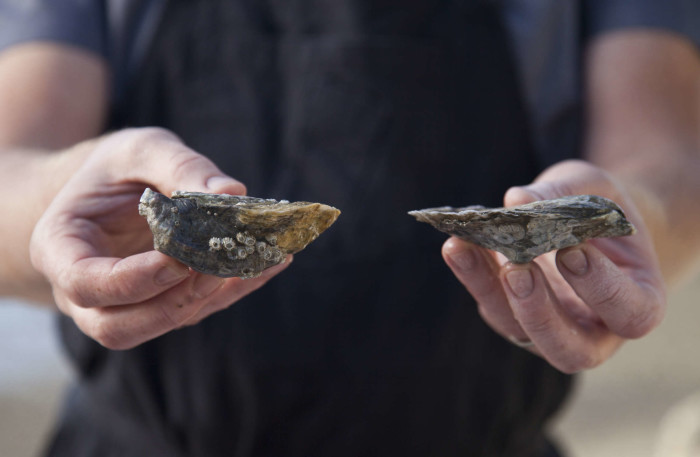
4. Examine the meat. Once you've shucked the oyster, have a look inside. What we want to see here is meat that reaches almost to the edge of the shell and feels firm when you poke it with your knife. Good oyster meat is plump and solid in color. If it looks spawny — translucent or milky — say sayonara.
Note: You can also use this opportunity to smell the oyster if you like. Good oysters smell a little sweet and a lot like the sea. If for any reason the odor gives you pause, well, you know what to do.
5. Look for liquor. The liquid in an oyster shell, lovingly known as the liquor, carries a lot of the delicacy's flavor. If the shell was properly sealed when you shucked it, the oyster should have ample liquor inside. If it doesn't, throw it away.
ChefSteps comprises a team of award-winning chefs, filmmakers, scientists, designers and engineers focused on revolutionizing the way people cook by inspiring creativity and encouraging expertise in the kitchen. You can also get access to all of ChefSteps' Premium content — including paid classes and dozens of recipes available only to Premium members for a onetime fee — for the special price of $24 (regularly $39). Classes include Sous Vide: Beyond the Basics, Fluid Gels, French Macarons and more!