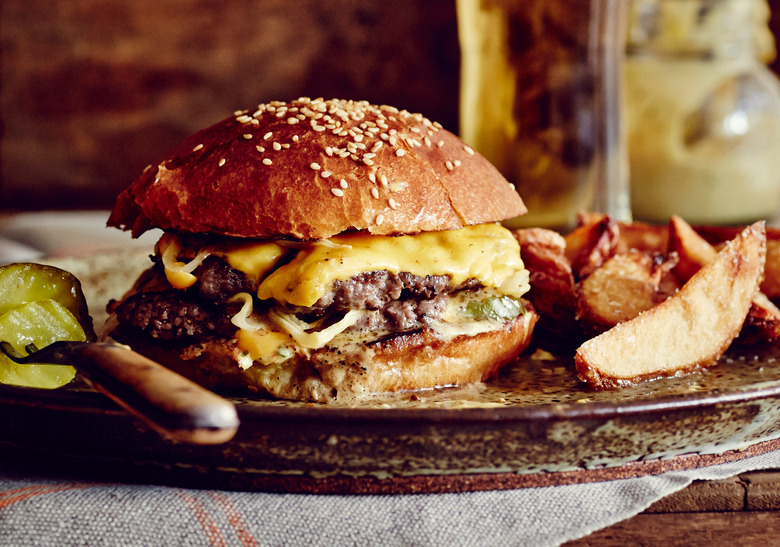
The Grind, The Patty, The Grill And The Bun: How To Make The Perfect Burger
Food Republic's column Ask Your Butcher seeks to answer FAQs in the world of butchery. Ethically minded butcher Bryan Mayer founded Philadelphia's Kensington Quarters and helped develop a renowned butcher-training program at Brooklyn's Fleisher's. Today, he consults with farmers, chefs, butchers and anyone else who will listen. In each column, Mayer tackles a pressing issue facing both meat buyers and home cooks. Here, he explores how to make the perfect burger at home.
My obsession with burgers predates my obsession with grass-fed beef and butchering. Sometime around 1999, a few friends and I would meet weekly at places like the Burger Joint, J.G. Melon, Bill's and Peter Luger, to name a few. I developed a love and appreciation for burgers the way some do for pizza or pasta. In fact, there are some similarities: None are extremely difficult to make and all require minimal ingredients. The permutations and variations are limitless. And still, the mastery of each can take a lifetime. I'm not here to tell you what the best way to make a burger is — that's entirely up to you. Whether it's a simple beef patty from Louis' Lunch cooked the same way for over 100 years on cast-iron grills or a Daniel Boulud burger stuffed with everything in the fridge, here are a few things you should know and do (and not do).
The Grind
We've all heard it so many times: The best burgers come from meat you grind yourself at home. And while that might have been true at one time, today's expert butchers do things a bit differently. Any butcher worth his or her weight in beef trim grinds fresh every day. More important is what winds up in the grind. Sure, your whole-animal butcher would be happy to grind for you — at full retail price — all the chuck, brisket and short rib you'd like. But contrary to what some meat "experts" out there say, that is not how to get the tastiest meat for your Labor Day BBQ.
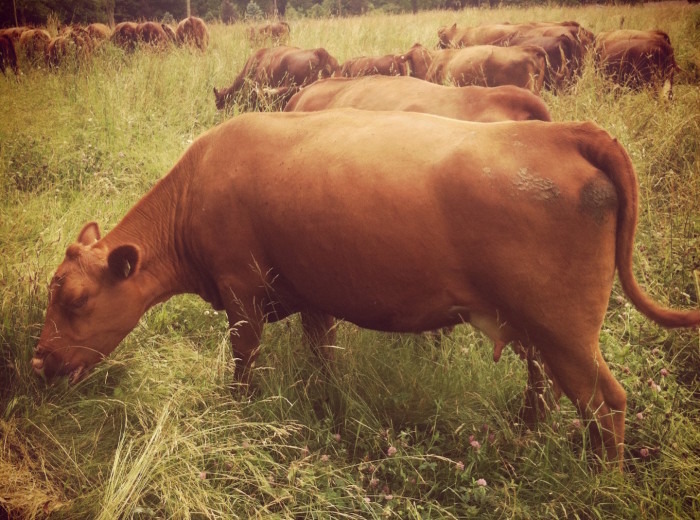
You need but two things. One is a grind from grass-fed animals that spend their entire lives out on grass, working those muscles. Flavor comes from worked muscles, not cereal grains! And you need shank meat in there, as these muscles are responsible for locomotion, and that means they work...a lot. And since our grass-fed animals are out there on pasture much longer than their commodity-market contemporaries, there's a whole lot of flavor development going on. The caveat with the grind-your-own mindset is that your home grinder probably isn't going to cut it. Literally. You'll need some serious horsepower to break down those muscles; we're talking 5 to 7 hp. Your top-of-the-line Kitchen Aid's got about 1.5 hp, which is nowhere near enough to break down all that sinew. And the amount of stress you'll put on the machine will generate a lot of heat from friction, which is a burger's mortal enemy. You don't want to be rendering fat before you start cooking. If you're set on grinding your own, you'll need to spend some time denuding and getting your meat really cold. A bit of freezer time should take care of that — let a little bit of "crunch" develop on the outside of the meat.
One of the reasons that the Big Meat bosses love to talk about chuck, short rib and brisket in burger blends is because of fat. These are fairly fatty muscles, and fat is flavor! In fact, fat is now being recognized as a sixth taste...whatever that means. Well, guess what comes with a whole animal? A whole lot of fat. Fat that never sees its way into boxed meat. Grass-fed animals can be just as fatty as their feedlot counterparts. Okay, so maybe we're not talking Kobe fat, but you get my point. And if all that great, natural fattiness isn't fatty enough for you, most shops will grind an 80/20 (lean-to-fat) ratio — they've got the fat on hand to bring it up to the perfect 70/30 burger blend! Add to that all the custom grinds that many shops do these days — beef and bacon, dry-aged, beef and pork — and there is more than enough creativity out there to satisfy any palate.
The Patty
As if we haven't already added enough subjectivity here by talking about taste, we're now going to talk about patty formation. Whether you keep them super-thin or go for a thicker bistro style, there are a few rules you'll want to follow. For the bistro-style, handle the meat as little as possible. Your hands are conductors of heat, and that heat will smear all that delicious fat, potentially winding up on your hands and not in the burger. So, I employ the 1-2-3-4-5 method: Count to five and whatever the shape is, that's what it is (I use a similar method with meatballs, with just three seconds). It'll be a perfect six-ounce burger.
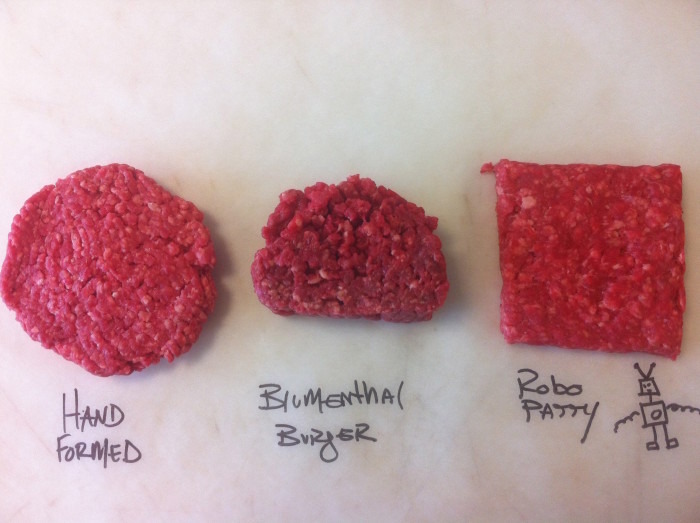
Tip: Use two takeout container lids and press your ground meat between them until you get your desired thickness. Not only does this method avoid heating of the patty, but it also prevents it from being compressed too much. You want that fat to seep into all the little spaces between the strands of meat. It's the equivalent of tearing an English muffin in half instead of cutting it — you're creating texture and keeping fat. You'll have a Heston Blumenthal–quality burger without the need to take a week off to prepare it.
For the smash-style burger, it's even simpler. Just weigh yourself out a four-ounce (a little smaller is better here) patty, roll it into a ball and that's it. You're ready to cook.
As for seasoning, there are only two ingredients needed: salt and pepper. You should use fresh cracked pepper if possible, but feel free to sprinkle on whatever salt you have handy. Just please resist the urge to use bread crumbs, onion, garlic or any other powder, for that matter. These are burgers, not meatloaf! One final note: Do not salt your patties before they are formed! We're not making sausage. It's best to do this right before they hit the grill.
The Grill/Cook
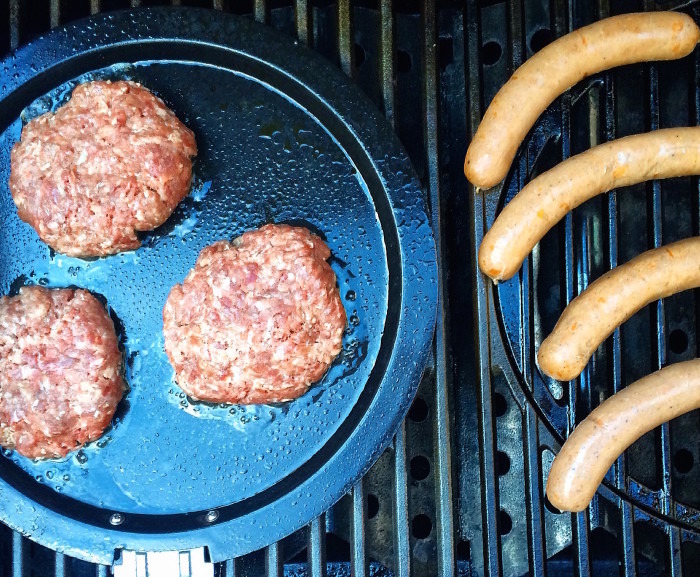
What good is all this talk of which type of ground beef to buy and which type of patty to form if you're going to turn it into the puck from Jaromir Jagr's next hat trick? No amount of cheese or secret sauce can save an overly charred burger. So here's what you're going to do: Keep your burgers off the grill. That's not to say that you can't use your grill — by all means do — just be sure to use a skillet or a flat cooking surface. Think about it. You've got, in my opinion, the perfect 70/30 blend, your grill is blazing hot and all that's needed is just a bit of animal fat to set it all ablaze, leaving you with flavorless, charred little meat disks. Cooking your burgers on a flat cooking surface allows the fat to render instead of dripping away into oblivion. You get a moist, tender burger.
If you plan on a bistro-style burger, feel free to flip away. I usually make mine at about 1 1/4 to 1 1/2-inch thickness. This flipping will allow for a faster, more evenly cooked burger. However, you can never replace a thermometer. So for perfectly cooked burgers, go for that rare/medium rare zone of 125°F to 130°F. For the smash-burger style — my personal favorite — I go for the 1-2-3. Drop that four-ounce ball of ground meat onto your flat cooking surface, wait one minute, smoosh it down to a thickness only Ant-Man could measure, wait a minute and flip it again, making sure to scrape up all the good bits with it. Just wait one more minute and you're done.
Tip: If you're planning on adding cheese, do it immediately after flipping your smash burger. You've got a bit more time with the bistro style. And since you'll be flipping those more often, it's probably best to wait for the end.
The Bun
Brioche bun for the bistro burger, Martin's Potato Roll for the smash burger. Why mess with perfection?
Apply these techniques and you'll be cooking perfect burgers year-round, as you should be. After all, it's burger season all year long.