How To Make Gnudi
I took a peek inside the kitchen at Midtown East's Circo restaurant to learn how to make gnudi from visiting chef Antonio de Ieso in from Florence for one of their signature spring dishes: gnudi primavera. Co-owner Mauro Maccioni helped walk me through the steps and gave a little background on why he likes serving gnudi at his restaurants.
"These dumplings are called malfatti, which means 'poorly put together,' or gnudi, which means 'naked,' depending on the area of Tuscany," says Maccioni, a second-generation restaurateur who grew up in his father Sirio's restaurant, the famed Le Cirque. Gnudi are very simply that: ravioli filling without the pasta encasing. They're light, fluffy and don't miss the extra starch one bit. They're also not fancy, and very quick and easy to make.
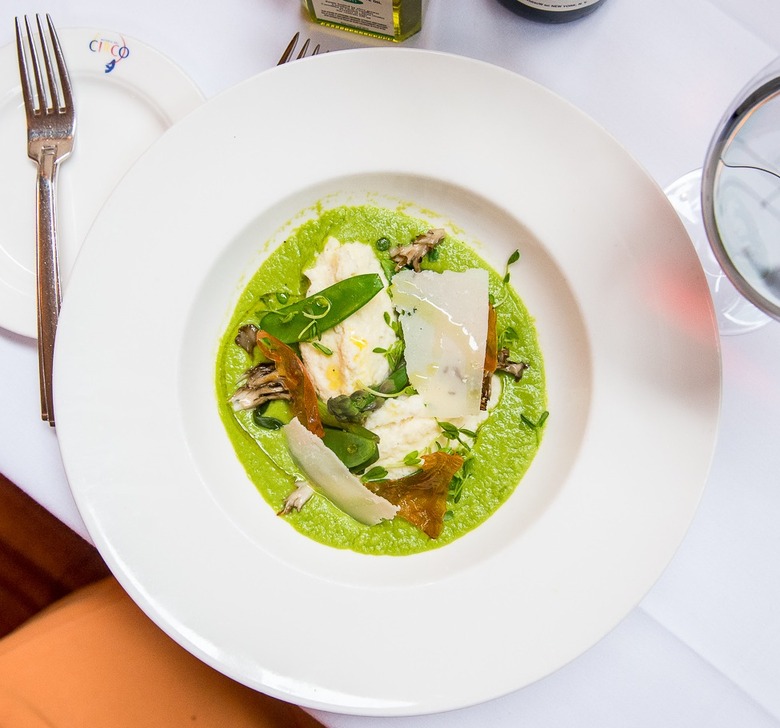
"We wanted to do a version that's a little more refined and thought the white would contrast nicely with spring colors, so we made a pea, spring onion and tarragon cream topped with some fricaséed mushrooms, some snow peas, asparagus spears and pea shoots," Maccioni adds.
But why does he really like it?
"It's my favorite pasta because I love naked things." Welcome to spring, everyone!
Here's what you'll need for two servings:
For the sauce and garnish:
Sauté leeks and scallions in olive oil, add green peas, salt pepper and stock. Cook 2 minutes. Transfer mixture into a blender or food processor with fresh herbs and purée. Season with salt and pepper, spoon on a plate, top with gnudi and garnish with vegetables.
For the gnudi:
Click on any photo to launch a step-by-step slideshow
Lay out your mise en place
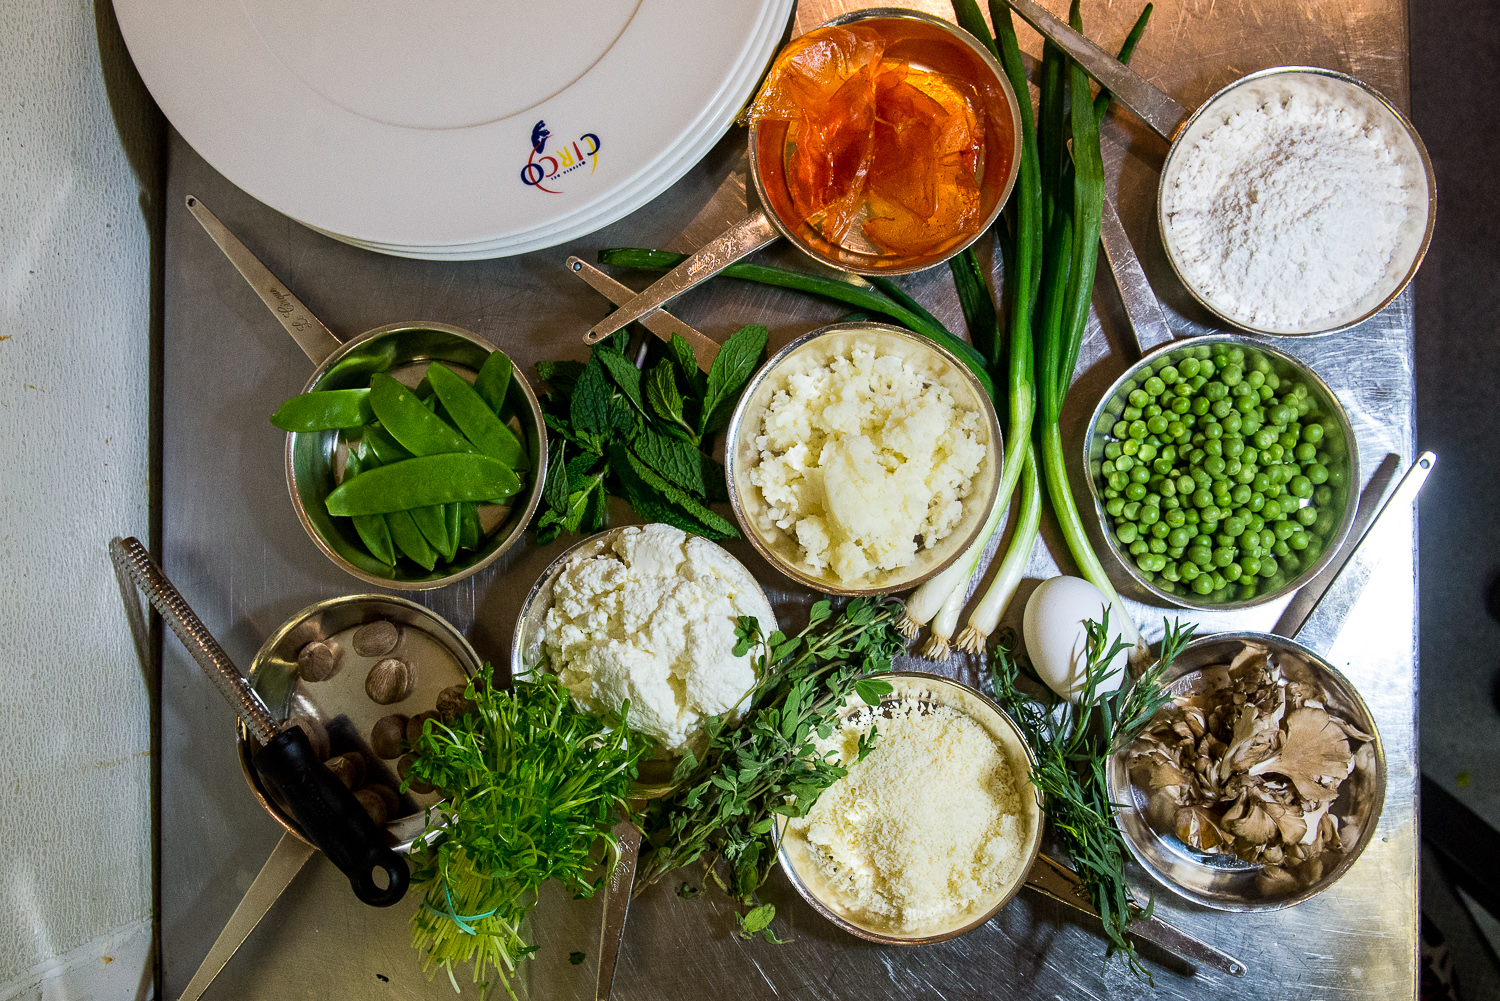
Arrange the ingredients you'll need so that they're convenient when you need them. An organized workspace is key to the success of even a simple dish like gnudi.
Combine the gnudi ingredients
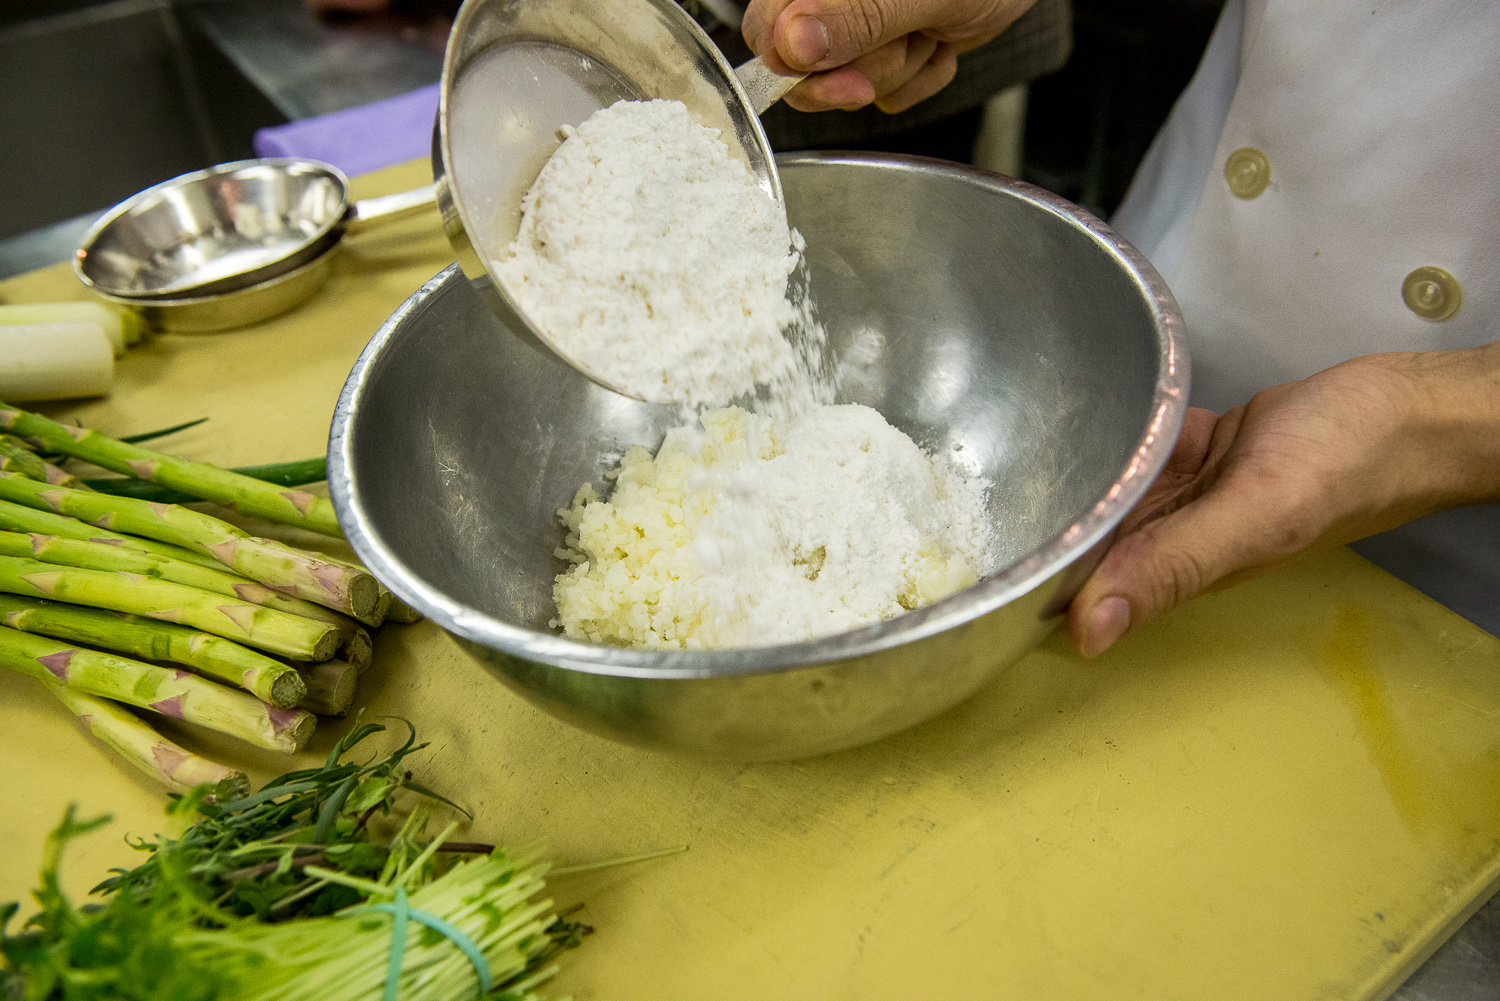
Combine the ricotta, Parmesan, egg and mashed potatoes until smooth. Season with salt, pepper and freshly ground nutmeg to taste. Set mixture aside and line a baking sheet with parchment paper, which will help the gnudi dry out and prevent them from sticking to the pan.
Form the gnudi
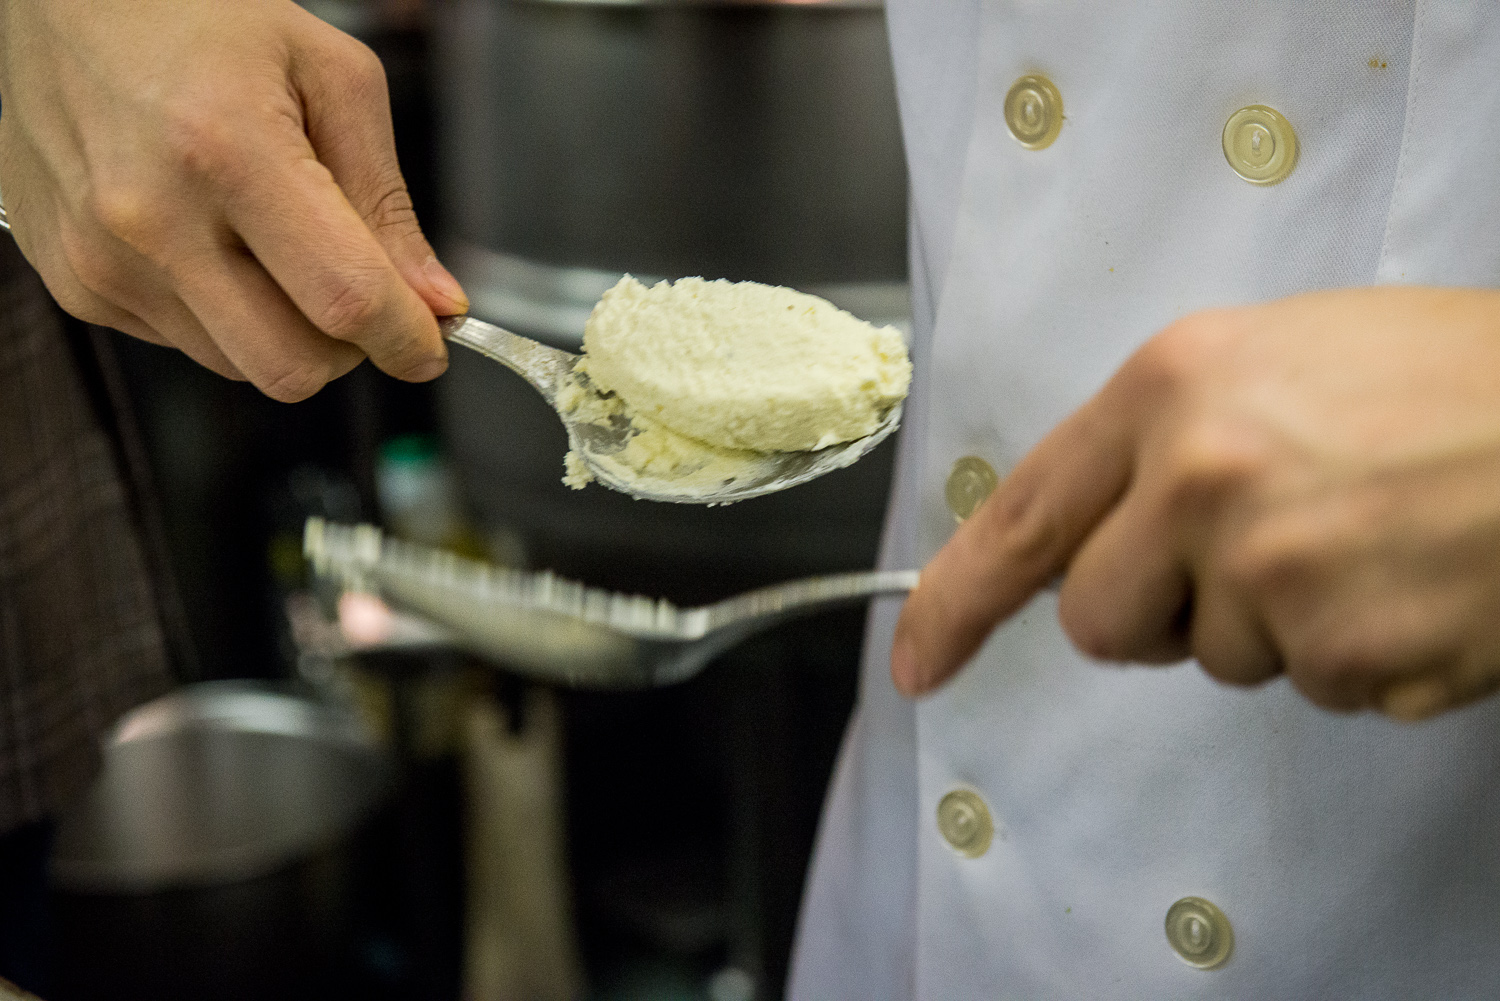
Form the gnudi by using the French quenelle technique. Scoop up some filling in a large spoon in one hand (a tablespoon works nicely) and have another spoon in the other. Transfer the scoop of filling between the spoons until you have a smooth, three-sided dumpling.
Repeat with the rest of the filling
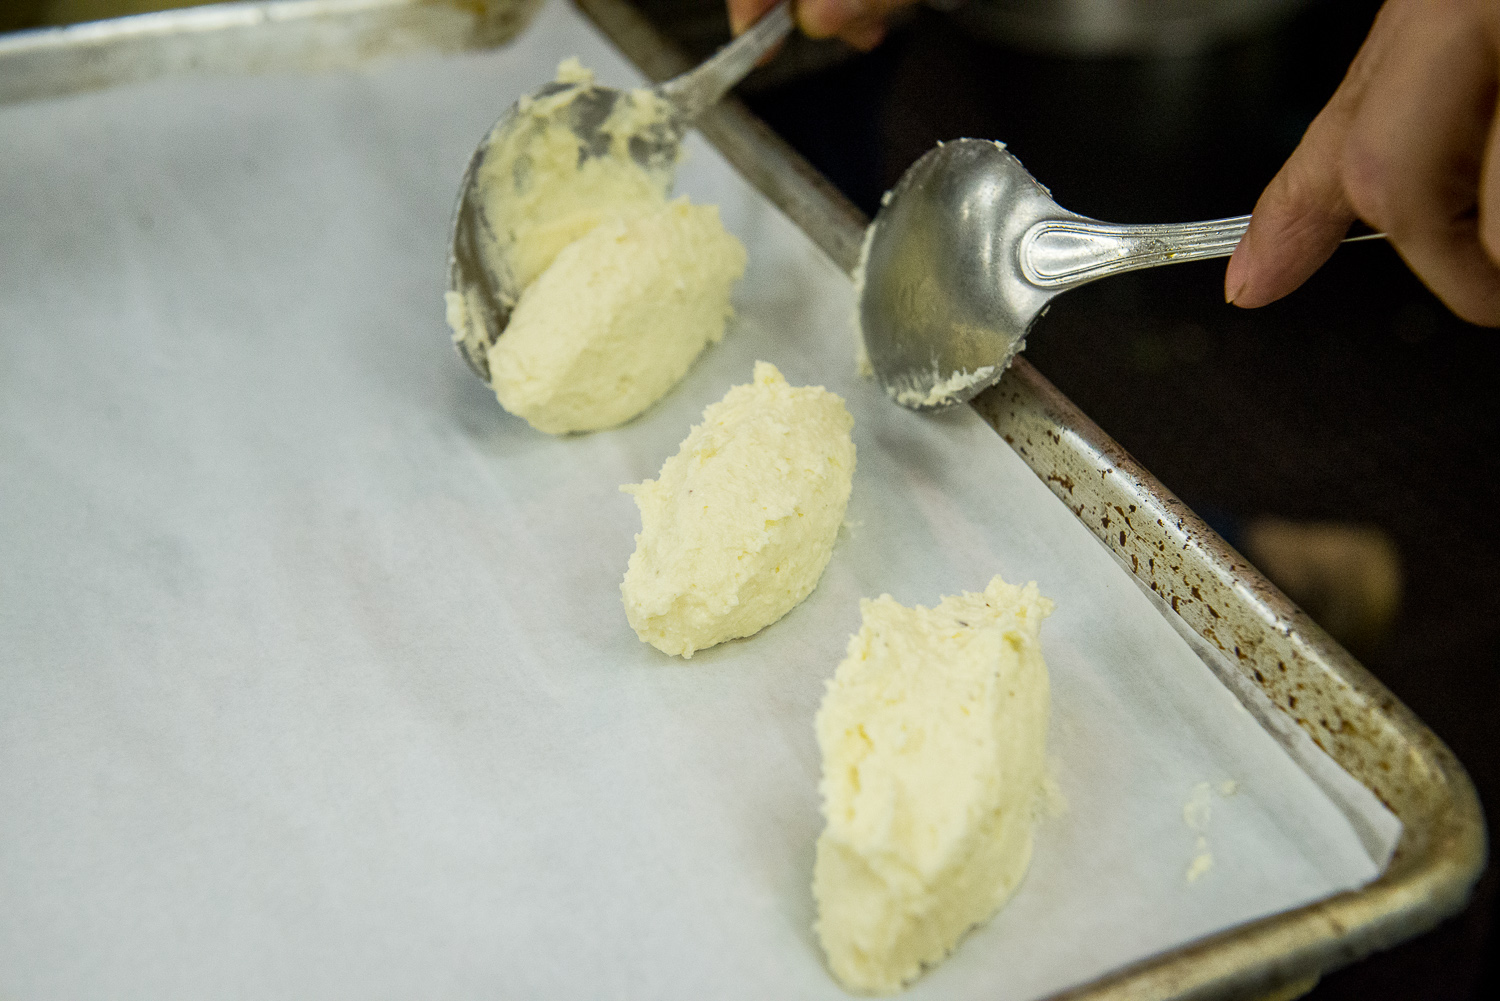
Gently transfer the dumpling to the parchment-lined baking sheet and repeat with the rest of the filling. Allow to rest for six to 12 hours if you have the time, otherwise just sprinkle with a little extra flour to help the gnudi stay together while they're cooking.
Boil the gnudi
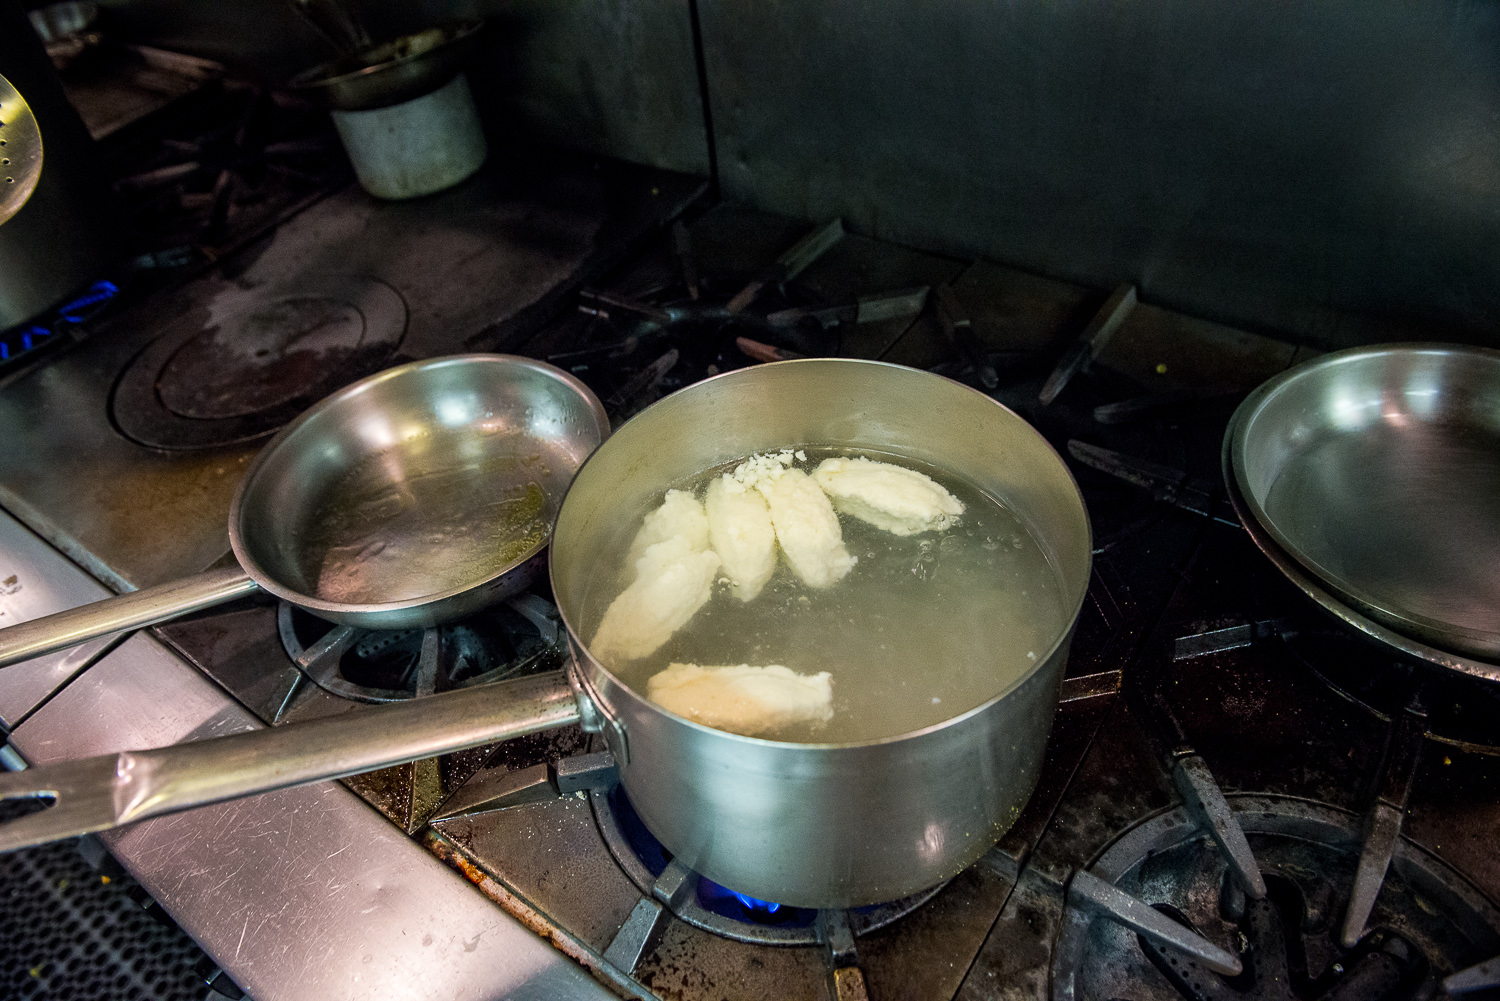
Bring a large pot of heavily salted water to a boil, then gently drop the gnudi in. You may need to do this step in two batches. They will sink to the bottom, then float to the top when they're cooked (about two minutes). Remove using a slotted spoon and transfer to a strainer or thick layer of paper towels to drain.
Plate with the sauce
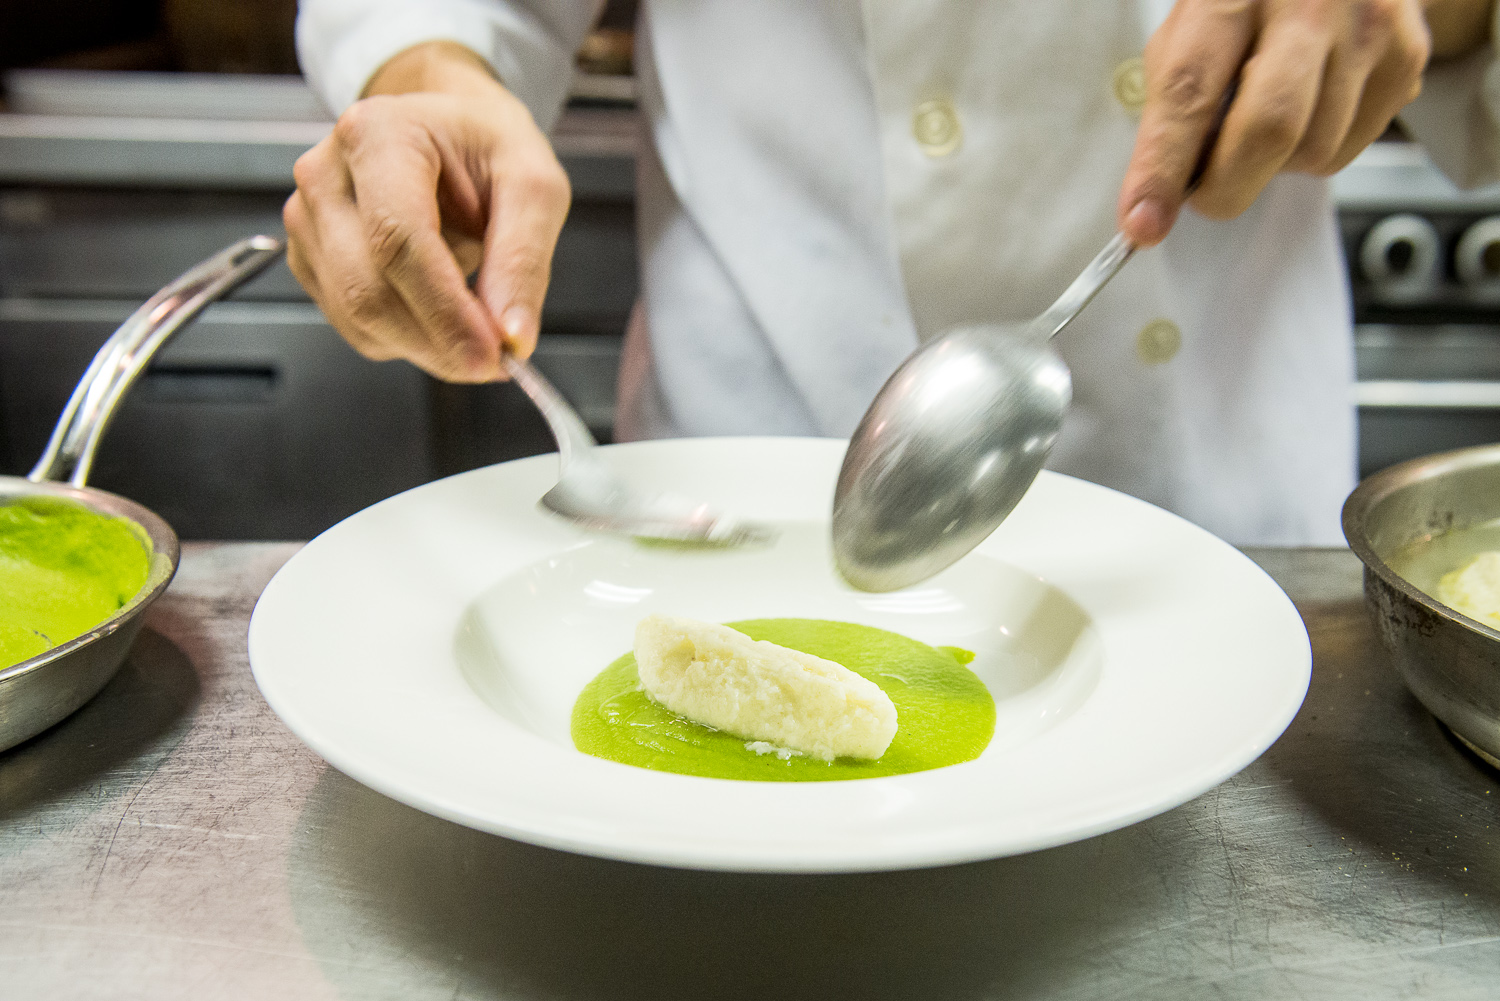
Divide the sauce between two shallow bowls and plate the gnudi on top. Any leftovers will keep well in the fridge for a day or two — just warm them up in simmering water.
Garnish with Parmesan and spring vegetables
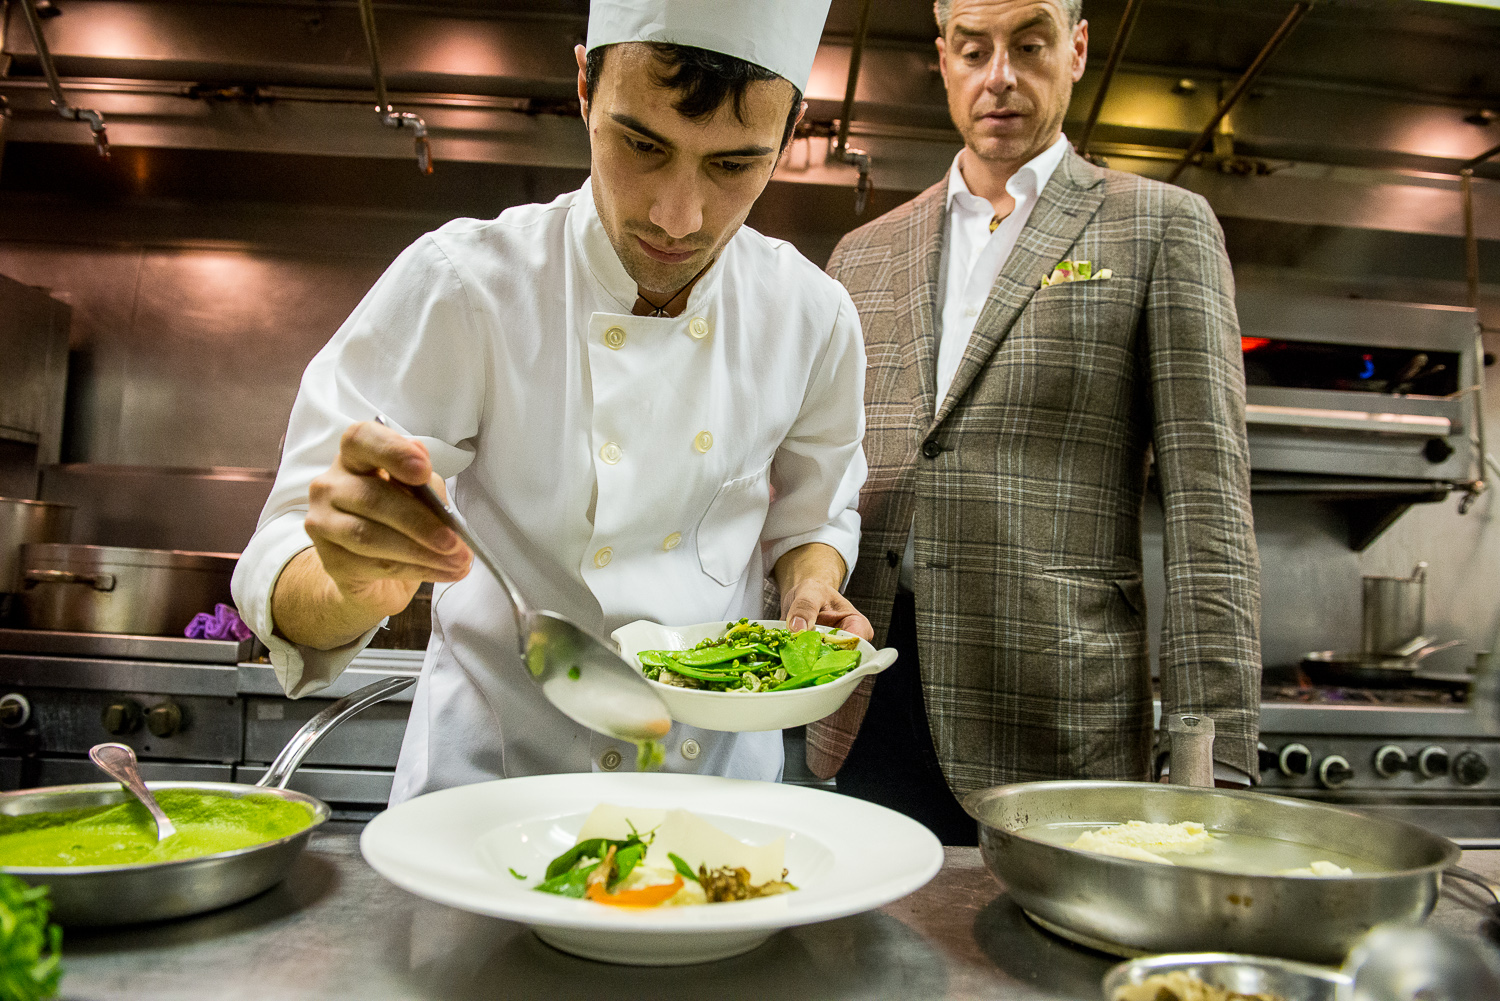
Arrange the spring vegetables over the gnudi and garnish with grated or shaved Parmesan cheese and a little extra-virgin olive oil if you wish, and serve immediately.
More How-Tos on Food Republic: