No Ice Pack? Keep Your Lunch Chill With This Kitchen Essential
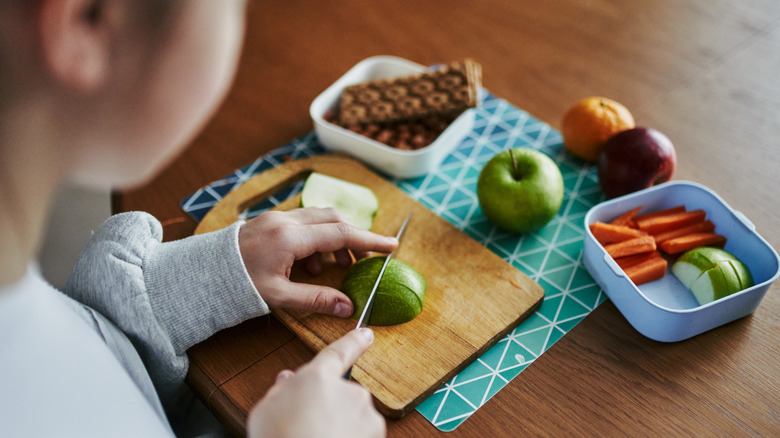
Packing a lunch is a great way to save money on food during the workweek. The downside to bringing in lunch from home is that if you have a long commute or if your work is somewhere that doesn't have a shared refrigerator, your options can really be limited. This is especially the case if you don't have a good lunchbox. Even though we are no longer in the days of lunch boxes made of metal, some lunch boxes can still struggle to keep food cool. That's why many people stick ice packs in their lunch bags to preserve food. But if you don't have an ice pack, don't worry. All you need is a (brand new) sponge and a ziplock bag, and you have a DIY ice pack.
To make your at-home ice pack, first, get a bowl and fill it with water. Then, get your sponge and submerge it in water. Give it a few minutes for the sponge to fully absorb, and then place the soaked sponge in a ziplock and freeze it overnight. The next day, you will have the perfect little ice pack replica to pop in the bottom of your lunch box.
More ways to use a sponge around the kitchen
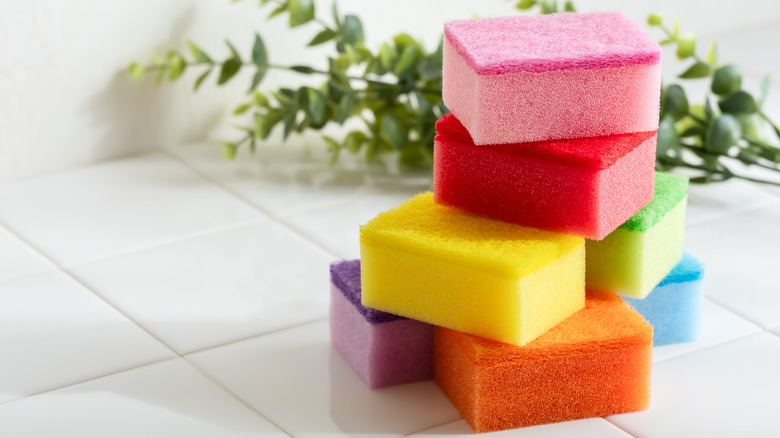
Although an ice pack is useful, there are a ton of other ways to use a sponge around the kitchen. The best way to clean a microwave is by using equal parts vinegar and water, mixed with a couple of tablespoons of baking soda or lemon juice, and heating it up. You can then use the sponge to wipe inside the microwave. Ironically, soaking a sponge in a vinegar solution with salt and hot water, or microwaving it, are two of the best ways to disinfect sponges.
Another way to use sponges is to place some dry sponges at the bottom of the fruit and vegetable drawer in your refrigerator. The sponges will pick up extra moisture from your produce, thus extending the shelf life significantly. However you decide to use your sponges, just be sure to know when to replace them. If you don't disinfect your sponges regularly, their lifespan goes from one to one and a half months to just about a week.