The Mistake That's Sabotaging Your Homemade Nachos
With crisp tortilla chips, melty cheese, and an assortment of delicious toppings that masterfully balance textures and flavors, perfectly-done nachos are an absolutely elite snack. One of the first dishes that defined Tex-Mex cuisine, this classic dish is wildly customizable and easy to prepare in large or small batches, but there are two essential qualities you need in your homemade nachos that simply can't be ignored.
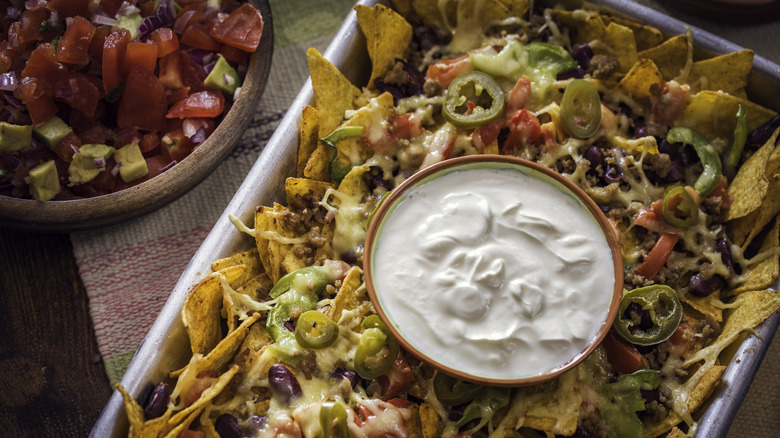
First, you have to master the delicate art of layering ingredients, so that each chip gets its fair share of cheese, sauces such as salsa or sour cream, and toppings. Far too often, the chips come aggressively dressed on top and nearly naked underneath. Secondly, you need to take steps to ensure your chips don't become soggy. With ground meat, sauce, and veggies on top, it's not hard to understand how your chips might absorb moisture and turn soft, but that doesn't mean you have to just accept it.
The sogginess problem is actually easy to solve: Just give your chips a few minutes to toast up in the oven before layering on your other ingredients. This one short prep step allows you to nachos that are well-dressed, but still crisp under all those fixings.
How to keep your chips perfectly crisp
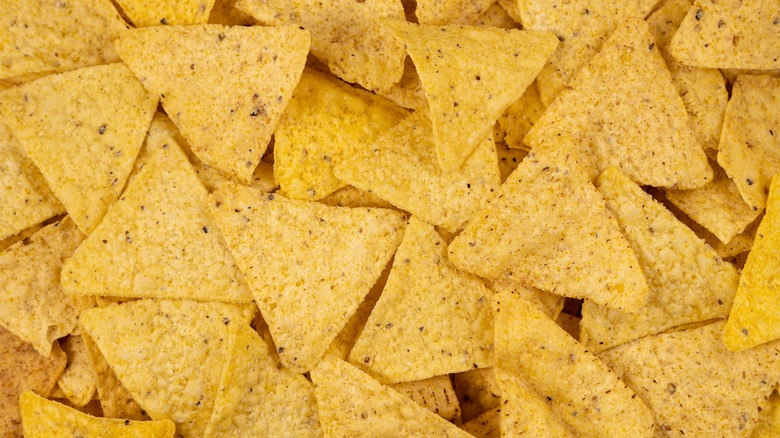
There are a few things you can do to maintain the crispness of your tortilla chips when making nachos at home. First, choose a thicker chip upfront to ensure it brings as much stability to the dish as possible. Nothing is worse than chips that break under the weight of the toppings. Next, before you load them up with other ingredients, allow the chips to toast in the oven for around 5 minutes.
You can do this by simply arranging chips in a single layer on a baking sheet, or take things one step further by putting a wire cooling rack on your tray before adding the chips on top. This common baking tool can better prevent soggy nachos by increasing air circulation in the oven. This means your chips will get crisp even if they overlap, allowing you to work in larger batches while still getting ultra-crispy results. The chips are done when they take on toasty color and stronger corn aroma.
This extra step gives your chips a much better chance at standing up to the moisture of toppings. Afterward, you can layer on all the cheese and other ingredients your heart desires, without worrying that your snack will start to lose its crunch before you can eat your fill.
Other tips for top-notch nachos at home
Nachos may not be a good dish to order at a business dinner, but they are an exceptional snack selection in almost any other situation. Aside from toasting your chips, there are a few other things you can do to ensure you have the best homemade nacho experience possible.
Whether you're making nachos for a solo snack or a big group, get your toppings ready in advance and try making the dish in smaller batches. The biggest enemy of crisp nachos is prolonged contact with moisture, so to serve a crowd, try making multiple smaller batches that can be eaten quickly, instead of one huge plate. With a giant serving of nachos that's left sitting around, your chips will quickly go soft. Whipping up a fresh batch of nachos should only take around 15 minutes once you've established your nacho mis en place (or area with all your prepped ingredients in reach).
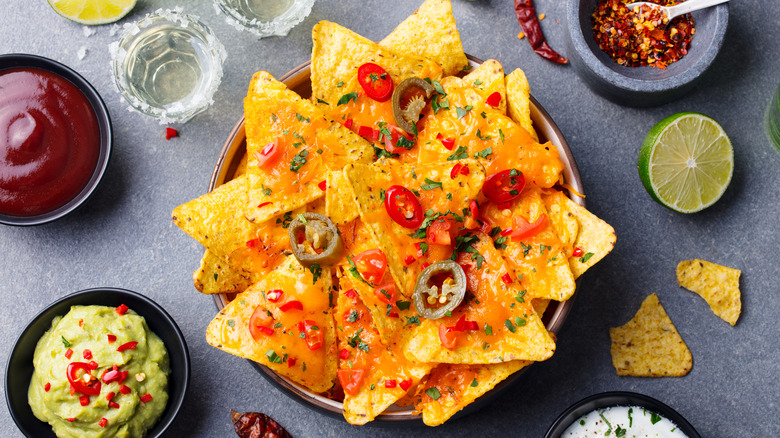
Making nachos for a group, but not wild about dishing out several servings? You may instead choose to create a build-your-own nacho bar to streamline the process. Pre-toast the chips, then let guests choose from toppings like guacamole, sour cream, pickled jalapeños, salsa, and hot sauces to create plates that are perfectly customized to their palates. You might want to use queso in place of shredded cheese to avoid having to heat up the oven.