How To Clean Your Kitchen's Greasy Exhaust Fan With Baking Soda
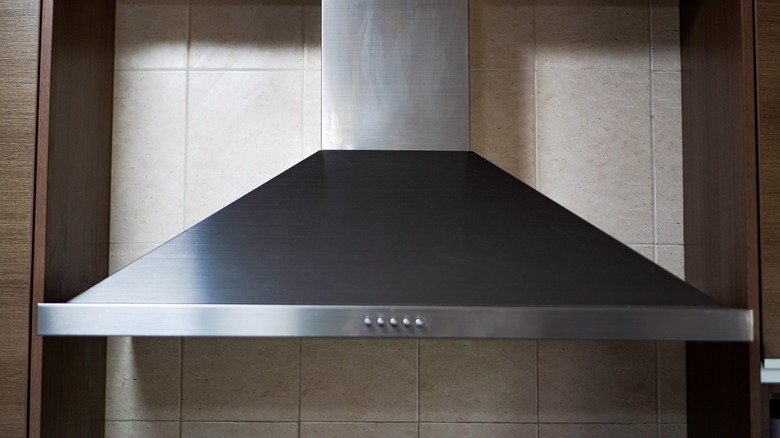
Cooking certain foods, such as fish, onions, garlic, and anything deep-fried, can leave an unwanted odor in your home for hours or even days. Instead of using fragrant candles to mask the smell or opening windows, the most efficient way to ventilate smoke and odors is to utilize your exhaust fan.
If you cook frequently, cleaning your kitchen hood regularly is essential to maintaining its efficiency and longevity. The filter and fan trap grease, dirt, and other debris, creating layers of grimy, sticky yuck that prevent the blower from working correctly. Rather than using a chemical product, reach into the pantry for a safe and effective cleaning alternative. After all, baking soda is the best way to naturally clean the kitchen.
Baking soda is an alkaline substance that dissolves grease and dirt when combined with a liquid like water or vinegar. It's inexpensive, non-toxic, and safe to use around family members and food. Unlike harsh chemical cleaners and bleach, which can damage the hood's finish and leave noxious fumes behind, baking soda is odorless and neutralizes unpleasant smells.
It's a good idea to clean the exhaust filter following a holiday's marathon cooking session; otherwise, if you cook daily or fry a lot, plan to do this chore every three to four months. Home cooks who use the stove less frequently can push the cleaning to every six months. Before beginning, consult the oven's owner's manual so you don't damage parts while disassembling and cleaning the exhaust fan.
Gather cleaning supplies
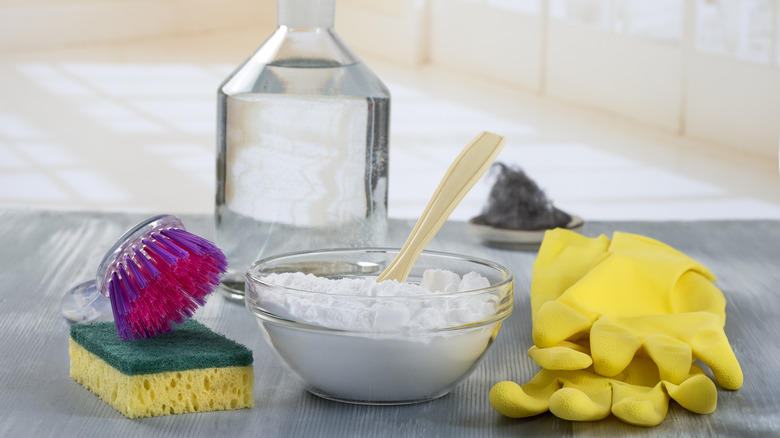
Before you start cleaning, gather all the necessary supplies, including baking soda, dish soap, a non-abrasive sponge, rubber gloves, and paper towels or a microfiber cloth. Although you can substitute baking powder for baking soda in some baking applications, baking powder isn't an effective cleaning alternative.
It's important to turn off and unplug the exhaust fan since electrical components may be exposed once you remove the filter. If the exhaust fan is attached to a microwave, unplug the appliance before cleaning. You should also allow the unit and range to cool down if you've just finished cooking.
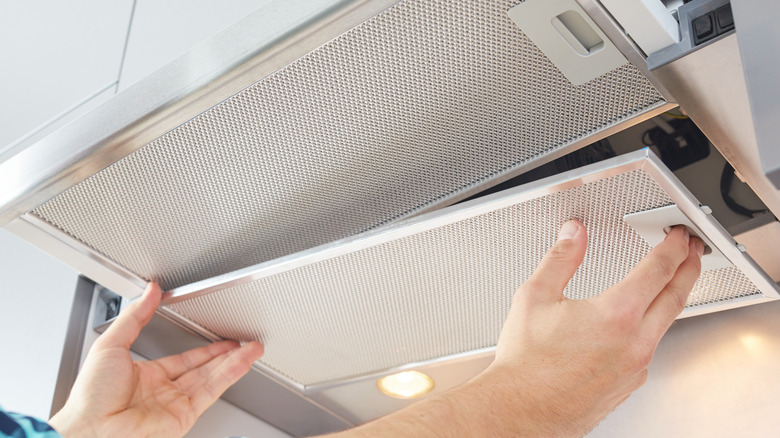
Remove the grease filter
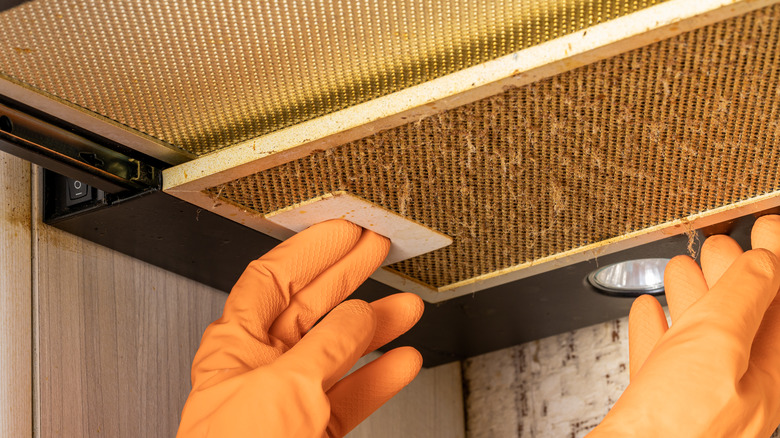
Depending on the unit, your hood may have mesh, charcoal, or baffle grease filters. These filters can have sharp edges, so use caution when handling them. Remove the filters by unlatching any levers or tabs on the hood's underside that hold them in place. The filters should pop out easily — although they may stick if grease has built up. If necessary, use a butter knife or similar dull object to coax sticky filters loose by running the knife along the edges.
Some models have a loop or handle you can grab to remove them. You may need to push the filter up or backward before being able to slide it out. If your hood has a charcoal filter to help eliminate odors, it should be replaced every four months or so, depending on how frequently you cook. Consult the owner's manual if you have difficulty locating or removing the grease filter.
Soak the filters in the sink
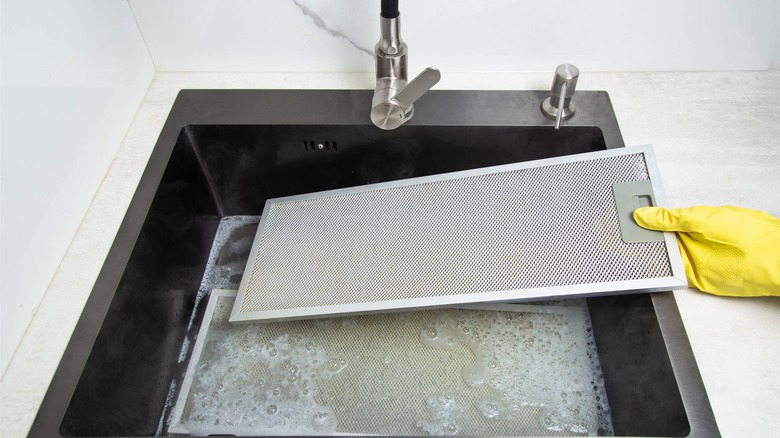
Run the sink's hot water until it's scalding, and then plug the drain, filling it with enough water to submerge the filters completely. If your tap water isn't very hot, use a kettle to fill the sink with boiling water — the hotter, the better. Add a squirt of dishwashing soap (or three tablespoons of vinegar) and roughly ½ cup of baking soda to the running water, then agitate the solution until it's foamy using a long utensil, like a wooden spoon, so you don't burn your hands.
Immerse the dirty filters in the hot water for 10 to 20 minutes, using a non-abrasive sponge or brush to help break down the sticky residue. If your sink isn't large enough to fully submerge the filters, flip them halfway through the timeframe or soak them in a walled sheet pan.
Clean the fan blades and the hood's surfaces

While the filters are soaking, use this time to clean the rest of the range hood, including fan blades, lights, and the surrounding surfaces. Make a paste by combining baking soda and a few drops of water in a small bowl. If there is a heavy layer of grease, you may need to add a few drops of dishwashing soap.
Apply the paste with a soft, damp sponge, using gentle pressure. Wipe the parts in the same direction as the grain to avoid scratching materials like stainless steel. Since you are working near electrical components, it's essential that you wring out the sponge and avoid spraying degreasers directly on the surfaces to prevent damaging the appliance. Once the surfaces are clean, dry them thoroughly with a towel. If you have any paste leftover, don't throw it away. Baking soda can also be used to remove stains from your enameled Dutch oven and is effective at getting rid of burnt-on juices from sheet pans.
Allow the components to dry before reassembling
Return to the soaking filters and scrub away any residual grease left on the surface. If they have been neglected for a while and are still grimy after soaking for 30 minutes, it's best to repeat this process instead of aggressively scouring the surface, which can damage mesh filters. Once clean, rinse them with warm water using the sink's high-pressure sprayer attachment to get between the grid's cells.
Gently shake the filters to remove excess water, then dry the surfaces with a microfiber cloth. To ensure all the water has been removed, allow them to air dry for an hour or two (up to overnight) before reattaching. Once the hood is fully assembled, plug the exhaust fan back in and test the hood to ensure everything works.