Making Sweetened Condensed Milk At Home Couldn't Be Easier
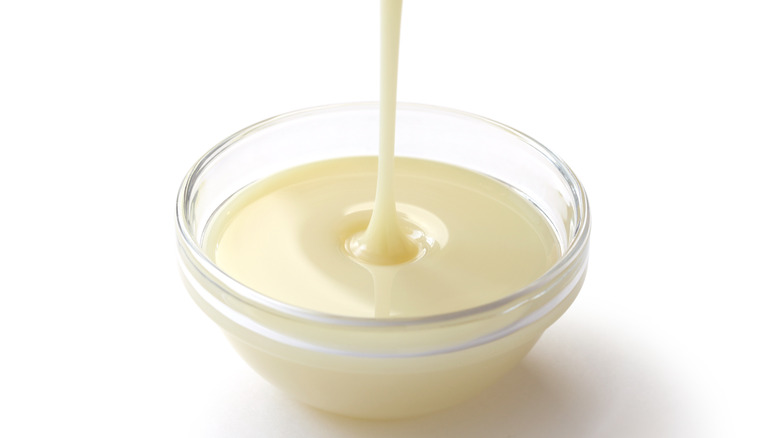
From baking to drink-making, there are plenty of surprising ways to use a can of sweetened condensed milk. It's the finishing component in a Thai iced tea, a satisfying topping for ice cream, and a building block for fudge, just to name a few ideas. That makes the mighty cans a staple in any baker's pantry. Even better, you can make your own version at home.
Whether you're looking for a new project, have ran out of cans, or are simply eager to put your stamp on the sugary liquid, you're in luck. Whipping up a batch is incredibly easy and only requires two ingredients: whole milk and sugar. You'll want to follow a roughly 2:1 ratio, using two cups of milk for every cup of sugar, though if that's too saccharine for your tastes, you can scale down the sweetener.
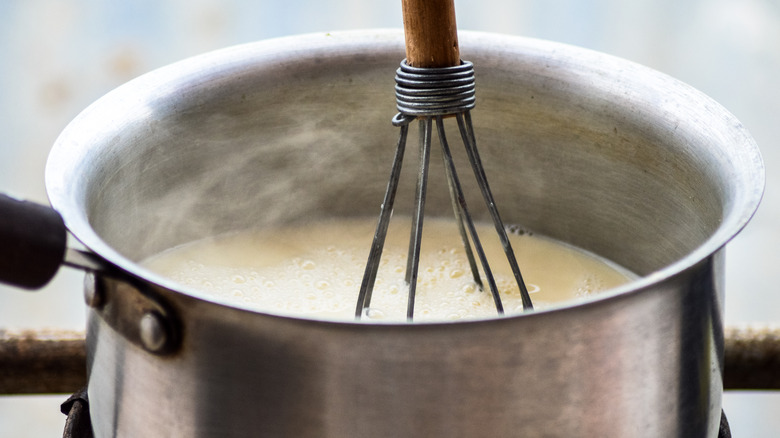
Combine the ingredients on the stove, and allow them to boil together, stirring frequently to avoid a burnt bottom. Depending on how much time you have, you can slowly simmer on the stove for about 45 minutes or maintain a medium temperature for about 20 minutes. Once the mixture concentrates into a thick syrup, allow it to cool and store in the fridge for future use.
Customizing homemade sweetened condensed milk
One of the best reasons to make your own version of sweetened condensed milk is that you can control how it tastes. You can swap in maple syrup or honey for a more nuanced sweetness, or add a teaspoon of aromatic vanilla for a pop of flavor. You can even tailor the ingredients for future recipes, infusing the milk with a stick of cinnamon for a baked good, or adding herbs like mint before drizzling atop ice cream.
If you'd rather use lower-fat or non-dairy milk, supplement the thinner liquid by adding heavy cream or butter. The richer dairies contain lactose and milk solids that will brown as they cook, making the concentrated syrup nuttier and richer than the canned version. Plus, if your end goal is to add a savory-sweet touch to cornbread mix, for example, salted butter will give the milk more complexity. Additionally, some home cooks add baking soda at the end of the process to make the mixture even creamier.
To achieve a true sweetened condensed milk, you'll want to cook the liquid until 60% of the water content evaporates. For a leg up in the process, speed things up by swapping whole milk for evaporated milk, which already has half of its water removed but is unsweetened — or use powdered milk and boiling water.
Problem-solving during the process and storing the milk later
As with any slow-and-steady reduction, the biggest challenges when undertaking a DIY sweetened condensed milk project will be that it takes a while to cook and it's prone to burning. But, as long as you're willing to devote the time and tend to the stovetop simmer, you'll get a result that's just as good, if not better, than store-bought varieties.
It might take some trial and error to get the consistency exactly right. If you start with a concentrated milk, you may find your syrup becomes too thick, in which case, add a tablespoon of hot water to thin the mixture out. On the flip side, if the simmering substance won't thicken, try adjusting the heat higher to return to a boil. Just be careful not to let the concoction get too caramelized, or you'll find out just how easy it is to boil your own dulce de leche (unless you're going for that effect).
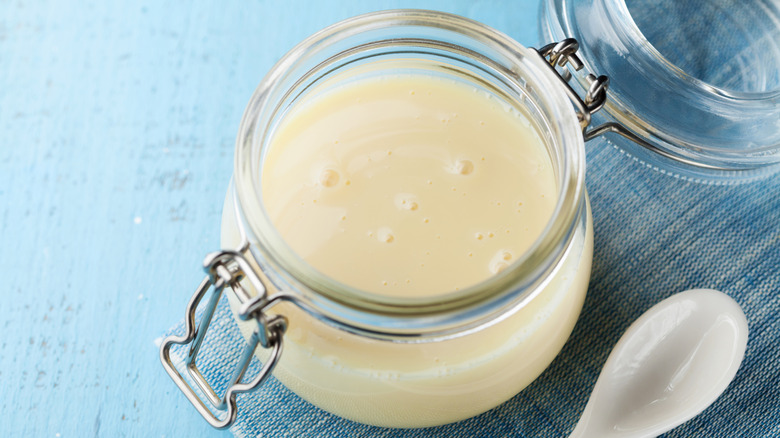
Keep the homemade concentrate in an airtight container in the fridge, since it's not shelf-stable, and just know that it will get slightly thicker as it chills. Or give yourself extra time by stashing leftovers in the freezer. And don't worry if the ingredient is still slightly syrupy at cold temperatures; its high sugar content ensures it will never become fully solid.