13 Tips That Will Help Your Bread Stay Soft For Longer
Despite being considered a staple food across most of the world, bread is an incredibly delicious, versatile food that's even better when it's homemade. The downside is that it has a relatively short shelf-life.
Although bread can remain safe to eat for a while as long as it's free from mold, it doesn't take too long for it to dry out and become stale, making for an unpleasant eating experience. Ultimately, staleness is unavoidable as bread loses moisture over time. The good news is that there are plenty of ways to keep bread fresher for longer. If you're making your own, the methods below will help you bake softer bread, improving the taste and texture and extending its lifespan. We've also added some tips for storing bread, helping it to stay soft by eliminating the factors that expedite moisture loss and cause its gluten structure to break down. So, whether you plan on eating your bread within a week or three months from now, we have you covered.
Use bread flour instead of all-purpose

While all-purpose flour is perfectly serviceable for most bread recipes, the name itself implies that it's a jack-of-all-trades ingredient, insinuating there might be more specialized alternatives depending on what you're making. In the case of bread-making, there is, and it's known as bread flour.
Bread flour is different from all-purpose, cake, and pastry flour in that it contains a higher ratio of hard wheat, which generally has a higher amount of protein in it. Higher levels of protein are desirable for yeast-based recipes because they contribute to gluten development, which in turn reinforces the structure of the dough as it's kneaded. A stronger dough is more likely to maintain its shape as it rises, so we end up with bread that has a finer crumb and a softer, chewier texture. What's more, this enhanced gluten structure helps the bread to trap and retain moisture, which in turn prevents it from drying out after baking. Ultimately, not only does this mean using bread flour will give you a softer loaf, but your bread will also take longer to turn stale than those made with lower-protein flours.
Add a shortening agent
In baking, a shortening agent refers to an ingredient that will make your bread softer and more tender by interfering with the gluten development. Generally, these are ingredients that introduce fat into your dough, such as milk, oil, or butter.
The fat coats the gluten proteins which inhibits their ability to create a strong network, while also lubricating the gluten strands so they don't stick together, resulting in a less dense bread. Above, we explained the perks of having a strong gluten network if you want softer bread, so what gives? Well, it's all about balance — yes, we want a structure that can rise sufficiently, but a little fat will also help keep your bread nice and airy. It will add extra moisture to extend the shelf life and potentially enhance the flavor of your bread, depending on the ingredient. Eggs can also work as a shortening agent, providing moisture and fat, but increasing the protein levels. Alternatively, sugar or honey can also retain moisture, "stealing" it from the developing gluten network, leading to a tender crumb and a loaf that doesn't dry out too quickly.
Experiment with dough conditioners
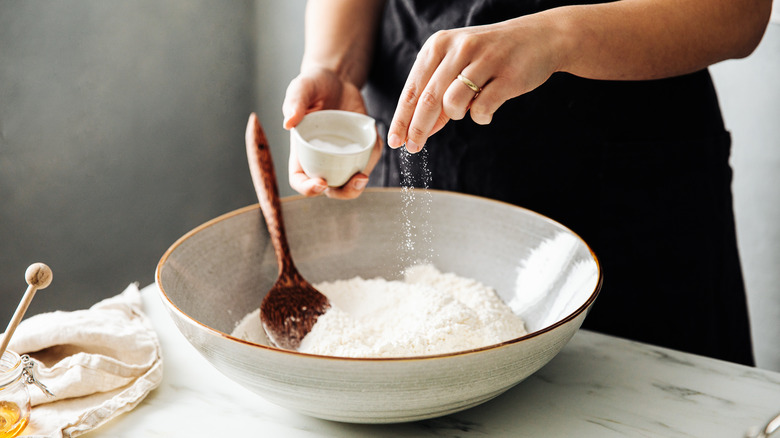
A dough conditioner –- also known as a dough enhancer –- is a bit of a catch-all term for a baking ingredient that makes it easier to make bread to your desired specifications or speed up the baking process. Although technically anything other than water, yeast, and flour might be considered a dough conditioner, in this case, we're talking about specific powder products.
Again, the agents that these powder mixes contain can vary depending on their intended impact; however, there are a few pretty common ones. Reducing agents, like sodium bisulfite and inactive yeast, cut down on mixing and proofing times by restructuring the gluten network. Certain enzymes, such as protease and amylase will break down starches and proteins, creating a softer crumb while feeding the yeast for a greater rise, while emulsifiers create a stable mixture of fat and water, leading to an improved, more tender consistency. Less is more when it comes to adding dough conditioners to your bread mixture, so be sure to carefully read usage instructions if you're using a powdered mix, and remember that the products do differ in terms of their contents and effects.
Don't overmix or over-knead
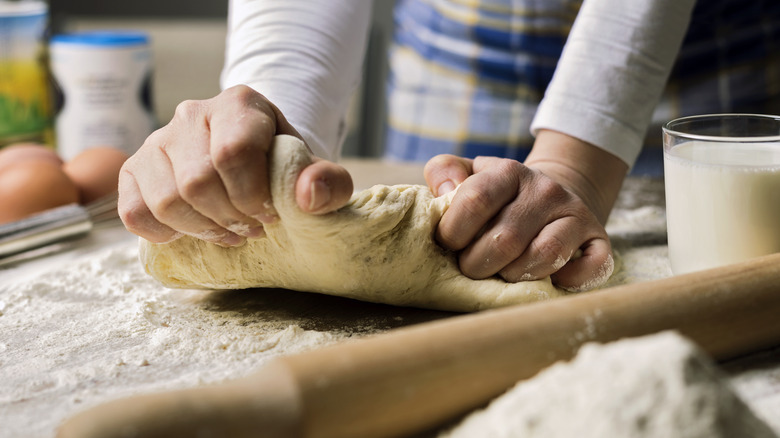
Mixing and kneading dough are a crucial part of the bread-making process, as you're effectively combining the proteins in the flour, creating the gluten network we've mentioned above. While this gluten network is important, it's possible to mix and knead dough too enthusiastically, or for too long.
Overworking the dough means the gluten strands that are produced become too tightly bound, something that can happen more easily without a lubricating shortening agent. Instead of a soft and airy crumb, we end up creating a dense gluten network that can struggle to rise effectively, resulting in a chewy or rubbery texture. By hindering the dough's ability to rise, we're also losing the air pockets that can trap moisture, so not only will your bread turn out drier than expected, but it's also likely to turn hard and stale more quickly than bread that can effectively retain moisture. The solution is learning how to strike a balance while mixing and kneading to create the perfect structure for optimum softness — while many recipes will give kneading times, you might find there's an element of trial-and-error if you're new to baking, and these timings will vary from bread to bread.
Proof your dough
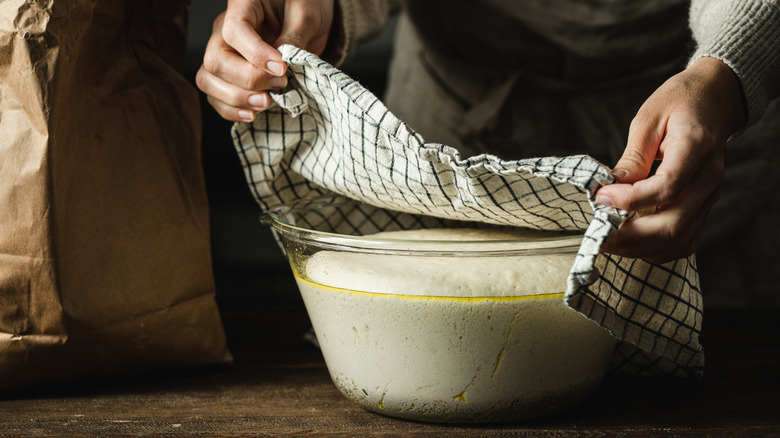
Most of us have likely heard of the term "proofing" in relation to baking, but it's amazing how often this step is overlooked. The most likely reason for skipping proofing is that it adds extra time to the baking process, but it's undoubtedly time well spent.
Bread rises because the yeast eats sugars in the bread and produces ethanol and carbon dioxide which causes air pockets to form in the dough which are trapped by the gluten structure. However, while your oven will activate the yeast, releasing a significant burst of gas, the high heat then kills it, preventing further fermentation. Although this final burst is necessary for achieving properly leavened bread, it's not enough to create a sufficient rise, which is why we proof dough by letting the fermentation process start before baking for a softer, lighter loaf. While the amount of time needed to proof dough varies depending on the recipe, a rule of thumb is that you want to cover your unshaped dough in a bowl and leave it for up to two hours, or until the dough has doubled in size. Remember that yeast thrives in a warm environment, so you'll want to place your bowl on the top of your fridge or, if you have one, in the proofing drawer beneath your oven.
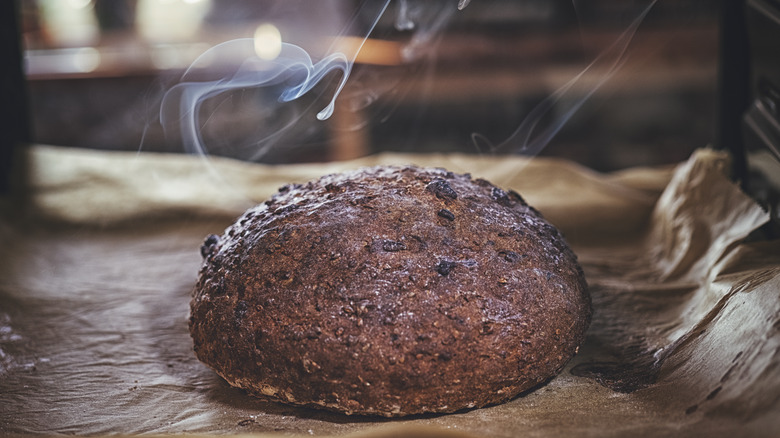
Let your bread cool properly
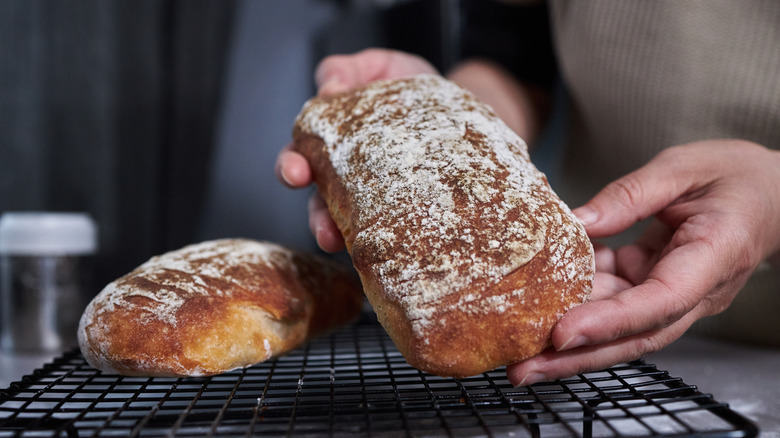
There are few aromas more inviting than the smell of freshly baked bread, and it's always tempting to dive right in as soon as it's cool enough to eat. However, if you want perfect bread, you'll need to resist that urge.
In the oven, bread's water content turns to steam which helps it rise, but it takes time for the moisture to redistribute evenly after baking. Letting your bread sit after baking allows for a more uniform texture but it also lets the delicious flavors settle throughout the bread. The cooling phase also gives time for the starches to finish gelatinizing, meaning they solidify and settle into place and help the bread keep its form and maintain a soft texture. Conversely, bread that isn't allowed to cool properly will have an inconsistent crumb that might be dense and chewy. The best way to let your bread rest after baking is on a wire rack, as this allows for even air circulation and stops moisture becoming trapped at the bottom which could make it soggy. It also increases the amount of surface area for heat dissipation, meaning your bread will cool more quickly than if it were on a flat surface. Allow for 45 minutes of cooling time for your loaf, or even more if you have the patience!
Avoid the refrigerator

Once you've mastered perfectly baked bread with a beautifully soft texture, you'll need to think about how you're going to store it to prevent it from going hard and stale too quickly, at least if you're not planning on eating it all as soon as it's cooled. There are a number of ways to achieve this which we'll cover below, but one of the most common mistakes people make is assuming that the refrigerator is as effective at preserving bread as it is other foods.
Bread turns stale because the starches in the flour realign and recrystallize over time, causing them to expel moisture. This is why bread eventually becomes hard and dry, but it's a process that's hastened by cold temperatures. At the same time, while your bread loses moisture, if it's uncovered then it's likely to start absorbing odors and off-flavors from other foods in the fridge. The exception to the no-fridge rule is if your bread has a perishable filling –- if you plan on reheating the filled bread then you might not have to worry about it remaining stale, otherwise, it's better to try and only make as much as you need.
Store it in a bread box
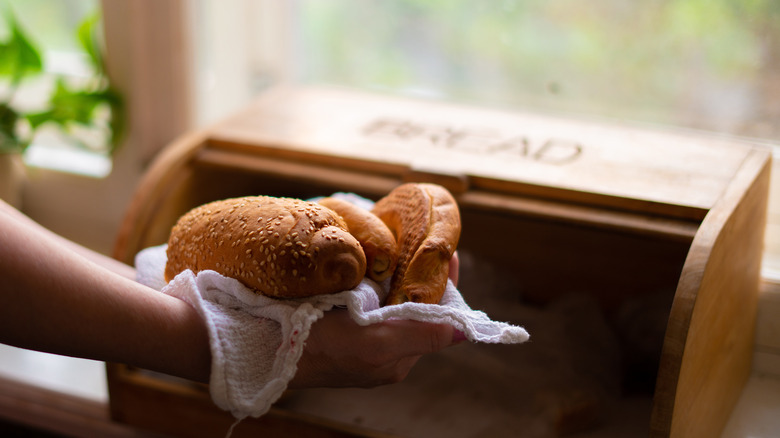
If you want your bread to remain soft, your best bet is to keep it in a bread box. These are ideal for maintaining the conditions necessary for keeping baked goods fresher for longer.
First, bread boxes will provide a consistently cool — but not cold — environment that will slow the loss of moisture that results in staling, while preventing mold from growing. While we want our bread to retain some moisture so it remains soft, you can have too much of a good thing. Excessive moisture might make your bread turn soggy, and it can also create the perfect breeding ground for mold, which is why a good bread box will have enough ventilation to promote airflow and allow some of the moisture to escape. Lastly, a box will keep your bread in the dark, which is surprisingly important when it comes to storing bread. Light can cause what's known as photooxidation where the fats in the bread, like those introduced with shortening agents, break down. Not only can this make the bread turn stale more quickly, but it might also lead to unpleasant flavors developing.
Try a bread bag
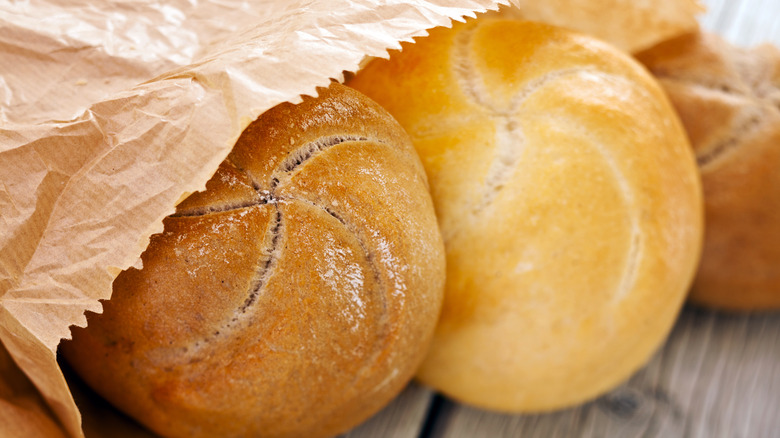
Fortunately, if you don't have a bread bin, there's another straightforward way of keeping your bread soft — by storing it in a bag. However, not all bags are equally effective when it comes to maintaining a lasting freshness.
Plastic bags are excellent at retaining moisture and keeping bread softer for longer, but they're a little too good. Although moisture retention is important, if the bag prevents any from escaping, the crust may become too soft and your bread is likely to develop mold more quickly. Paper bags, on the other hand, strike a far better balance as they allow for greater air circulation. While this means mold is less of an issue, it will still dry out quicker than if you were to use a plastic bag. The good news is that you can find specialized bread bags that are made using breathable materials, like cotton or linen, which offer the best of both worlds, trapping enough moisture to keep the bread fresh but releasing enough to avoid rapid mold and keep the crust nice and crisp. Whichever bag you go for, remember to store it in a cool place, as even if it's opaque and blocks out light, extreme temperatures can still have an effect on the freshness of your bread.
Slice it as you go
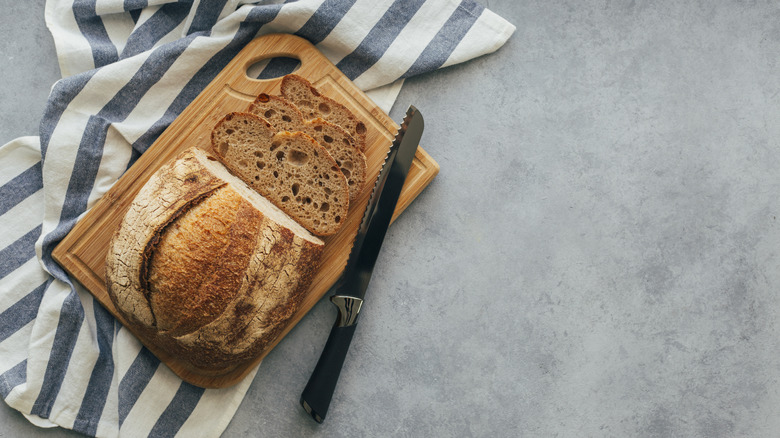
Depending on the type of bread you're making, you might feel like it's convenient to pre-slice it, especially if you're planning to use it for things like toast or sandwiches. Unfortunately, slicing bread ahead of time is more likely to make it go stale.
Think of the bread's crust as a natural barrier — it helps trap moisture inside which keeps the bread soft. When you cut off the crust, you're exposing the inside of the bread which will allow moisture to escape more quickly. The more slices you make, the greater the surface area of bread that's exposed, and the faster your bread will dry out. The solution is to only cut what you need, as you need it. This also allows you more flexibility depending on what you're using your bread for, as you can adjust the thickness each time. It's also a good idea to save the outer crust of loaves, often called the "heel," and use it to cover the exposed end of the bread before you put it away. Although it's a pain for crust lovers, it's the best way to preserve sliced bread, and it's another reason bread bags are a great choice because they make it much easier to keep the heel in place.
Use the butter wrapper hack
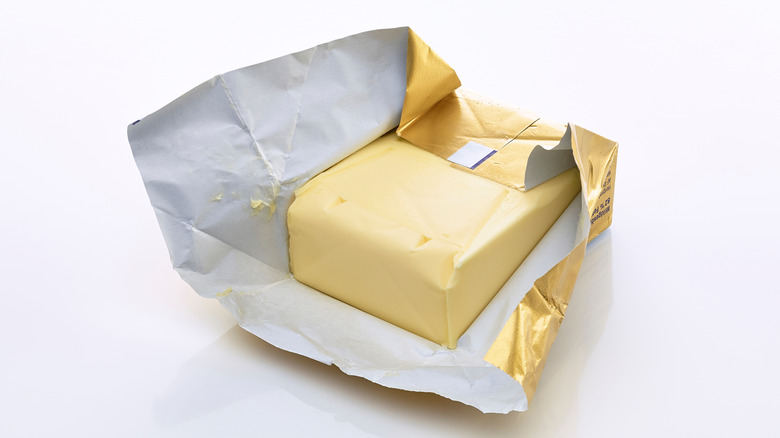
So what if your passion for the heel of a loaf is just too strong and you don't want to wait until the bread's almost finished before you get to enjoy it. Well, there's a little food hack involving butter wrappers that might have solved your problem.
Butter wrappers are usually made from a type of greaseproof paper which, if large enough, will fit nicely on the end of a loaf. Not only will the paper do a solid job of keeping moisture inside the bread while not being as suffocating as plastic, but there's also normally butter residue left on the wrapper. The butter will help the wrapper adhere to the exposed loaf, while also introducing additional moisture as it soaks into the bread. Plus, you'll get an extra buttery flavor in that next slice, something that's especially delicious if you toast it after it's had some time to infuse deep into the soft surface.
Freeze it in portions
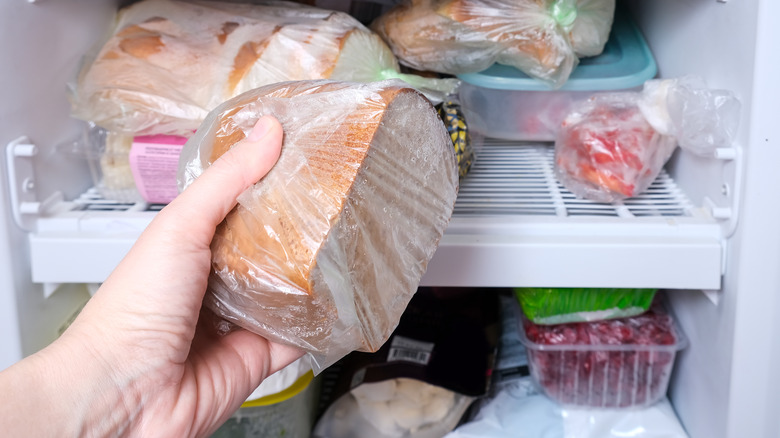
Although a bread box or bag is ideal for short-term storage, it's not ideal if you don't eat that much bread in a relatively short space of time or if you've baked multiple loaves. All bread has to go stale eventually, which is where the freezer comes in.
Bread can survive for around three months in a freezer without any discernible drop in quality, and it's quick and easy to defrost when you need it. The main thing to be wary of is freezer burn which affects exposed food, so you'll want to wrap the bread in plastic first and avoid freezing sliced bread that doesn't have a crust to protect it. If you simply want to make a loaf last longer, the trick is to cut it into larger portions rather than slices. This way, you can take out enough to last a few days at a time. To bring your bread out of its cryogenic slumber, simply wrap the portion in foil and pop it in the center of your oven for 15 minutes at around 375 degrees Fahrenheit. If your bread's still frozen, leave it in the oven and check it in five-minute increments until it's fully defrosted. When done right, you should have bread that looks, smells, and tastes like it was freshly baked.
Revive stale bread
We've covered the best baking techniques for producing deliciously soft bread, and the most effective way to store bread to maximize freshness, but what if it's too late, and your bread is already stale? Fortunately, all is not necessarily lost.
You can often revive bread after it's turned stale, and while it likely won't taste as good as it used to, it'll still be perfectly serviceable. Now, despite what you may have heard, if there are signs of mold, it's not enough to cut out the visibly affected parts. Mold is microscopic and spreads further than you can see, so you're putting your health at risk if you don't throw it away. However, if the bread is mold-free, it still has a chance of being resurrected. First, you want to reintroduce moisture to the bread by coating it with water — enough to rehydrate it without making the insides too soggy. Then, wrap it in foil and gently reheat it in the oven at a low heat — around 300 degrees Fahrenheit — for 10-15 minutes. Depending on the size of the bread you're reheating, you might need to adjust the timings. For crusty bread, you might want to crank up the heat a bit and reheat it for a shorter amount of time, as this will help crisp up the outside while the inside becomes nice and soft again.