Martha Stewart's Best Hacks For Aspiring Home Chefs

Martha Stewart is a well-known maven for entertaining in the home and hospitality sector. She has been bringing ideas and kitchen hacks to TV screens since 1993 when she launched "Martha Stewart Living" — a weekly half-hour show detailing all sorts of handy lifestyle tips including, of course, kitchen hacks. Ever since then, the Martha empire has grown and in fact, in 2022, at 81 years old, she won best influencer of the year.
Martha's genius food hacks make preparing some dishes seem like a breeze. This is by no means an exhaustive list since there are simply too many to choose from after the decades of inventive hacks that Martha has been bringing to the general public. We barely scratch the surface. But, here are some of our favorite Martha kitchen hacks that will make the preparation and hosting of your next dinner party so easy it could change how you handle food in the kitchen forever!
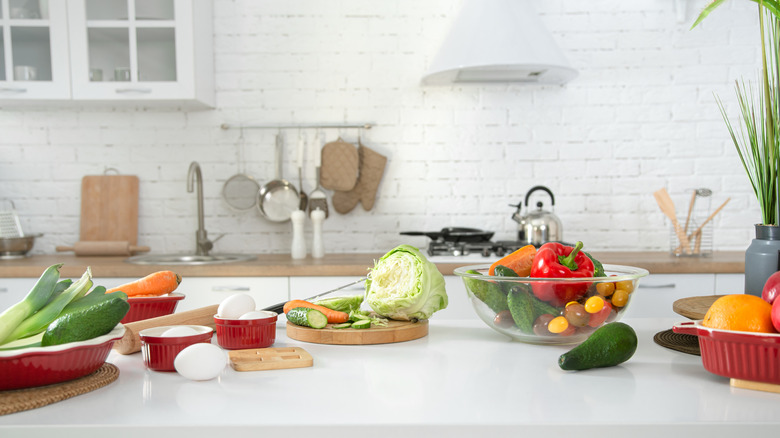
Mise en place - everything in its place
Mise en place is one of the first basic techniques that is taught in culinary schools. In fact, according to Martha Stewart's site, she believes "the first ingredient in baking (and cooking) is patience, and that process of gathering and measuring forces you to slow down and consider the elements of the recipe."
Not only does laying out all your pre-measured ingredients ensure that you do not accidentally leave an ingredient out, but it helps you keep organized as you follow the recipe. If there is any single hack you plan to take away from this article, this should be The One. It keeps you from scrambling, overcooking, or burning something while rushing to finish chopping something else. In short, it helps keep the cooking process coordinated and efficient.
Bonus: Once you have mastered this system, sometimes it can even include pre-cooking or par-baking something, and if you are entertaining for a sit-down dinner, this efficiency technique allows you to enjoy and spend a lot of time with your guests and not be trapped in the bowels of the kitchen, scrambling, sweating, and keeping your guest waiting.
Keep a trash bowl on your prep counter
One of the goals to keep in mind when working in the kitchen is to conserve energy and work as quickly as possible. So, having a trash bowl on your prep station keeps you from walking back and forth to throw things in the trash and saves you time and energy. Once you finish all the prep work, walk to the garbage and throw it all at once. If you want your kitchen to remain impeccable throughout the process, style guru Martha Stewart uses a pickle crock for a rustic elegant look to trash, as shown on via her Instagram.
Keep two trash bowls on your prep station if you clean vegetables — one for the veg scraps and the other for the regular trash. Once you are finished doing all the veg prep, put the scraps in an airtight freezer zip bag and save it in the freezer.
Freeze vegetable scraps
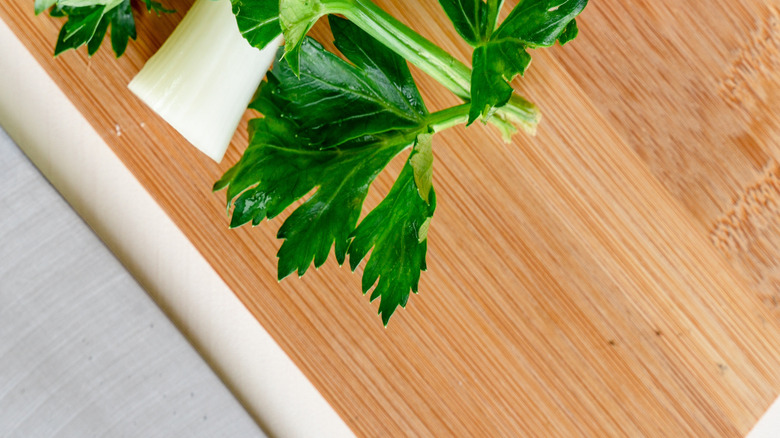
In this third hack, Martha saves you money by repurposing kitchen scraps to make stock. Chances are you peeled some carrots, chopped some celery and onions. Those valuable scraps make up the general base for soups, also known as a mirepoix or the Holy Trinity. This veg stock can be used for soups or to enhance sauces, giving your vegetable scraps a second life.
Martha suggests that you pulse the vegetable leftovers in a blender before you add them to a saucepan of water (about twice as much as the veggie scraps). Make sure to add other aromatics to the brew such as garlic, ginger, bay leaves, whole peppercorns, leftover parsley that's on its last legs, chicken bones or beef bones, or whatever your culinary palate decides. The best part about making your stock is controlling the salt and sodium level. Once cooked, strain, discard the solids, and freeze in portion sizes. It's best to salt this when using it in an actual dish.
For instance, you make pho, a quick and easy Vietnamese soup dish with noodles, vegetables, and protein. Use your homemade stock for your soup base and season to taste it then.
Cook Baked Potatos in the Microwave
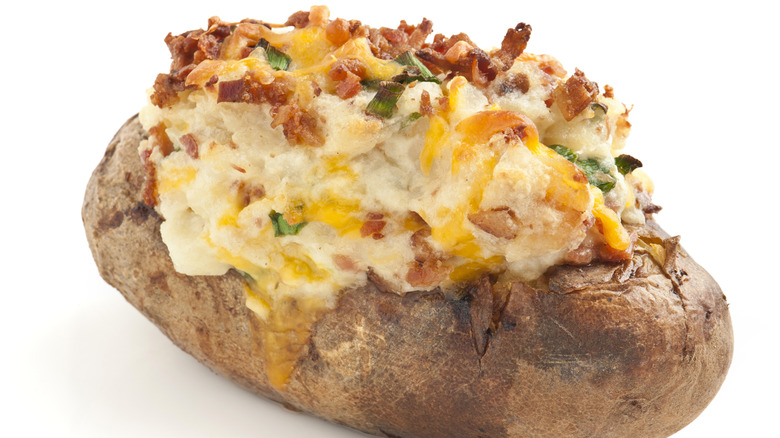
By simply using a microwave you don't have to wait an hour or more for a perfect baked potato. But be sure to wash the potato first, and then gouge out the eyes with the eye remover.
Martha suggests that you then prick your potato with a fork so the steam from the potato can vent. How long you cook it in the microwave depends on how large the potato is and how powerful your microwave is, but Stewart suggests 13 to 15 minutes with a turn mid-cook. Try not to overdo it because the potato will become hard and inedible the longer it is overcooked.
You can check its doneness by gently pushing a dinner knife into the potato — which shouldn't meet any resistance in the potato, if it's ready. Once the potato is done, slit it down the middle about half the depth of the potato, and give it a good squeeze in the four corners. Then top with your favorite toppings!
Roll the Citrus on the Counter
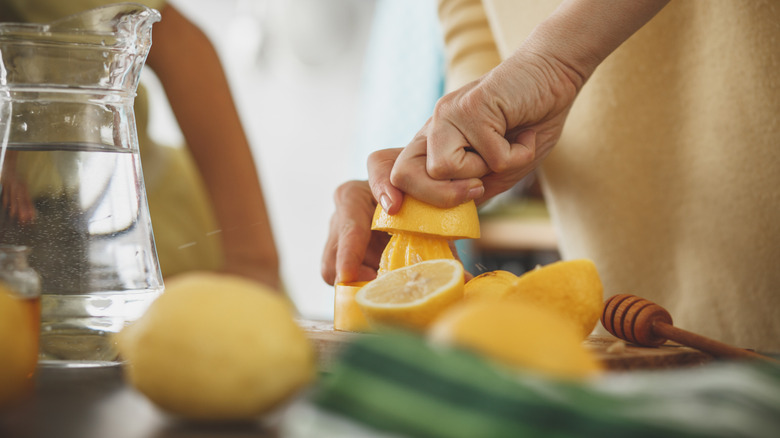
You don't need expensive juicers or presses to add a little acid to your recipe, which can brighten up any dish and give it another flavor profile. Give the lemon or lime a nice firm roll with your palm on your workspace. Martha advises, "The rolling will loosen the cells on the interior giving you more juice," via her YouTube channel. Also, picking a lemon or lime with a thinner-looking skin makes it a better candidate to extract juice from with less effort.
After you give your lemon or lime a firm roll, you can also zest it, further softening the fruit and making it easier to extract the juice. You can get the most juice out by using this technique if you couple it with a lemon squeezer or a reamer rather than just using your bare hands.
Give your tomatoes an ice bath for easy peeling
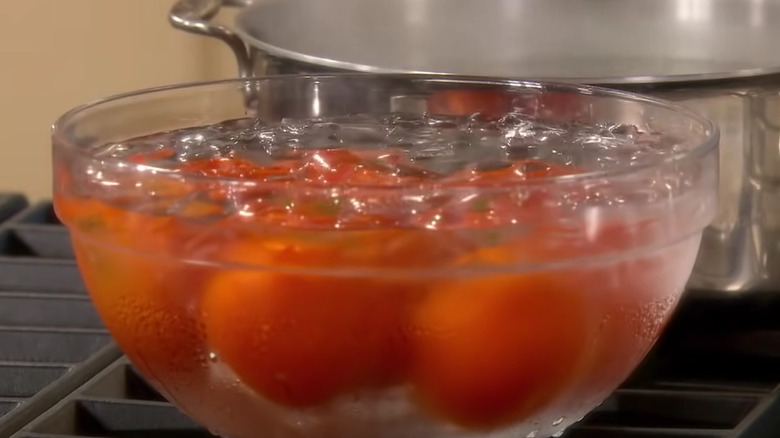
Let's face it, there are certain times when tomatoes just have to be skinned. For instance, they're perfect for soups or sauces, canning, or making homemade Bloody Marys. Martha Stewart uses an ingenious method in this easy hack which helps the tomato peel come away from the fruit with ease and without causing a mess.
Stewart suggests you first score the underside of the tomato with an "X" before dropping it into a boiling pot of water for around 10 seconds. She then advises to immediately immerse the tomatoes in ice-cold water as this will stop them from cooking and from becoming too mushy on the inside, which would make them much harder to peel.
After 30 seconds or so in the ice bath, remove the tomato and slide the sharp edge of a small kitchen knife under your previously made score mark at the bottom. Then pull the knife towards you and watch the skin come away from the tomato flesh. Once you repeat this movement with your knife a couple of times you'll be left with a hard, skinless tomato.
Martha goes one step further by coring the fruit with the same knife she used to peel it. By sticking the pointed end into the top of the tomato, she carves a circle around the stem with ease, before popping it out. Bring on the Bloody Marys!
Serve Citrus Fruits Like a Pro

Do you ever wonder how restaurants serve such beautifully plated desserts and finish them with a medley of fruit like a classic fruit tart? Martha demonstrates how they do this with a hack called supreming – or segmenting an orange or any citrus fruit. It's a technique that pulls out fruit segments from the membrane. It can be done with any citrus fruit variety. Doing this ups the game to your fruit salads, dessert toppings, and any dish that requires a polished look.
You begin by cutting off the peel and the pith with your knife, following the contours of the fruit. Next, you take a paring knife and slice along a membrane toward the center of the fruit and do the same with the membrane on the other side of the segment to where the cuts intersect. Then gently lift the segment of fruit with the paring knife and place it in a bowl. Squeeze the leftover juice into another bowl to use in a mimosa or fresh-squeezed fruit juice. It is a great way to use up everything.
More often than not, if you use this fruit as a decoration atop a desert, you do not want those extra juices running all over the fruit tart or cheesecake. If you are using it in a fruit salad, adding the juices is a must!
Use oil for mess-free honey measuring
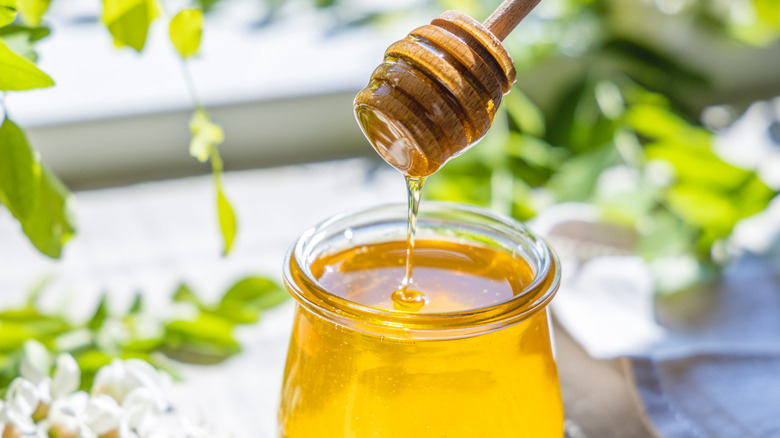
A good number of recipes involve measuring out sticky substances like honey, molasses, peanut butter, and even corn syrup. These substances can often leave a lot of mess on whatever kitchen utensil you're using to get the exact measurement needed for the recipe. Also, trying to dig out the residue from your measuring spoon with a spatula can turn into a time-wasting nightmare (especially if you're doing it multiple times) not to mention you may not be getting the full measurement called for by the recipe.
Well, Martha has the simplest of hacks to alleviate your sticky ingredient anxiety. Using honey as an example, she suggests you lightly spritz your measuring spoon or cup with a non-stick cooking spray, such as vegetable oil. She then advises you just pour your honey directly onto the measuring utensil. And, when you're ready to pour the honey into your recipe just watch it slide off your spoon leaving zero mess behind. The simplest hacks are the best ones.
Peel a Whole Head of Garlic Effortlessly
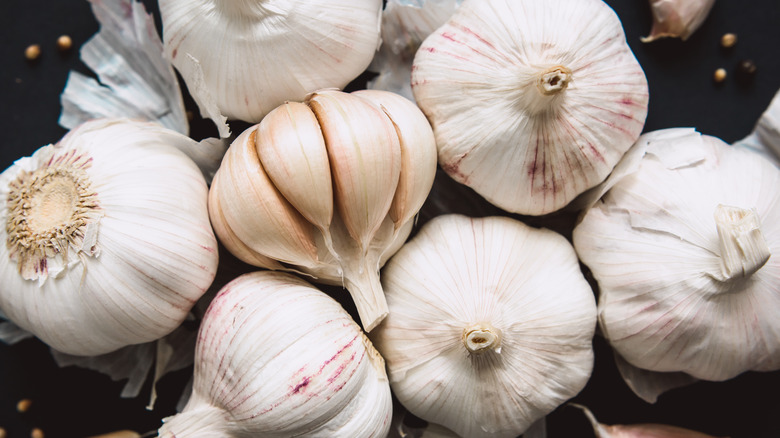
Garlic is part of the onion family and is closely related to shallots and leeks. But, peeling garlic can be time-consuming. That's why for convenience, people choose to buy the jarred version. However, the flavor of fresh garlic far outweighs that of jarred but you will have to put in the time to reap the rewards. No serious cook would even contemplate using the bottled ready-to-use garlic, including Martha!
However, Stewart's hack teaches you to effortlessly peel a whole head of garlic. First, place a bulb of garlic on a chopping board and hit it lightly with the bottom of a small saucepan to break it up. Then, take all the separated cloves and put them into the same saucepan and cover with a lid. Now, it's time to get your shake on! Rattle the garlic inside the saucepot (making sure to hold the lid closed), remove the lid and you'll notice the garlic peels have kindly removed themselves! (You may need to do some more shaking).
Although this hack uses a small saucepot, an ample-sized glass jar with a lid may work better. It is much more lightweight, and you can see the garlic when it is fully peeled and ready to use. Just remember to cut the dry stem end of each clove before using.
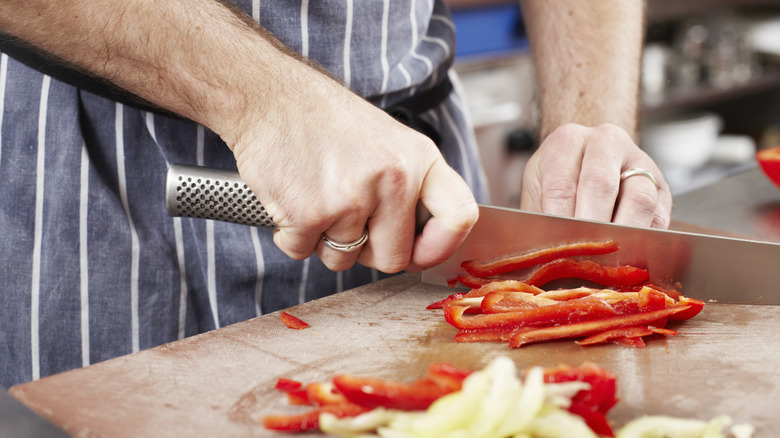
Keep Your Cutting Board Stable
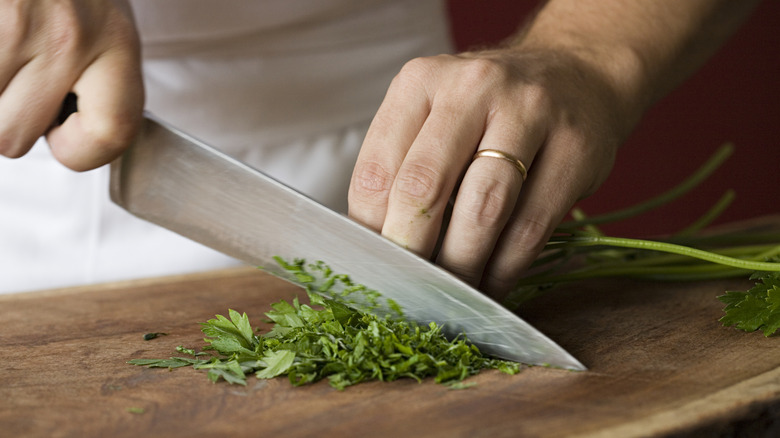
A kitchen is notorious for being a dangerous area in your home. Among the top dangers are sharp knives. However, knife skills are one of the first lessons taught at culinary school because knowing how to handle one properly will help avoid accidents, increase efficiency, reduce cooking time, and give your dish a more polished appearance.
But, once you know how to use your knives, the last thing you need is a cutting board sliding around as you prepare your mise en place. Martha's hack to prevent this involves putting one or two wet paper towels (or wet rags) under your cutting board to ensure extra safety. Make sure to press the board firmly into the counter to check if there's any slippage before you start chopping away. The best part is, once you have finished with your cutting board, you can use those same wet paper towels (or wet rags) to give your workspace a quick wipe down. Remember, this is not the same as giving your work area an excellent sanitizing session after finishing all your prep work to keep food-borne illnesses at bay.
Separate egg yolks with a plastic bottle
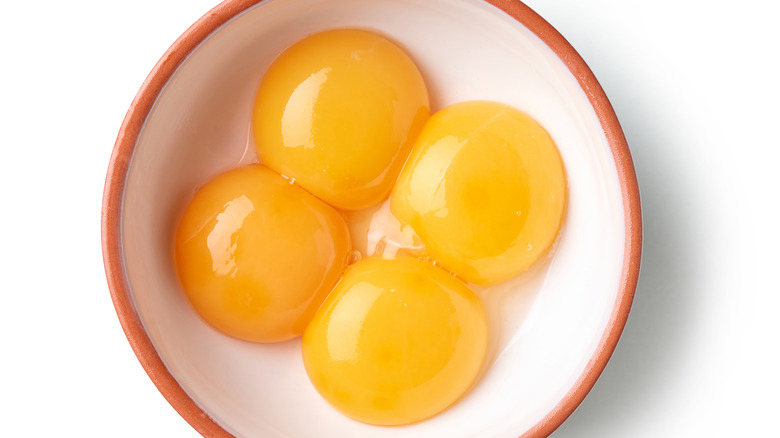
You can't say that Martha Stewart isn't inventive, or above a kitchen hack that may seem a little odd — especially if it gets the job done. That definitely goes for our Martha kitchen hack no. 11. In probably our strangest hack of this article, Martha uses the suction of a plastic bottle to separate egg yolks from the whites.
Let us explain. Imagine you are in a rush to make lemon curd, requiring eight eggs. They're laid out in the pan; whites, and yolks all smooshed together in a seemingly inseparable mess. Not so! Martha to the rescue.
In this ingenious hack, Martha places the mouth of a flexible plastic bottle close to the egg yolk. Squeezing the bottle she expels the air from inside, and as she touches the bottle's mouth to the egg yolk itself, she releases her squeeze and, because of the suction created, the yolk just slips inside as the bottle sucks in air.
Martha then transfers the yolks, one by one to a separate bowl. And, voila! In a matter of seconds, you have separated eight eggs, a task that could take you three times as long with other, more traditional techniques. Thanks, Martha.
Peeling Ginger with a Spoon
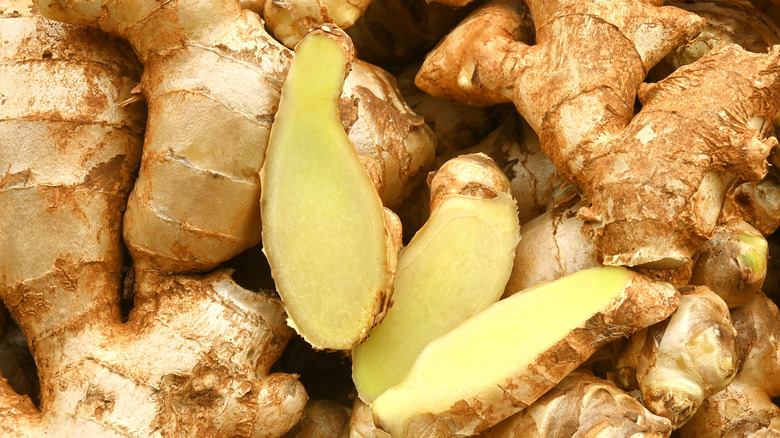
Chopping ginger into coins and julienning it into slivers is easy enough, but peeling it? That can be a bit rough, as the peel is quite thin and robust. So, to peel ginger efficiently, Martha Stewart has a simple hack that uses a spoon.
First of all, break off the amount of ginger that you'll need and hold it in your non-dominant hand with the bulk of the peel you want to take off facing upwards. Try and find a thin spoon in your drawer as the edge of this will likely be sharper than that of a thick spoon. However, a normal tea or tablespoon should do the trick.
With the sharp edge of the spoon, drag it towards you across the top of the ginger root in short strokes and watch the peel come right off with ease. It's that simple. The best thing about this hack, as you will find out, is that it only removes the peel! Gone are the days of being left with half the amount of ginger you started with after you've hacked at it with traditional peelers.