When And How To Feed Your Sourdough Starter
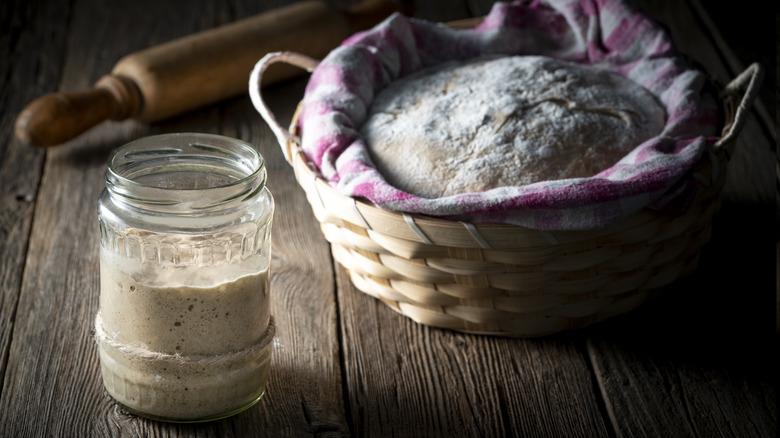
If you've ever thought about diving into the world of sourdough baking, there are plenty of things that have the potential to scare you off before you even commit to the plunge. Not only does this style of bread-making require considerably more forethought and time to go from mixing your ingredients to having a homemade loaf of sourdough in your kitchen — but it also requires you to keep a crucial component, the sourdough starter, alive between baking sessions.
There is no shortage of resources on how to begin the process, including detailed, step-by-step instructions on how to establish your starter. But the amount of information at your disposal can be as overwhelming as it is helpful. While creating and maintaining your own breadmaking pet may sound like a little more than you bargained for at the outset, it's not as tedious or complicated a task as it's sometimes made out to be. And once you understand the important elements of parenting a starter –- setting a consistent schedule for your feedings, for one -– you'll be well equipped to take on as many loaves of sourdough bread baking as your heart desires.
How to feed sourdough starter like a pro
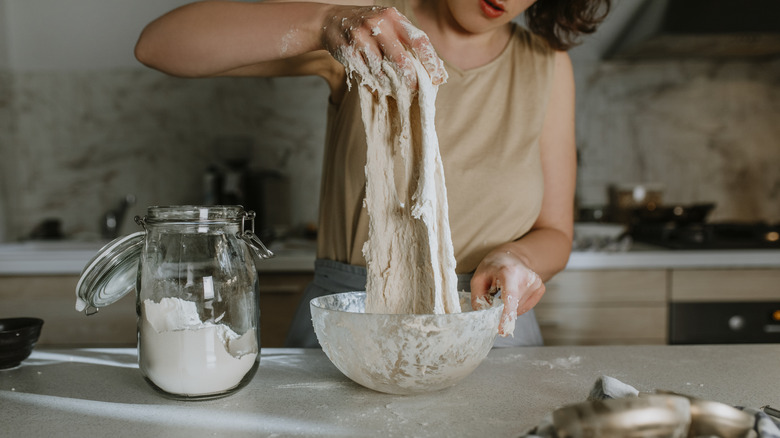
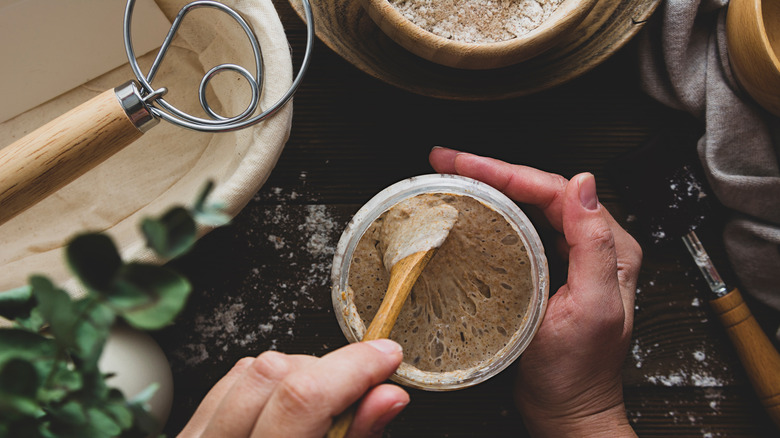
Feeding your sourdough starter is a really simple three-step process — but the devil is in the details, and getting things right will save you from headaches down the road. Put simply, at each feeding, you'll need to discard some of your ripe sourdough starter, incorporate new flour and water into the remaining mix to provide nutrients to the yeast and bacteria inside, and give it plenty of time to rest. The exact amounts you'll use for discard and fresh incorporation can vary based on the size of your starter, the elevation at which you live, and other factors — but the core steps are always the same.
If you're not using a recipe, in general, you can expect to discard half your starter to prevent it from becoming unmanageable, add equal parts of flour and water back in to encourage the metabolic activities of the living organisms inside your starter, and allow it to rest at room temperature until it's bubbly and has doubled in size — usually 24 hours. To make the process even easier, use a food scale rather than measuring cups for as much precision as possible.
Why feeding time is so crucial to your starter
There are several reasons your sourdough starter may fail. One of the best things you can do to ensure your starter develops is to give it a consistent feeding schedule. Exact hours aren't important, but routinely feeding your starter at roughly the same time of day will help it become consistent in its rises, falls, and overall ripening.
The time you choose will depend on your schedule, but many bakers find that a morning feeding the day before you want to bake is easy to incorporate into their routine and gives the starter time to activate and ferment in preparation for baking. It can take between two and 12 hours, depending on the overall health of your batch, where you store it, and the temperature of your home. Because there are several variables at play, you'll want to leave plenty of time for a starter to become sufficiently activated after a feeding.
Being consistent in the timing of feedings allows you to develop a strong starter that's neither overly active nor acidic, which will happen if your feedings are too close together — or slow to activate, which happens when underfed yeast loses its strength. While it's okay to space out feedings up to 30 hours, keeping them as close to 24 hours apart as possible will give you a flavorful starter that peaks like clockwork and can be used in as timely a fashion as possible.