Onion Cooking Hacks You'll Wish You Knew Sooner
Onions are one of the oldest cultivated and most eaten plants in the world. They're wildly popular in almost every type of regional cuisine, are found in countless recipes, and have even been recognized by some for having healing properties. Whether you think they're medicinal or not, onions have a potent flavor that goes well in almost everything you cook. They may be trickier to cut than other vegetables, but they are well worth the added effort.
Considering cultures worldwide have been eating them for centuries, it is no surprise there is a collection of useful onion cooking tips and tricks. Below, I'll share the best onion hacks I learned while cooking and handling them with chefs, plus a few more I discovered while researching recipes and chef recommendations online. While you probably already cook with onions regularly, something tells me you wish you knew some of the things I uncovered sooner. Whether you want to know how to store them, how to make slicing easier, how to avoid crying while you dice, or different ways to caramelize them, we've got you covered.
Store onions properly for maximum lifespan
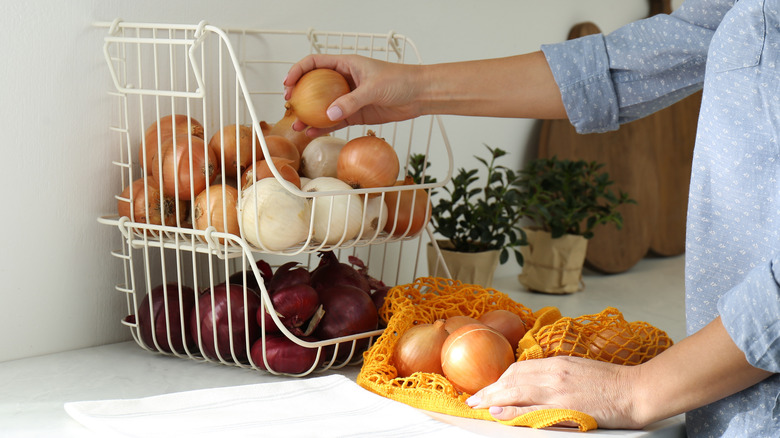
You may think storing whole onions in the crisper drawer of your fridge is the best spot for them, but similar to potatoes, they last longer when kept at room temperature. When kept in the fridge, moisture is more likely to build up on onions, leading to a reduced shelf life. Instead, find a dry, ventilated spot to keep them. A basket, bowl, or open paper bag is perfect if you keep it away from direct sunlight. If you purchased a large bag of onions, the mesh bag they come in also works well. Whatever you choose, make sure it is an open-air container that allows plenty of air to circulate and keep them at room temperature. When whole onions are stored correctly, they can last anywhere from three to six months before spoiling.
Green onions are a different story. Unlike more bulbous onions, storing green onions in the fridge helps them last longer. There are two approaches to properly storing green onions. The first involves cutting the roots off, cutting the stalks in half, wrapping them in a paper towel, and then sticking them in a plastic bag inside the fridge. The second strategy is to stand green onions up in a glass with a small amount of water in the bottom. The water should submerge the roots, but nothing more, and it should also be changed daily to help preserve freshness.
Freezing onions helps prevent watery eyes

When you chop onions, syn-Propanethial-S-oxide is released into the air (via Library of Congress). This chemical irritant wafts up to your eyes, causing them to tear up. Considering this is part of an onion's inherent properties, watery eyes may seem unavoidable when chopping onions, but there are a few hacks that help prevent it from happening.
One of the most straightforward solutions is to put whole onions, skins and all, in the freezer for 30 minutes before you start dicing. When you freeze an onion, it reduces the speed at which the chemical irritants are released. The result is less disturbance to your tear ducts and, potentially, dry eyes. You have to plan some extra time to put this method into practice, but if you have the flexibility and remember it in advance, it can be a real game changer.
Some chefs swear that avoiding the core of onion while dicing also helps reduce tear-inducing properties, but that leads to a significant amount of waste. So, if freezing your onions doesn't provide you with the relief you desire, there's another foolproof option: Wear goggles while dicing. A pair of goggles, or even a scuba mask, creates an impenetrable seal around your eyes, effectively ensuring none of the tear-inducing gas reaches them. This may make you feel silly, but who cares if it works?
Smash an onion to make peeling and dicing simpler
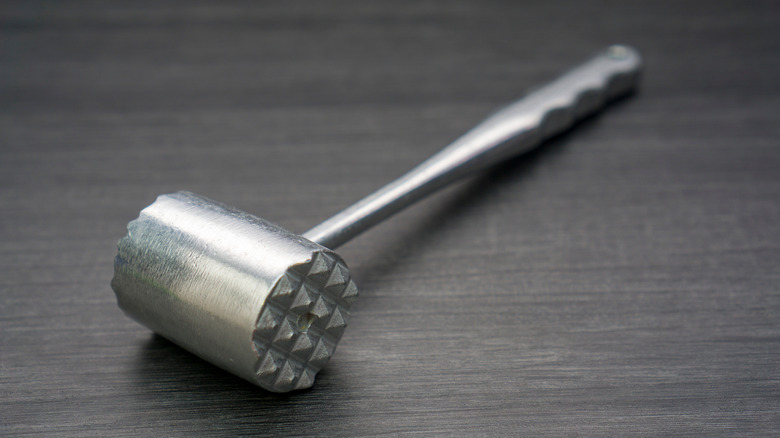
This next tip comes from Chef Scubes on TikTok. He demonstrates a simple, effective way to remove peels and dice onions simultaneously using a meat mallet and two plastic bags. First, he puts a whole, unpeeled onion into a small Ziploc bag. Then, he places that bag inside a larger Ziploc. Without sealing either bag, he bangs on the onion repeatedly with a meat mallet. After a few impacts, the skin of the onion starts to separate from the core. After a few more bangs with the mallet, the onion breaks down into small, diced pieces. To finish up, he pulls out the separated pieces of peel and dumps out the chopped bits, ready for use. When all is said and done, this method is incredibly easy, even if it is alarmingly loud.
One of the great things about this method is that it keeps all the cry-inducing vapors contained so your eyes will remain tear-free. Even with the bags open, the enzymes that cause you to tear up stay inside, leaving you free to do other cooking tasks without any interference. The only real drawbacks to this method are the imprecise cuts and excess waste produced. Banging away on an onion isn't the most exact form of chopping, so various-sized cuts are to be expected. Similarly, the skins don't always come off paper thin either, so you may be tossing out more than normal.
Cut your onions like a professional chef

Professional chefs use a specific technique for dicing onions. It improves size consistency and makes onions more manageable to hold while dicing. The key to this hack is leaving the root or end on while chopping. Start by cutting your onion in half through the middle, leaving the ends intact. Then, cut from the center down through the middle of the ends so that you have four pieces, all with an end holding them together. Place the flat side down and make evenly spaced slices from the wide center towards the end, stopping short of the actual root. This technique keeps the bulb in one piece. When you have made all your cuts, turn the onion and slice through, going in the opposite direction until you reach the base. As you slice, perfect diced pieces fall off.
As opposed to slipping around and sliding away from the knife, this onion-cutting technique keeps all the pieces aligned and in one place until you make the final cuts going in the opposite direction. It also enables you to create uniform-sized slices throughout the entire onion. So, instead of winding up with lots of variation, you get perfectly diced chunks that cook through at the same time. While slight deviations in size won't make a huge difference, it easily causes some pieces to finish cooking before others, something that should be avoided.
Always use a sharp knife
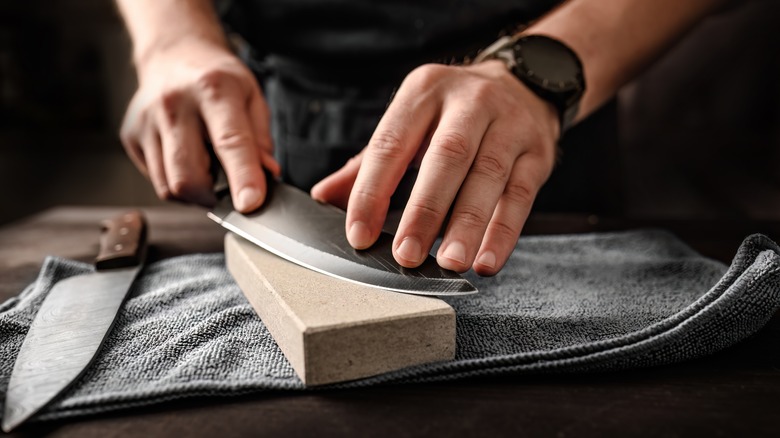
Dull knives are the enemy of any chef, home or professional. They easily lead to accidents and increase the risk of cutting yourself. When you press down into an onion with a knife or any material for that matter, it should glide through with minimal pressure. The more pressure you have to apply to penetrate an onion, the more likely it is to slip and cause a mishap. Of course, sharper knives also facilitate more precise, even cuts, which is also desirable.
When it comes to onions specifically, dull knives also increase onion-inducing tears. A dull knife makes a sound when cutting through vegetables. Adversely, a sharp knife cuts through produce with virtually no sound at all. When dicing onions, if you hear a noise, it indicates the release of the natural enzymes within that cause your eyes to water. So, if you can hear your knife slicing through an onion, it's probably time to sharpen it. Sharp knives also cut through onions quicker than dull knives, minimizing the amount of time you spend standing over them while dicing.
Grate onions for small diced pieces
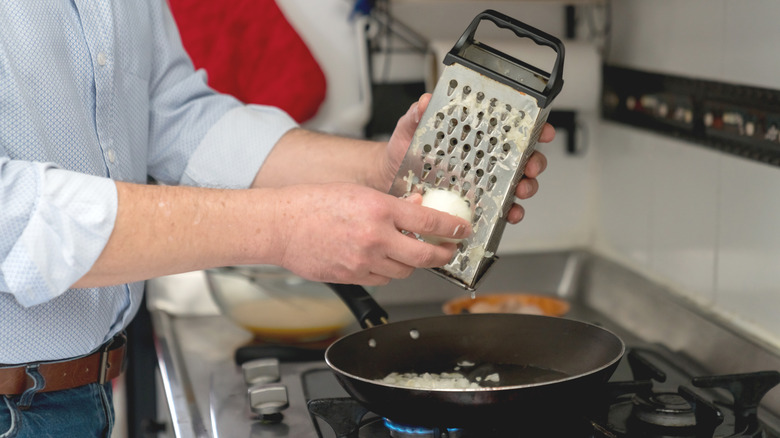
Tiny diced pieces of onion are often challenging to achieve, even if you have a sharp knife. So, to avoid the hassle, try using a grater instead. It allows you to make neat small cuts quickly and easily. Many home chefs feel more comfortable making quick motions with a grater because it feels sturdier than a knife. If you use a stand-up grater, the chopped onions also stay contained within until you lift it, so it may reduce watery eyes as well.
Grating an onion is pretty straightforward, but you can do a couple of things to make things easier for yourself. For example, keeping the root on the onion helps keep the bulb intact while you make repeated grating motions. When you remove the root, the layers of the onion start to separate quickly, but leaving it on solves this problem. In addition, it gives you something to hold while you work. The root also elevates your knuckles, so you are less likely to accidentally graze them against the sharp metal.
Use a vegetable peeler and a fork for thinly sliced onions
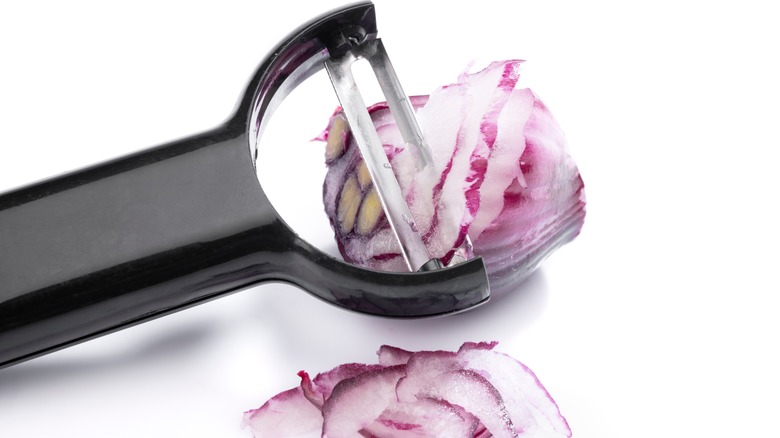
If you want super thinly sliced onions, maybe for a salad, sandwich, or burger, you'll be kicking yourself for not knowing this next tip sooner. Vegetable peelers make paper-thin cuts in a myriad of vegetables and fruits, but you probably never imagined it would work on an onion, too. Well, surprise. It does, and not only is it incredibly easy, but it is amazingly fast and super effective. Best of all, you only need a fork and a vegetable peeler, both of which you're almost certain to already have in your kitchen drawers.
To start, insert the tines of a fork into the base of a peeled onion. Position it close enough to the bottom so that you can press it against the surface of your cutting board and use it to hold the onion steady while you slice it. This step isn't essential, but it certainly makes things a lot easier. It also reduces the chance of making a quick and painful mistake. Once you're all set up and holding the onion in place, simply use a vegetable peeler to make as many slices as you need. Just remember to slice out and away from yourself, and you're all set. While this fantastic tip first became popular thanks to a viral video from TikTok, it is so impressive and helpful that it is sure to stand the test of time.
Soak onions in water to reduce their pungent smell and taste
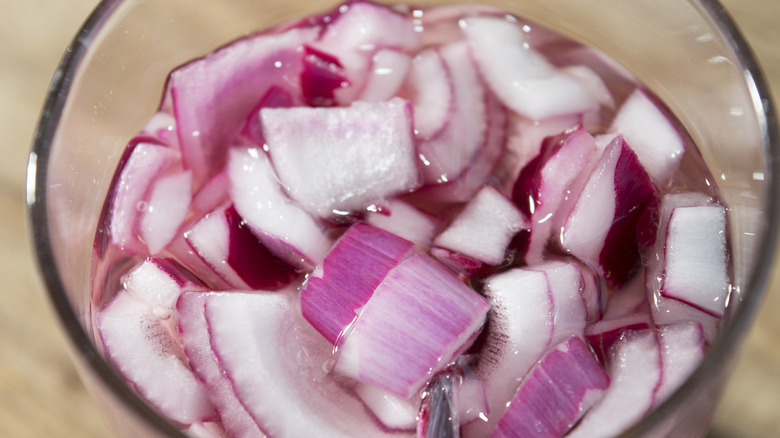
Have you ever found yourself trying to modify a recipe that contains too much onion for your liking? If so, this hack is for you. Or, if you ever chopped up a bunch of onions and thought, wow, these are intense, this tip will save the day. Onions are pungent, that's one of the reasons we love them so much, but sometimes you just want a milder taste. Luckily, all you have to do to tone down the aroma and taste of chopped onions is soak them in a bath of iced water for about 10 to 20 minutes.
Soaking onions is the perfect solution for when you want to use raw onions on a sandwich or salad but don't want knockout onion breath when you are done. It is also ideal when you want to maintain crunch and texture in a recipe but want the flavor to blend more into the background. Often, cooking onions will mellow out their bold smell and taste a bit, but soaking them beforehand ensures it.
Cover onions to brown them faster on the stove
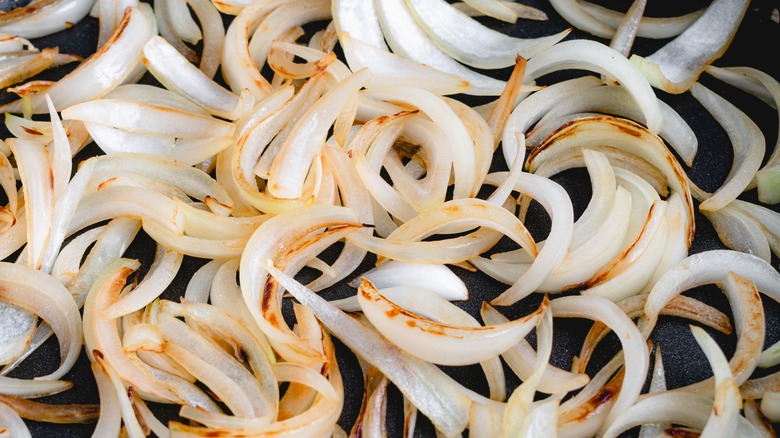
Browning onions on the stove leads to a richer, sweeter, smokier taste and a slightly charred exterior. While browned onions are not the same as caramelized onions, they are similar. Browned onions can easily become caramelized if they are left on the stove for an additional 20 to 30 minutes. Regardless, browning onions still takes approximately 15 to 20 minutes, which is a fair amount of time. Browning onions can set you back timewise, especially if it is just the first step to a recipe. Don't worry, though. You can easily speed up the browning process by covering them with a lid while they cook.
Just like with other vegetables, placing a lid over a pan's top reduces the time needed to cook through. Covering a pan traps heat inside, effectively steaming what's inside faster. With onions, you'll still want to keep a close watch to ensure they don't start sticking to the pan and burning but locking in the extra heat helps them brown much faster. If you use a considerable amount of oil or butter, that will help prevent sticking, too.
Add baking soda to caramelize onions faster
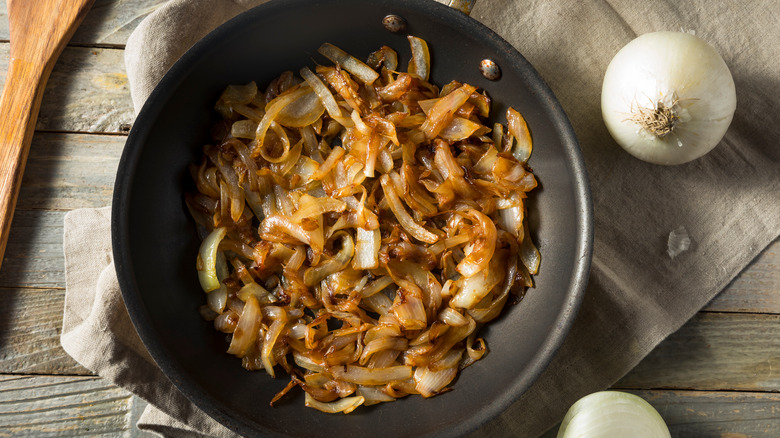
Caramelized onions have a rich, sweet flavor that adds a decadent flavor to an array of dishes. While they taste phenomenal, making caramelized onions takes about 45 minutes, which is a considerable amount of time spent in the kitchen. However, you can add ⅛ teaspoon of baking soda to 1 pound of chopped onions to drastically speed up the process.
Another way to speed up caramelization is to make sure you are using a large enough pan. If the onions don't have room to spread out and make contact with the base of the pan, they take longer to cook. When overcrowded, they can also start to steam instead of caramelizing like intended. To avoid either of these scenarios, simply choose a pan with a large base that will easily allow you to spread your sliced onions into a single layer on the bottom.
Caramelize onions the easy way in a slow cooker
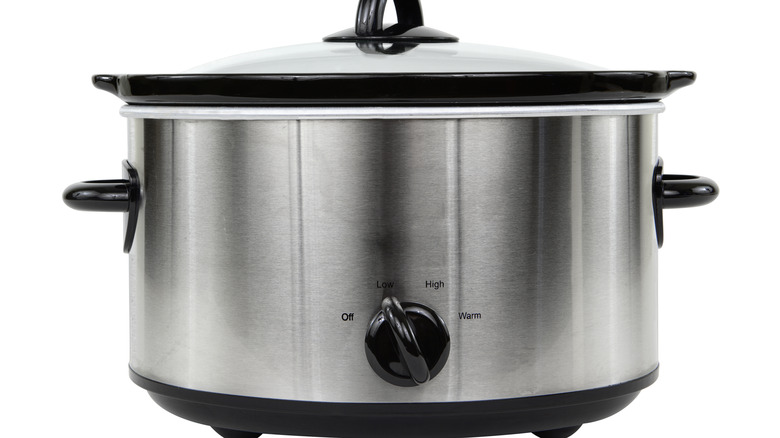
Most caramelized onion recipes call for near-constant stirring for about 45 minutes. While some don't view the incessant stirring as necessary until the final 15 minutes, it is still quite involved. Even so, caramelized onions are too tasty not to put in the effort. As our above tip noted, you can reduce the amount of time it takes to caramelize onions with baking soda, but you'll still have to watch them carefully and commit to a considerable amount of stirring. However, if you plan and time isn't an issue, you can easily caramelize onions with almost no effort at all in a slow cooker.
Slow-cooker caramelized onions are as easy as chopping the desired amount and tossing them in a slow cooker with some butter. Once the ingredients are locked in, turn on your appliance and set it to low heat. In 12 hours, you'll have perfectly caramelized onions. We know that is a long time, but it is as easy as it gets. When you give it a try, remember that the onions will shrink while cooking, so add a bit more than you anticipate needing to ensure you have enough.
Place an onion directly on charcoal for grilling
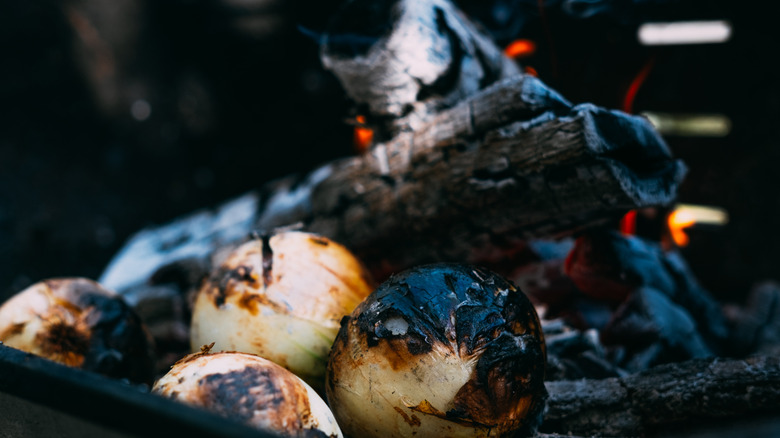
Grilled onions are delicious, but this next hack takes barbecued onions to the next level. Instead of putting onion chunks on a skewer for kebabs or placing thick slices on the grilling rack, as is standard, you can put a whole, unpeeled onion directly on top of the charcoal below the metal shelf. This life-changing tip turns whole onions into a delicious melted onion, perfect for enjoying solo or putting on top of a steak. While on the coals, the skin blackens and chars, so you'll want to turn it occasionally to get even results. When it is done, just peel the blackened peel off and enjoy.
This technique also works well on campfire embers. If the fire is pretty intense and you don't have a lot of accessible coals, you can always wrap it in foil before putting it in the fire, but it isn't always necessary. If you opt to use foil, peel the onion first. You can still cook it whole, but if you cut it into several wedges and keep the root intact, you can insert oil or butter and seasoning to enhance flavor.
Chill sliced onion rings to make breadcrumbs stick better
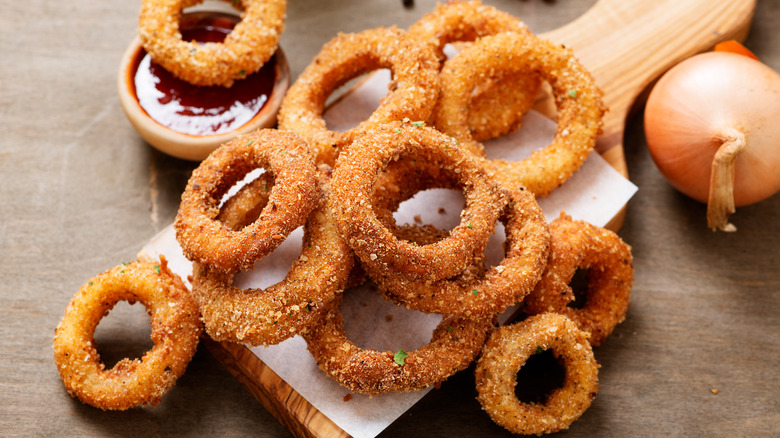
Onion rings are a drool-worthy side dish loved by Americans. While restaurants have perfected making them, homemade onion rings aren't always that easy due to the painstaking need to remove the exterior membrane on each cut ring. If you don't remove the membrane on a raw ring of onion, the breadcrumbs won't stick nearly as well and are likely to separate while cooking. Even if the breadcrumbs don't come off while frying, they are likely to disconnect while you are eating them. As a result, you get bites of breading and bites of onion, not both.
Fortunately, professional chefs use a well-known trick that you can easily mimic at home. After cutting your onion into the desired ring shapes, put them in the freezer for approximately 30 minutes. When the time is up, you can run the rings under warm water, and the membranes will effortlessly peel off. This hack works because the cell structure of an onion breaks down when chilled, which in turn makes removing the inner membranes much easier.
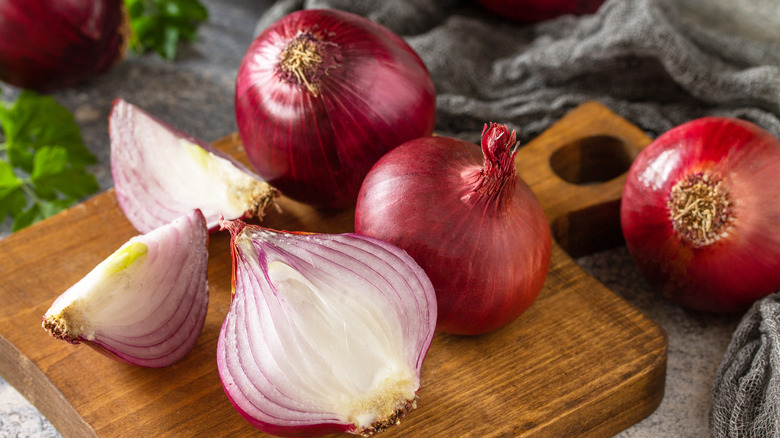
Know your onion varieties and how to use them best
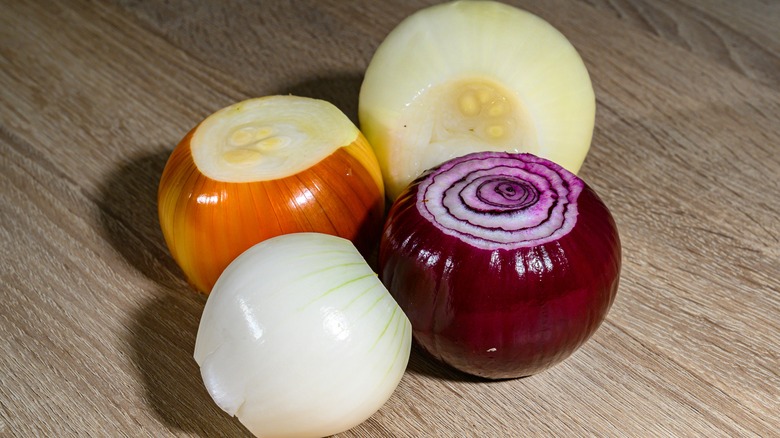
The most common types of onions include white, red, yellow, sweet, scallions, and shallots. While they all have a similar taste, some are considered better for particular types of dishes than others. Yellow onions are the most versatile. They go great with everything, and if a recipe does not specify a specific variety, you should go with yellow. Sweet onions are similar to yellow onions but larger and sweeter. They are perfect for recipes that use caramelized onions and also make excellent onion rings.
White onions are sweeter than yellow but have a much milder taste. They are the perfect pick for any recipe that uses raw onions, like sandwiches or salsa. Red onions are also a touch sweet and much milder than yellow onions. Like white onions, they taste great when eaten raw in salads and sandwiches.
Scallions, also known as green onions, are ideal as a garnish on soups, omelets, and various other dishes. When sprinkled on a plate, they add a pop of color and a bit of extra crunch. They have a relatively mild taste, and unlike different types of onions, the shoot is used instead of the bulb. The last onion variety is shallots. While they are less popular than other varieties, they have amazing flavor. They are fairly small, taste great in everything, and some people think of them as the perfect mix between an onion and garlic.
Save onion skins and ends to make stock
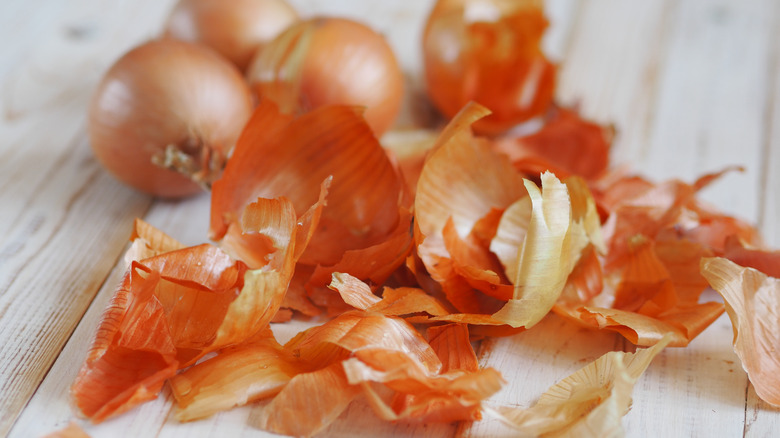
When cooking with onions, the first thing you do is peel them. Most people simply throw the outer layers into the trash, but onions have a lot of flavor and aroma locked into the paper-like skins. So, instead of getting rid of them, you can save your onion peels and make stock. You can also save the ends you cut off of onions and use them along with the peels. Not only does this minimize waste, but it also allows you to use every single part of an onion, making it cost-efficient as well.
Making stock from onion peels is as easy as boiling them in a pot of water for a couple of hours. Of course, you'll most likely want to add some spices and other ingredients, but really, anything goes. For chicken stock, add chicken bones. For a vegetable broth, add remnants from any vegetables you like. Carrot, celery, garlic, salt, and pepper are generally thought of as crucial ingredients in any stock, but go ahead and load up the water with any savory flavors you like.