A Step-By-Step Guide To Homemade Hot Dogs
Food Republic's column Ask Your Butcher seeks to answer FAQs in the world of butchery. Ethically minded butcher Bryan Mayer has opened butcher shops and restaurants and has trained butchers in the U.S. and abroad. He helped develop the renowned butcher-training program at Fleishers, where he is currently director of butchery education. In each column, Mayer tackles a pressing issue facing both meat buyers and home cooks. With the Fourth of July weekend approaching, he delves into the world of homemade hot dogs. Now that's some serious BBQ bragging rights on the line.
We can debate the merits of hamburgers versus hot dogs until, well, the cows come home, but there's no denying the superiority of meat in a tube on a bun in terms of portability and global varieties. From Sweden's Tunnbrodsrulle to South Africa's Boerewors to Australia's Dagwood Dog (its version of a corndog), hot dogs have earned their place in the hierarchy of street food.
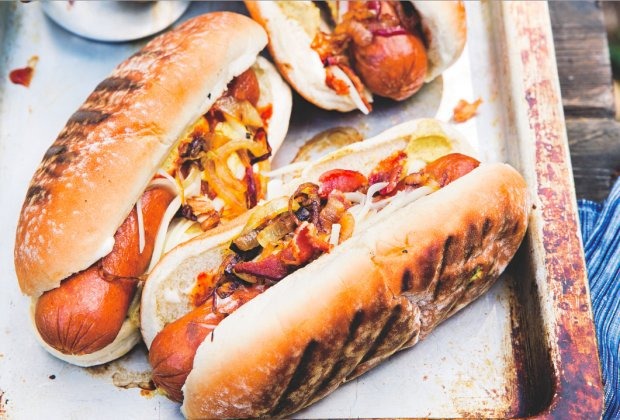
And if the spice of the meats isn't enough for you, hot dogs are the perfect vessels for relish, chutney, sauerkraut or just about any topping you can think of. Smoke them, poach them, grill them, fry them and top them with whatever. And yes, ketchup is totally fine. Whether you use all beef, mix in pork, poultry or make your own special blend, we're going to help you create something far superior to those commercial hot dogs you buy at the supermarket. And most importantly, you'll know the source of your ingredients.
Before we get into the process of making your own hot dogs, let's dive into a little bit of history surrounding what some consider to be the world's oldest processed food. Legends of its origins stretch all the way to Babylon and Cyprus — hot dogs are even referenced in The Odyssey! After all, what better snack for Odysseus to indulge in following a ten-year war? This all may be more fiction than fact, but the debate still rages on in regards to the hot dog's origins. Frankfurt, Vienna and Coburg all lay claim to the invention.
It was not until the 19th century, however, that we started to see what we now know as the hot dog here in America. And once again, a debate raged from Brooklyn to Chicago concerning who created it. But what is a hot dog, really? Well, that depends on where you get it. The joke amongst butchers and consumers is that a hot dog is made up of lips and assholes. And while maybe that might have been true in your grandmother's day, hot dogs today are mostly limited to skeletal meat (muscle attached to bone). If they contain anything other than skeletal meat, they must be labeled "with by-products" or "with variety meats," and if there's any extender or binders, those must be listed as well. That all sounds like a dubious ingredient list. So what we recommend is purchasing your hot dogs from your local, whole-animal butcher shop, which is more likely to keep the ingredients simple and use meat from pastured animals.

Or how about making your own? Why, you ask? Well, in addition to knowing the source of your ingredients, making emulsified sausages is the next natural step in your homemade sausage game, and you probably have all the equipment you need (if you own a sausage stuffer). There's just one key point to keep in mind here — temperature! Now, this applies to all sausages, but since you're making an emulsified sausage, you'll be left with a hot dog that has a grainy texture if your meat should go above 40°F. Work in batches to ensure that you keep the temperature cold, make sure to return your mix to the freezer in between, and use a good amount of ice water when emulsifying in a food processor. Those moving parts generate a bit of heat from friction. In addition, you'll keep your stuffer and grinder parts in the fridge. This will ensure that every surface the meat comes into contact with is cold.
I like an all-beef hot dog. If you read "Ask the Butcher" regularly, you know my penchant for shank meat. Its deep, rich flavor is perfect for a hot dog. Your meat grinder might have a difficult time cutting through all that sinew, so if you use shank meat, have your butcher grind it for you. If you plan on grinding at home, neck meat will work great as another option. You're looking for an 80/20 lean-to-fat ratio, so the addition of chuck is perfect. Let's get started!

Servings: Around 40, assuming a five- to six-inch twist-off per sausage
Ingredients
Directions:Mixing:
Stuffing:
Cooking: