Essential Tips For Cleaning Every Part Of Your Oven
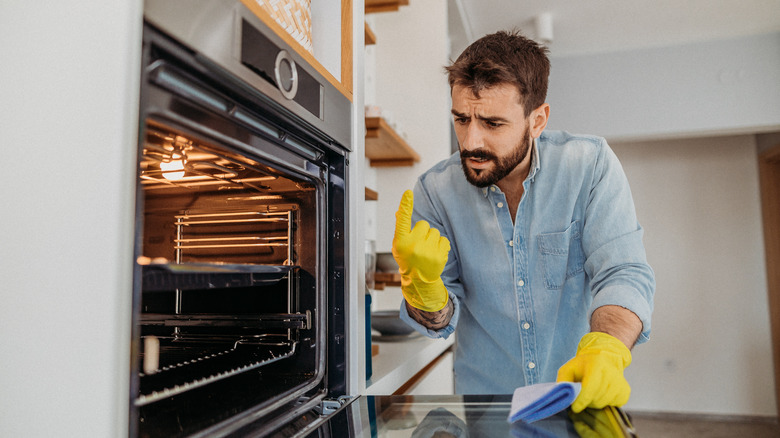
There's no way to sugarcoat it: Cleaning your oven is the absolute worst chore. Unless you have a perfectly functioning self-cleaning oven, you're almost certain to face hours of messy and potentially smelly work, all while hunched uncomfortably on your knees on the kitchen floor. And guess what? The dirtier your oven is, the more elbow grease and time you'll need to put in.
Given how onerous oven-cleaning is, it might be tempting to skip it altogether. After all, who cares? It's not as if your guests are going to examine the inside of your appliance, and no matter how gross the walls and floor of your oven are, it's unlikely any of that stubborn baked-on gunk will get into your food. Unfortunately, not cleaning it is a bad idea. That baked-on stuff will keep on cooking (and potentially smoking and burning) whenever you use the oven, raising the risk of fire and smoke inhalation.
It won't help the quality of your food either — odors from baked-on residue can contaminate whatever you're cooking. In addition, a dirty oven may not work as efficiently as a clean one, resulting in higher energy bills. Here are some tips for getting it right, saving you time and frustration while cleaning every part of your oven.
How often should you clean your oven?

On the upside, cleaning your oven isn't like washing dishes or cleaning your stovetop — you don't need to do it every day (though if something splatters or bubbles over in the oven, it's a good idea to clean it off as soon as possible, before it has the chance to set and harden). Cleaning up small spillovers in the oven quickly will not only lessen the chance they'll smoke or catch fire, they'll make your next big clean a whole lot easier.
Provided you use your oven fairly normally, a thorough clean every three to six months should be sufficient. If you use the oven frequently, you should probably schedule your cleanings about three months apart; if you use it only occasionally, you can get away with less-frequent cleanings. If you're not sure your oven needs cleaning, check the inside of your oven door: If you can see baked-on residue, it's time to clean. A smell test will also let you know: If you smell something burning when you turn on the oven — even before you've put any food in — it's time for a cleaning.
Here's how to keep gunk from building up between cleanings
The best way to ensure easy and painless oven cleaning is to keep your oven from getting dirty in the first place. And a few quick steps during your daily cleaning routine can ensure your oven stays clean (or cleanish) for as long as possible. An obvious step is to clean out any spills or drips as soon as possible – don't allow crumbs or other food to collect and burn at the bottom of the oven, and if at all possible, wipe off splatters while they're still fresh.
Sometimes, however, it's not realistic to stop in the middle of cooking to wipe down minor spills — such as when you're in the middle of cooking a roast or broiling bacon, for instance. To clean off gunk that's had some time to bake onto the oven walls or floor, put an ovenproof pan of water in the oven after you're done cooking (leave the oven on) and allow it to heat for 20 minutes. The water will steam and soften any baked-on residue, which can be wiped off with a towel once the oven cools.
To keep food from falling onto the floor of your oven in the first place, you might consider using a fiberglass oven mat to catch any drips or spills. Do not, however, use aluminum foil, which can block or reflect heat and impair the oven's operation.
Commercial oven cleaner or baking soda?
If you have a dirty oven but no self-cleaning function, your first impulse may be to pick up a spray can of oven cleaner. It's a tried-and-true product that your mom or grandmother probably used, and there's no doubt it works — just spray on a thick layer of the foamy stuff, wait a few hours, and wipe off any baked-on residue in your oven. While it certainly does the job, anyone who has used oven cleaner probably knows it's not fun to work with. No matter how much lemon or other scent manufacturers add, it still smells terrible and will likely make you cough. And it's not the safest stuff either: Its high alkalinity makes it extremely caustic, meaning you need to wear gloves and avoid getting it into your eyes if you want to avoid burn-like irritation. On top of that, commercial cleaners are not safe for use in all ovens – they can damage the enamel interior of self-cleaning ovens, for instance.
So what can you use instead? A safer, more natural alternative is a spreadable paste of baking soda and water. This can be used much the same way as commercial cleaner — just mix roughly 1/2 cup baking soda and 3 tablespoons water and smear it over the surfaces inside the oven (make sure the oven is cool) and allow to sit for about six hours. After that, the mixture can be simply wiped off with a sponge, leaving you with a clean oven and no caustic fumes.
Self-cleaning ovens need touch-ups too

Alas, self-cleaning ovens don't always live up to their name. While the self-cleaning function does most of the heavy lifting of cleaning and can save you a lot of time and work, it's not always enough to remove stubborn bits of residue – self-cleaning ovens still need occasional manual touch-ups to stay perfectly clean. In addition, there may be times when it's better not to use the self-cleaning function. Self-cleaning cycles work by using high heat to reduce burnt-on food residue to ash, which can be simply wiped away. But they can also wear out the oven's internal parts faster, and the high heat causes the release of fumes that can be deadly to pet birds and unpleasant to people.
To tidy up a self-cleaning oven between cycles, use the same techniques as for other ovens — wipe away crumbs and spills while they're still fresh. Do not use commercial oven cleaners in self-cleaning ovens, however. Instead, use gentle abrasives such as baking soda or non-abrasive cleaners like dish soap and water or Bar Keepers Friend. Use a sponge for light soil, and steel wool or plastic pad for more stubborn residue. Scrub gently to avoid scratching the surface.
It's easiest to take racks out to clean them

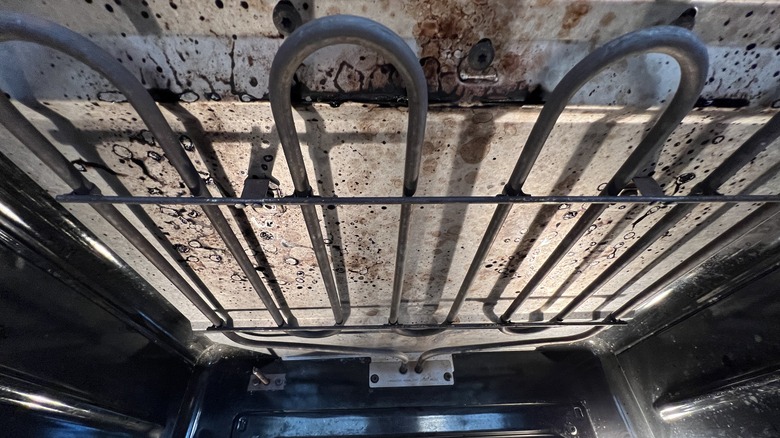
One of the things that makes oven-cleaning such a pain is there are so many different parts to deal with — the glass on the door, the inside of the oven itself, and, of course, all those racks, which tend to collect spills and gunk faster than the rest of the appliance. And the prospect of cleaning the racks is a project in itself — they tend to get covered with stuff on all sides and are too big to soak in most kitchen sinks.
But chances are you do have a washing space big enough to accommodate them — your bathtub. The only catch is they'll need a long time to soak — probably overnight — so schedule your cleaning for a time when nobody will need a bath. One effective method is to coat each rack with a 1/8-inch thick layer of baking soda, then use a spray bottle to moisten the baking soda with vinegar. The baking soda will start to foam — once it stops, cover the racks with hot water and allow to soak overnight before wiping them clean with a sponge or scrub brush. Alternately, put the racks in a tub full of hot water and dish soap and add a handful of dryer sheets. Soak overnight, then use the dryer sheets to wipe off any remaining residue.
Avoid putting cleaner on heating elements and gaskets
Once you decide to clean your oven, it can be useful and motivating to just lean into the process. If you do the job right, you'll have a pristine, non-smelly oven to look forward to, and your next cleaning job — now that you know how to do it the right way — will be much easier. And with the right attitude, meticulously scrubbing down every millimeter of your oven can become an exercise on focus and meditation.
But proud as you might feel of your efforts, don't go too crazy — you might do more harm than good. Some parts of the oven are meant to be left alone. Heating elements, for instance, should not be cleaned. Putting cleanser on them while they're hot can cause fires, and scrubbing them even when they're cold can damage them. Also avoid getting cleaner on the rubber gasket around the entrance to the oven — it serves the essential role of keeping heat in the oven (thus enabling efficient baking), but can be damaged by scrubbing or harsh cleaners.
Here's how to get your oven's interior spotless

Even after you've done a preliminary wipe-down of your oven, taken out and soaked the racks, and coated the interior with cleaner and allowed it to really soak in, you've still got a daunting job ahead: wiping it all off and ensuring all the baked-on food and cleaner residue are gone for good. You want to figure out a way to do this that's efficient and will reduce the chance of you getting totally covered in watery oven gunk.
Fortunately, there is a smart way to make it happen. First, set yourself up with a clean sponge and a bucket of warm water. Moisten the sponge and wipe down the side walls first, cleaning from top to bottom (this ensures that any residue that falls will fall to the floor and not soil a clean surface). Then wipe down the back wall, also from top to bottom. Next, wipe down the top, then the bottom walls of the oven, working from the back to the front. As you wipe, rinse the sponge in clean water and keep wiping until no cleaning residue remains.
Don't forget to clean the warming drawer under your oven
Remember that random drawer under the oven? The one you either never noticed or use to store the baking pans too big to fit anywhere else? Surprise – it may actually be a lot more useful than you think. If you have a gas oven, it may function as a broiler. And in some models of electric ovens, it serves as a warming space. It can't get as hot as the oven itself — the hottest warming drawers can get is around 240 degrees Fahrenheit — but it's more than warm enough to keep your food pleasantly toasty until serving time. (If you don't see controls for the drawer on your unit, then it is just what it looks like — a storage space.)
But even if you've never used your warming drawer — or were even aware of its existence — it still requires cleaning. Because of its position directly under the oven, it's easy for crumbs and other food spills to fall into it. Luckily, cleaning it out isn't super-hard. Just remove the drawer to make the inside easier to access, and wipe away any crumbs or residue with soap and water. Removing the oven drawer also gives you access to the floor underneath the stove, where crumbs and food drips can build up unnoticed. Use a vacuum to clean the floor and give household pests one less excuse to hang out at your place.
Oven knobs need regular cleaning too
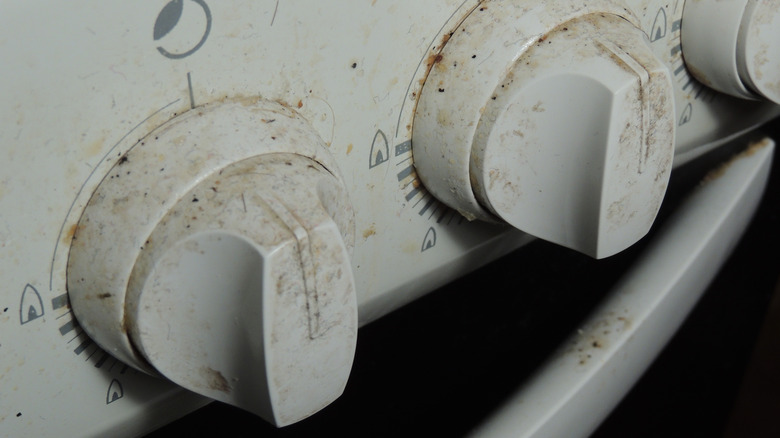
If you're a passionate hands-on cook, you know your stove and oven are going to get dirty, no matter how neatly you try to work. There's a reason even high-end kitchens with expertly trained chefs and line cooks get thoroughly cleaned at the end of service each day — no matter how masterful your cooking skills, grease and sauce splatters are inevitable. This means even surfaces you don't think will get soiled will collect food residue — such as oven and stove knobs. And as you may have noticed, dirty knobs both look and feel gross.
So if you've already committed the time to cleaning your oven, take a few seconds to wipe down the knobs too. Chances are, they won't need more than a quick wipe with a damp cloth (a microfiber towel is good for this). If there's a lot of built-up residue, wet the rag with soapy water first. If they're really, really dirty, you can use a liquid all-purpose cleaner, but avoid spraying it directly onto the knobs — any liquid that gets under the knobs can potentially short out the controls. Instead, spray it onto your cleaning cloth before wiping down the knobs.
You've got melted plastic stuck in your oven! Now what?

If you're an experienced cook, you know without thinking what containers can and can't go safely into the oven. But even the best of us get it wrong on occasion. Almost every seasoned cook has had a baking dish (such as a glass pie pan with a previously undetected hairline fracture) shatter in the oven. And if you're in a hurry and heating up frozen food, it's easy for a bit of the plastic wrapping to stick to the food and make it into the oven without you noticing — where it may melt and drip onto the racks or oven floor, where it will forever stick and even smell. Now what?
Have no fear, because this is an easy problem to solve. Wait until the oven is cool, then hold a bag of ice or an ice cube over the molten plastic. This will freeze the plastic and render it brittle and easy to chip away with a knife or other hard scraper.
A quick wipe is usually enough for a sparkling oven exterior
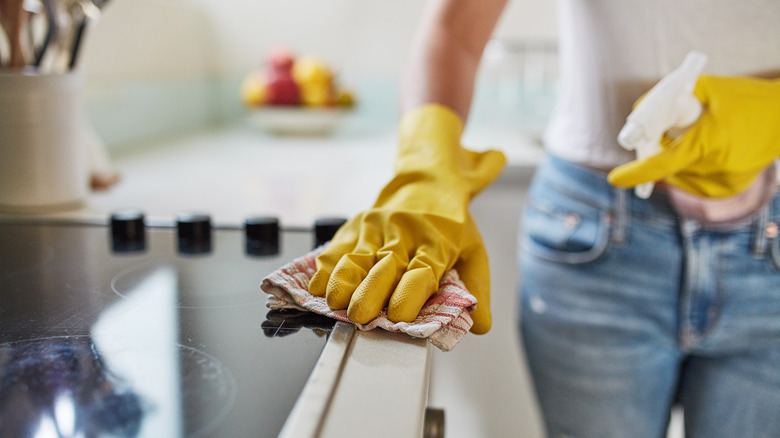
When most people think of oven cleaning, they ponder the onerous task of scrubbing the inside of the oven. And while this is the mission-critical part of the task, the outside of the oven needs attention too — especially since it's the part your family and guests will see. But because it's so visible, chances are you routinely give it a wipe whenever you notice it looking grimy or see a spill, so it's probably already fairly clean.
Still, there are a few simple things you can do to take the outside of your oven from acceptable to exceptional. While a wet cloth and all-purpose cleaner will do the trick in most cases, if you have stainless steel appliances, you might need a little extra work. Use microfiber cloths for cleaning and wipe with the grain of the steel to avoid lint and streaks. If you have a stubborn stain, it might be tempting to use an abrasive cleanser or scrubber to get rid of it, but don't do this — it can scratch steel surfaces. Instead, use a stain-removal product designed specifically for use on metal.
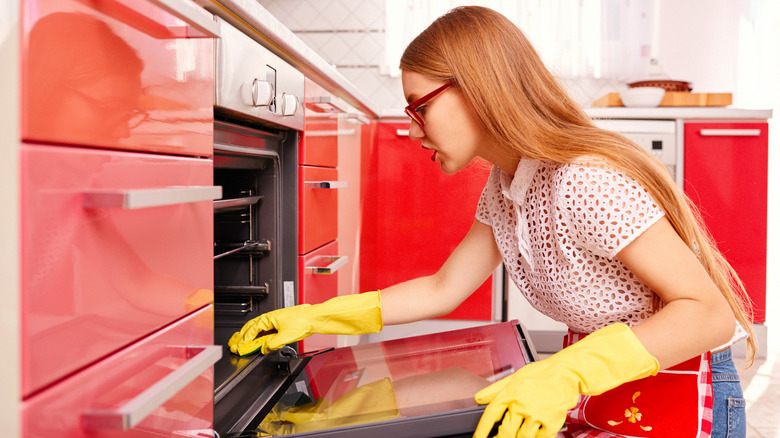
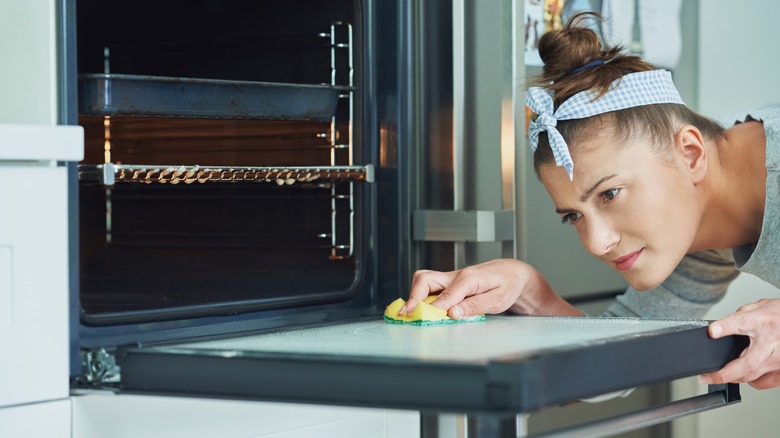
Follow these tips to make glass oven windows sparkle

Beside the exterior of your oven, the window of your oven is where dirt and grime will be most noticeable. For this reason, your oven window is a useful barometer for how urgently the rest of your oven needs cleaning. If you're seeing a lot of unattractive brown splatters on the inside surface of the window, it's time to clean.
To restore your oven window to its pristine state, make a paste of water, baking soda, and dish soap and smear it over the inside of the oven window. Let it set for about 15 minutes, then wipe off with a sponge or paper towel. To remove any remaining residue, dip a clean cloth in a mixture of 1 part distilled vinegar and 4 parts water and use the cloth to clean off the residue. The outside of the oven glass is probably fairly clean – a quick wipe with a microfiber cloth or a cloth moistened with equal parts water and distilled vinegar should do the trick. The more challenging task is cleaning the gap between the inside and outside glass panels — in some cases, you may be better off outsourcing this to professionals. For details on how to clean that area (and whether you even should), this handy guide might help.